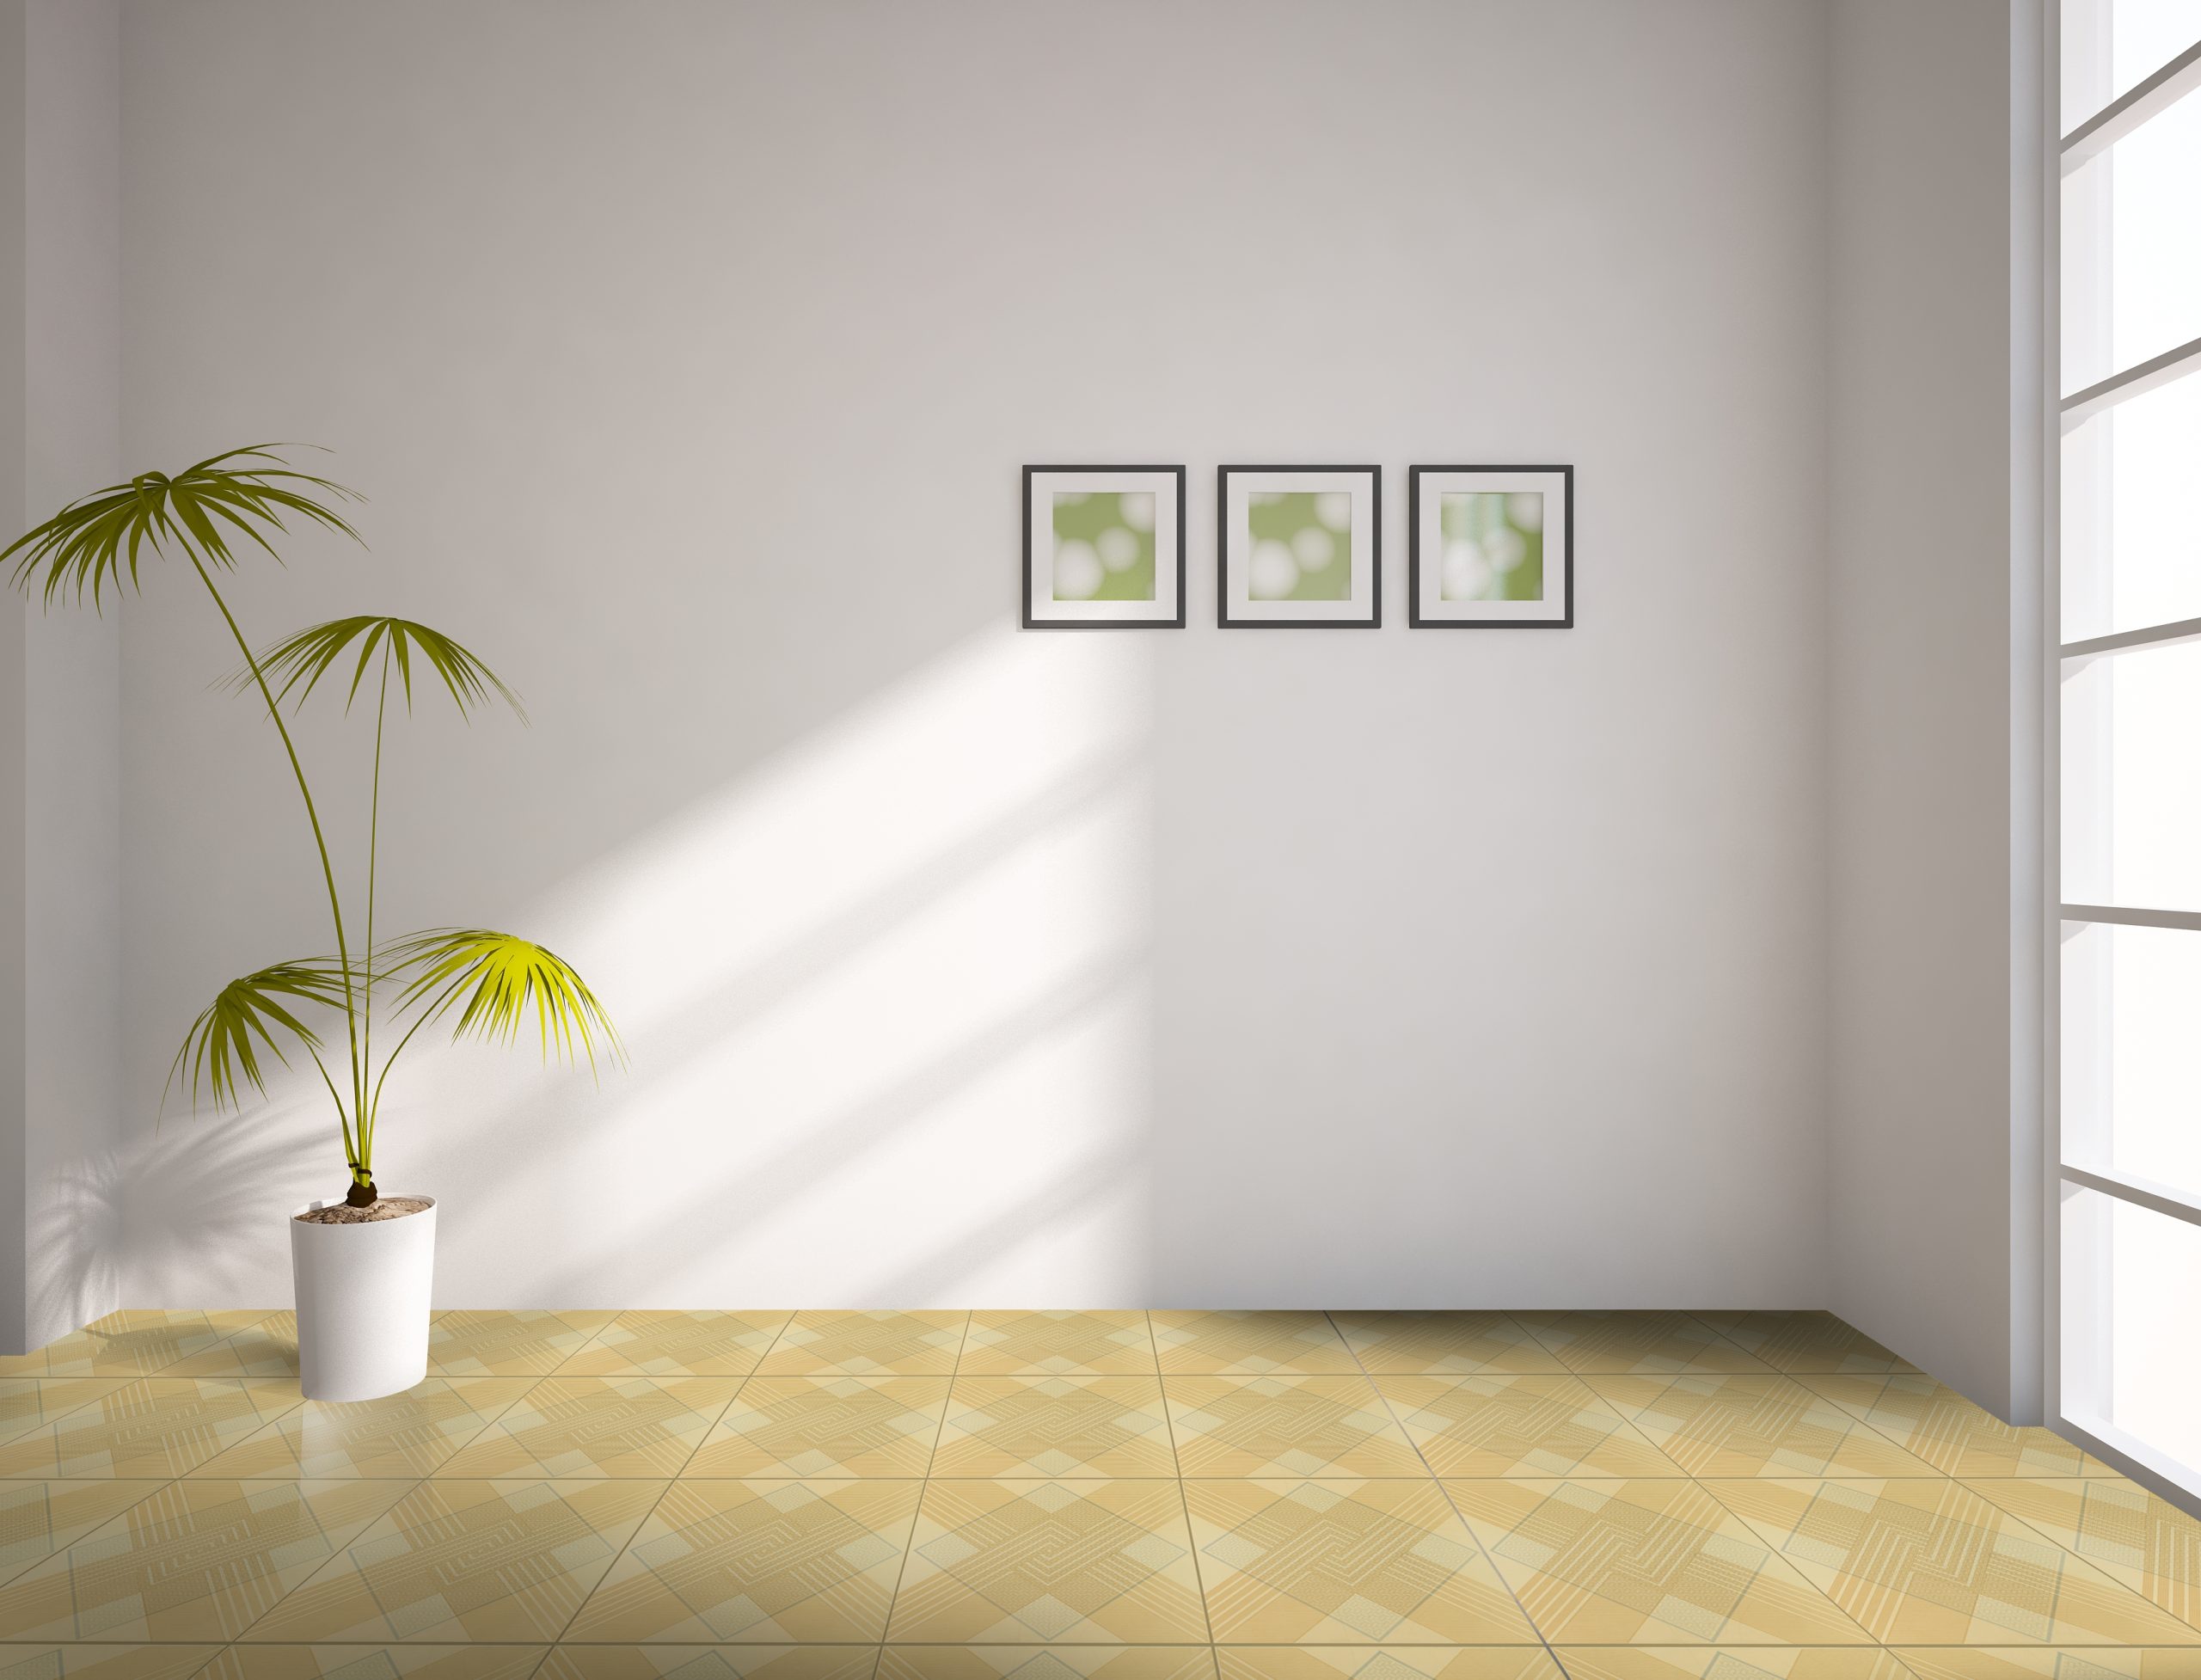
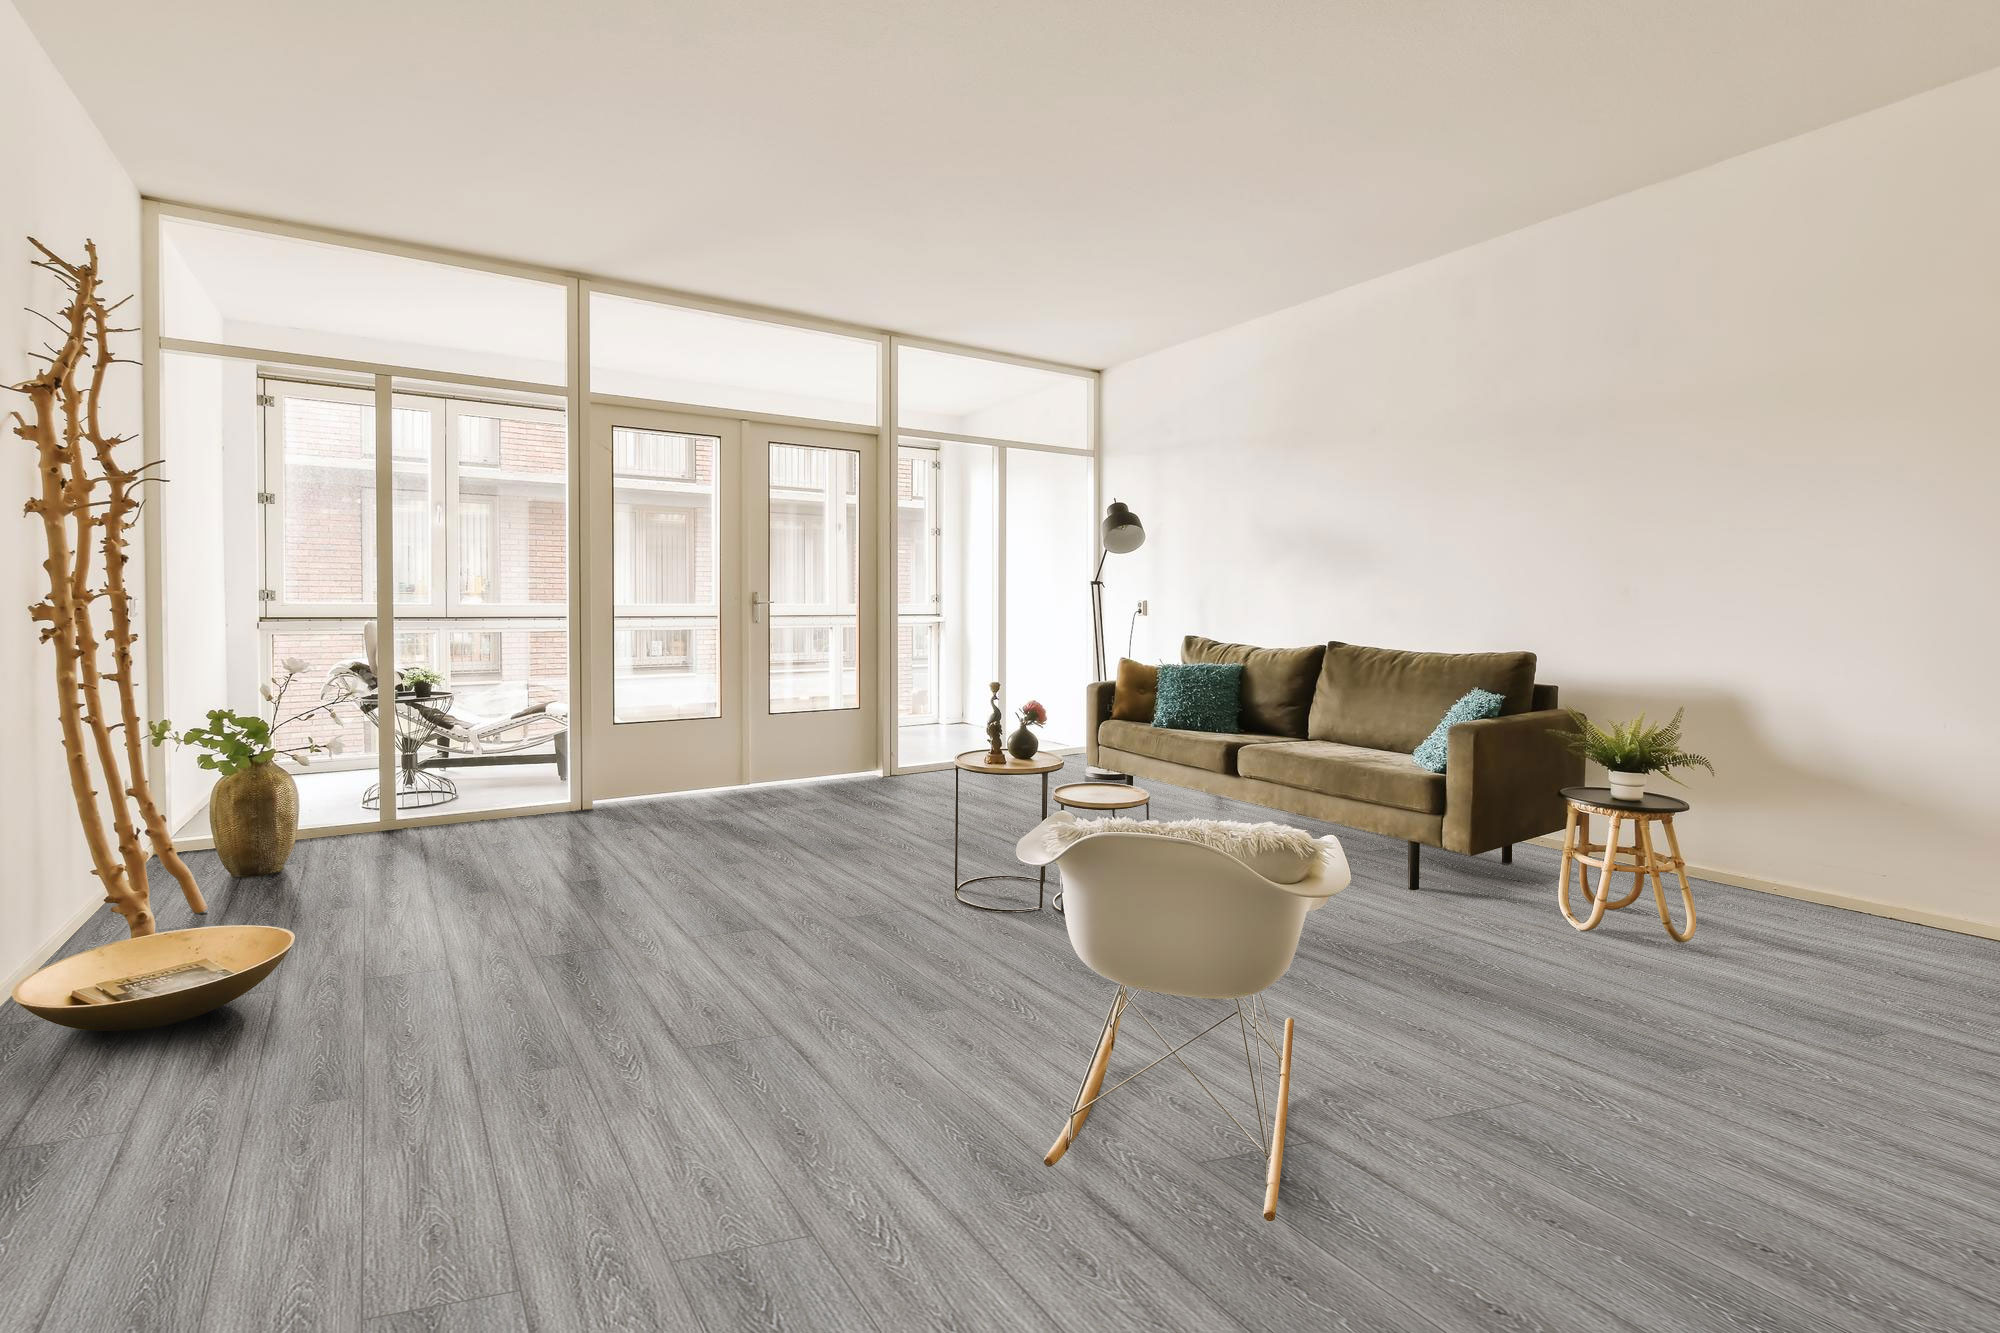
Scandinavian Interior Design with New Tiles from Timber Collection

Scandinavian Interior Design with New Tiles from Timber Collection

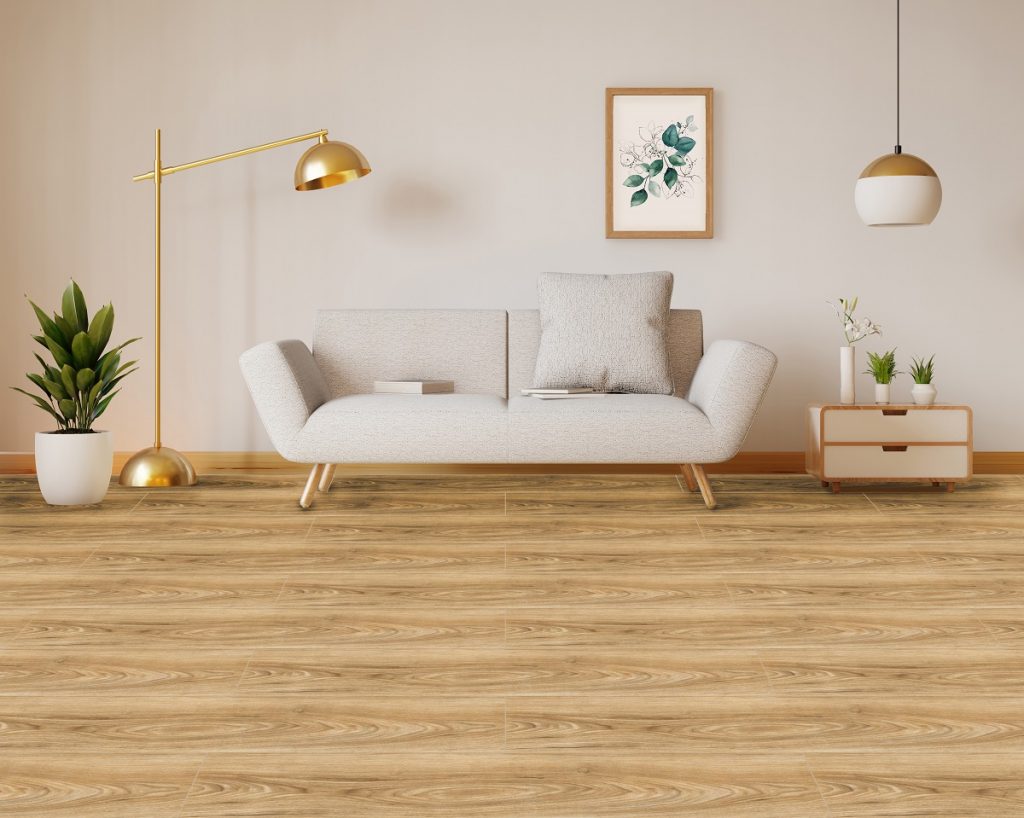
What tiles from the Timber Collection can you use to create Scandinavian interiors in your home?

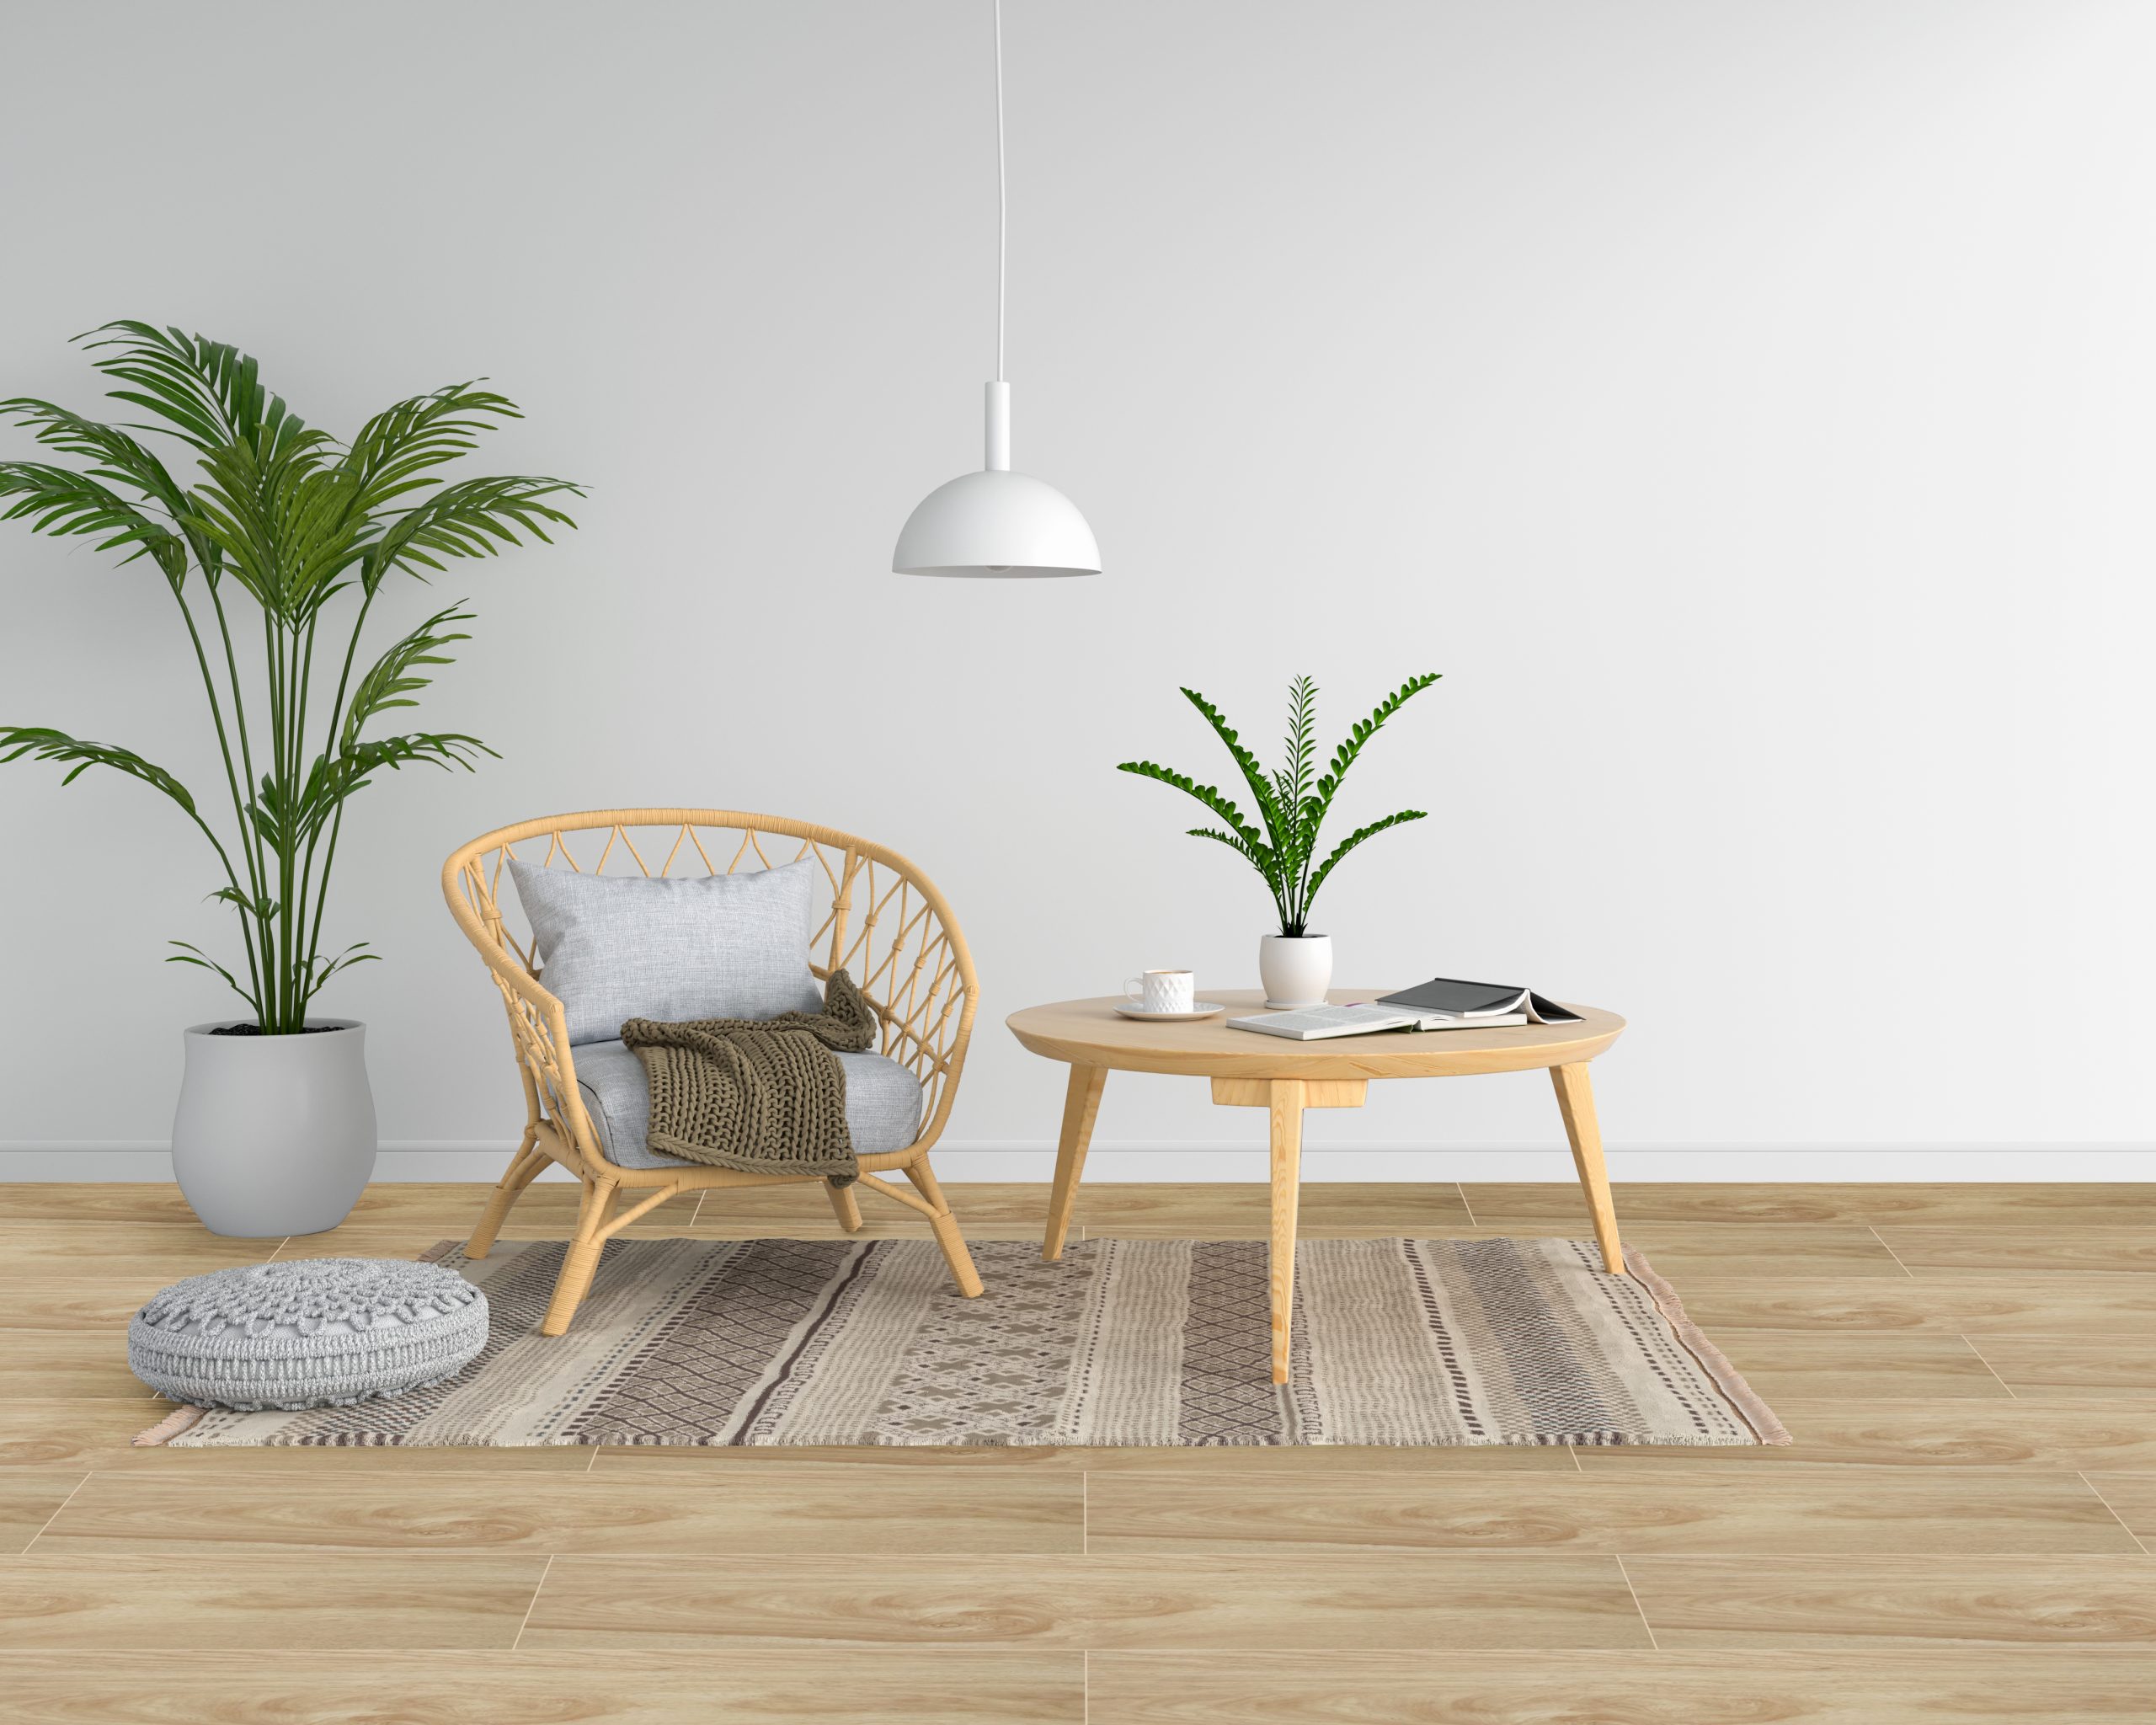
  1. 2100P2
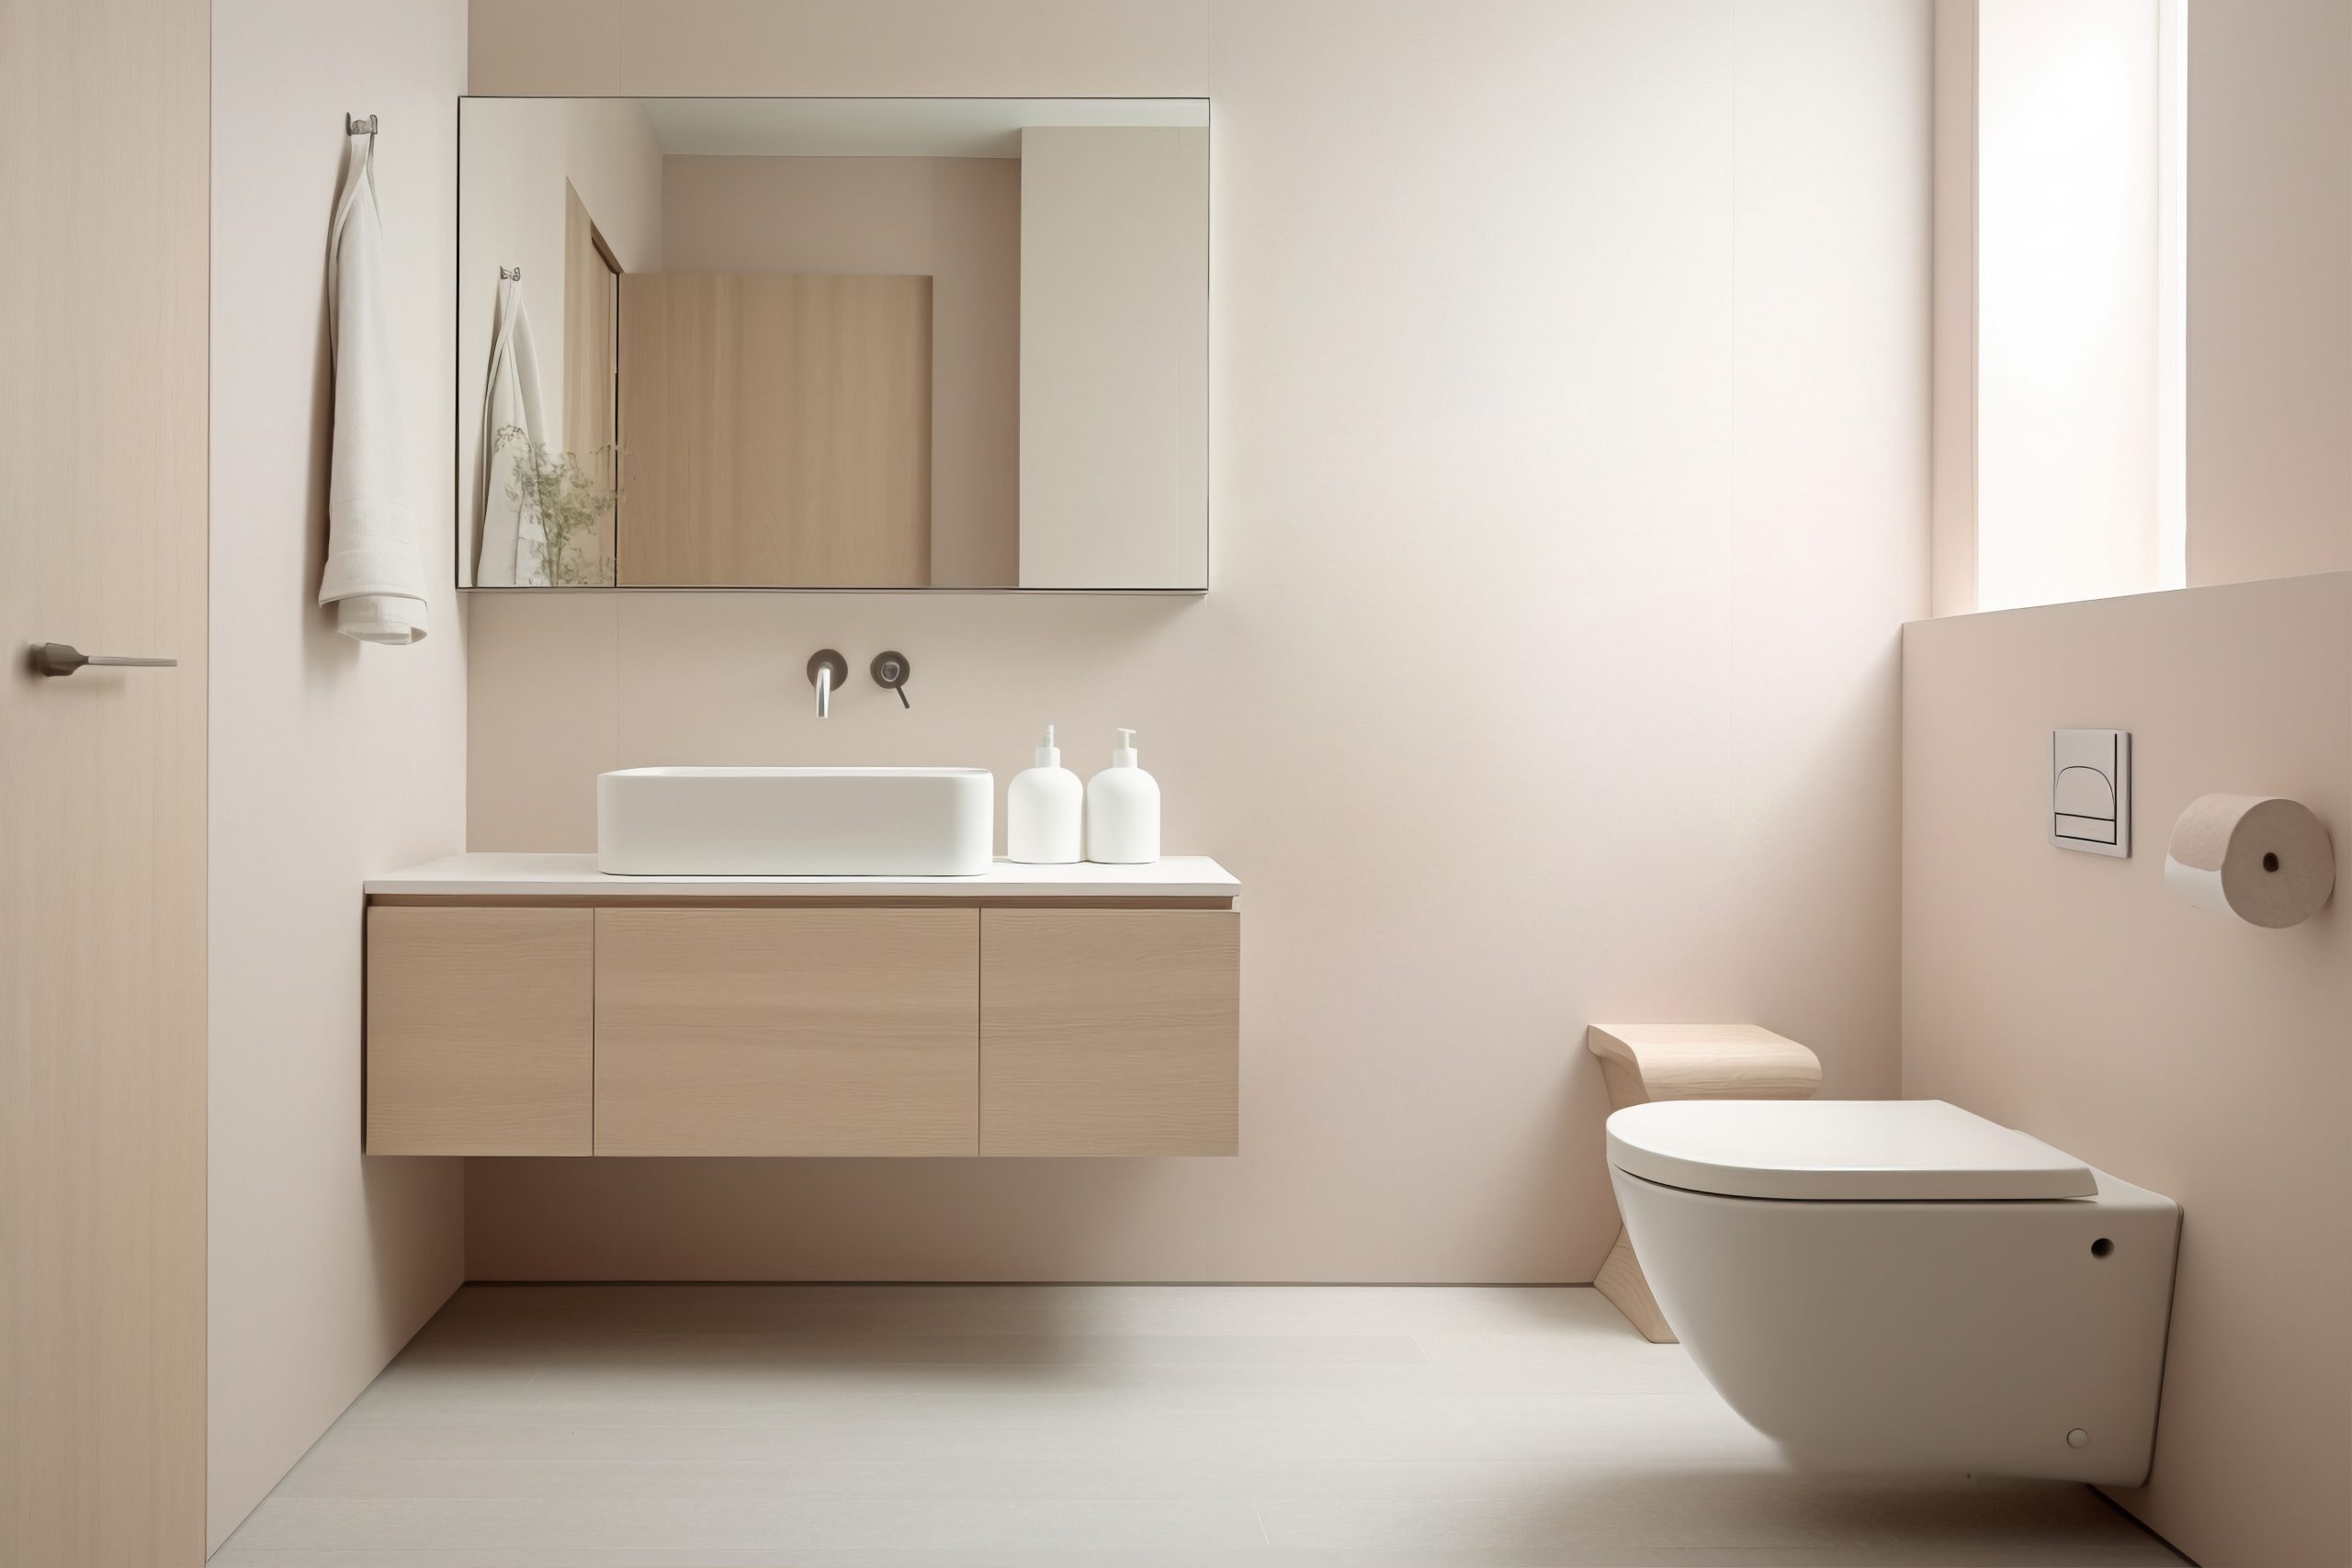
  2. AI209
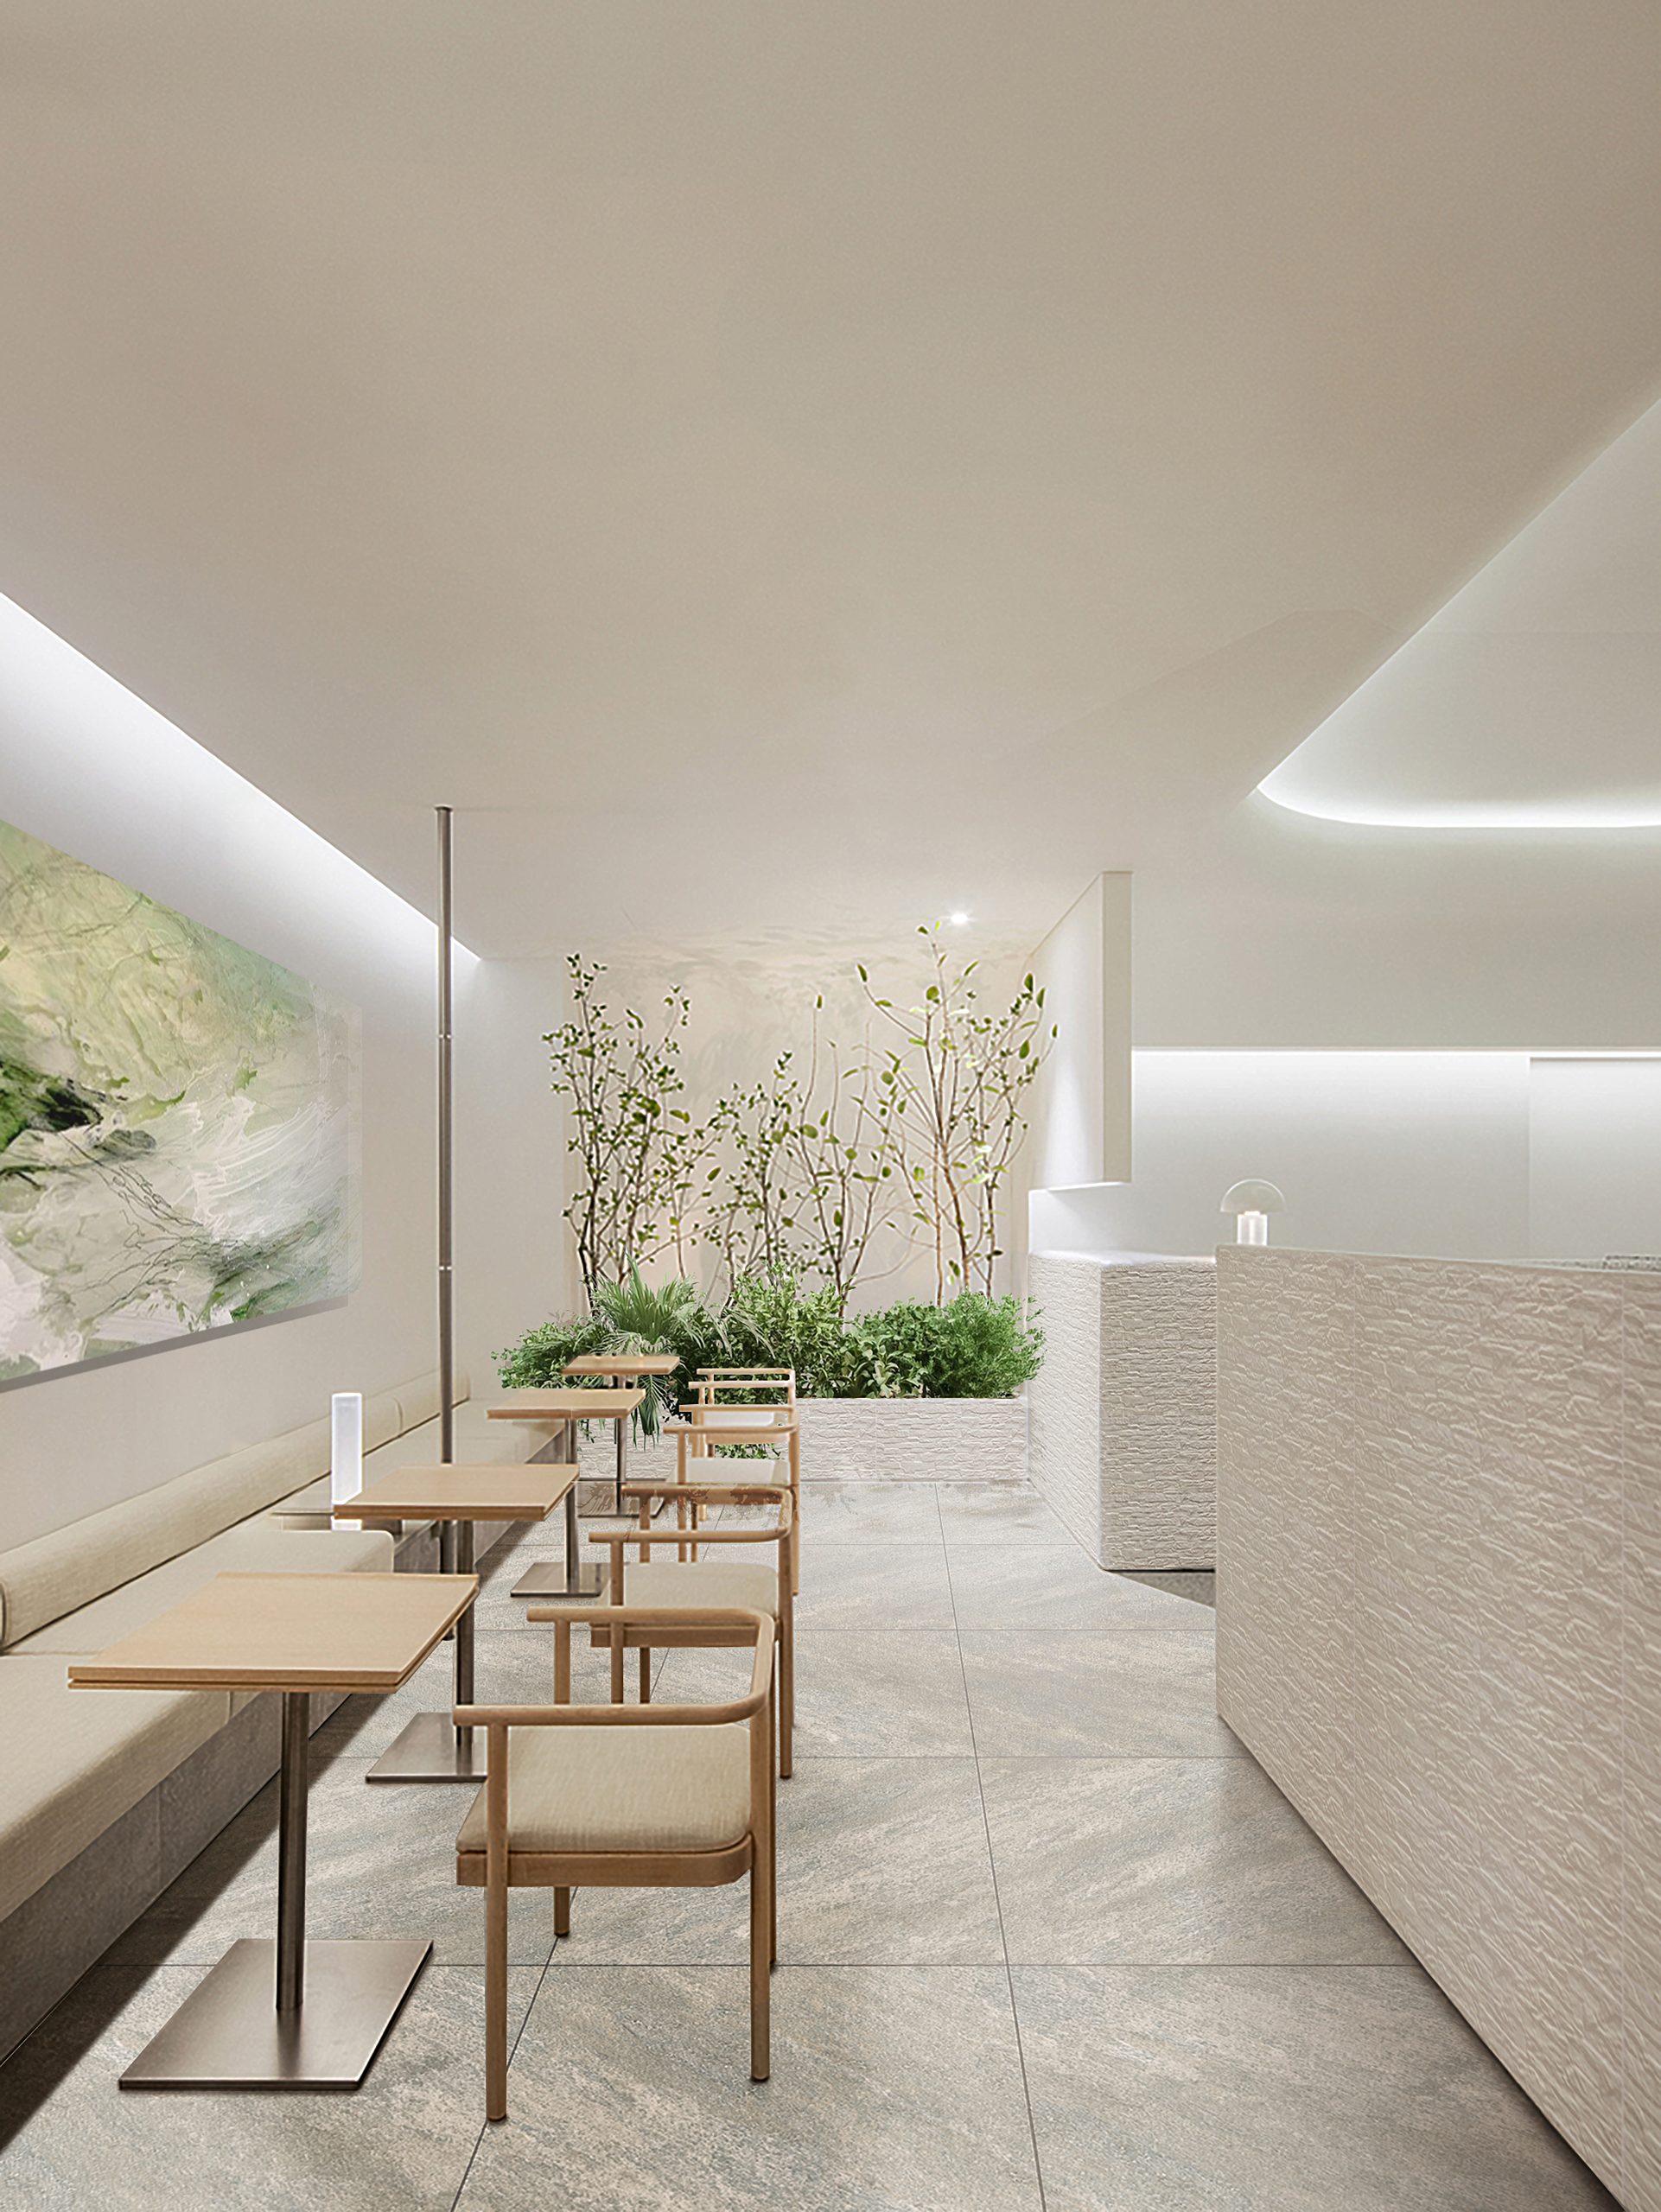
  3. AI207
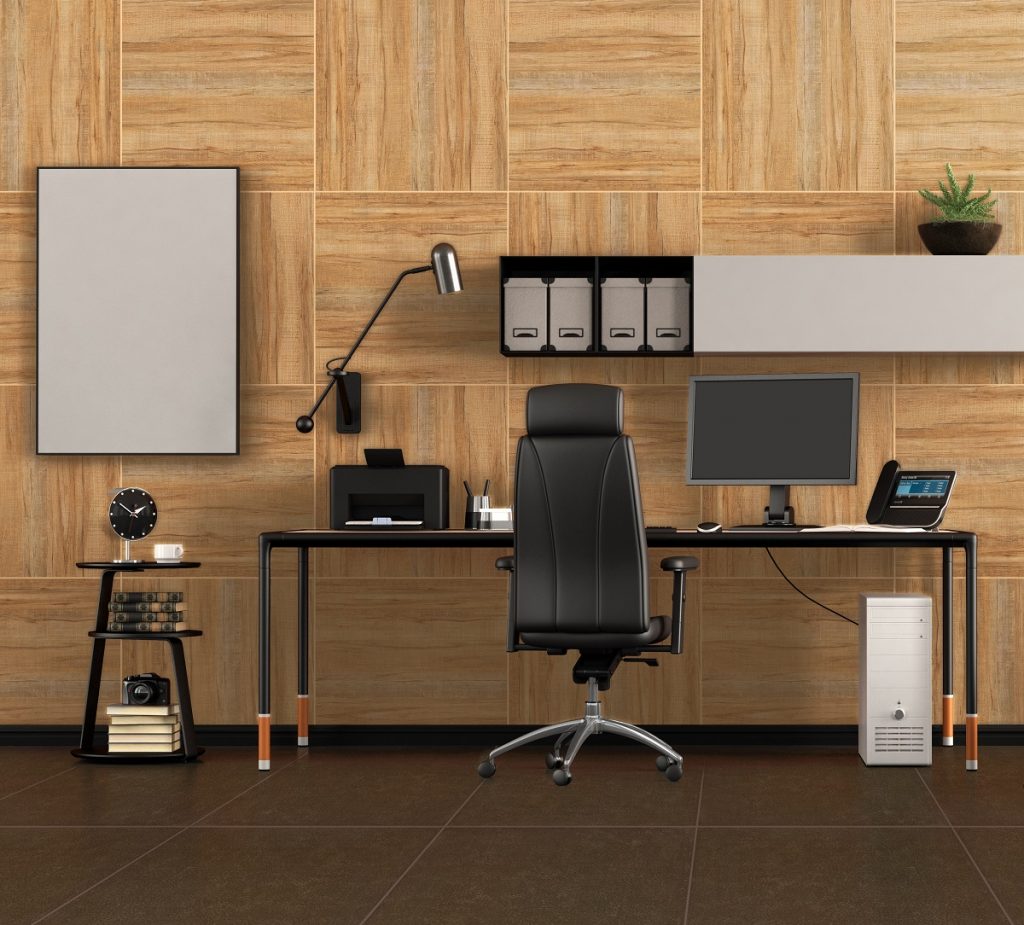
  4. 2100P5


In this day and age, minimalism is the name of the game. More and more people are turning towards clean looks for their interiors in order to transform their rooms into sleeker styles. Through utilizing pastel-colored furniture, lighting fixtures, and other more calming installations, designers have turned towards the sleeker finishes inherent of that of Scandinavian looks. Coupled with contemporary decor, you can easily achieve a Scandinavian interior design with tiles, furniture, and appealing paint colors.

Having a Nordic-inspired look for any kind of room has probably eluded many designers in the past. They may have gone for more loud colors – certainly not characteristic of Scandinavian finishes. In fact, this style is all about toning down the art deco-inspired looks which proved to become too “loud” for some designers. Hence Scandinavian interior designs were born out of a desire to offer rooms with a higher level of simplicity and modesty without sacrificing on the overall functionality of space. Fortunately, Floor Center’s wood-look tiles from their Timber Collection is the perfect way to offer any room with a more natural and minimalistic environment. Read on to find out how their tiles can help you achieve this look.


2100P2

[20X100] 2100P2

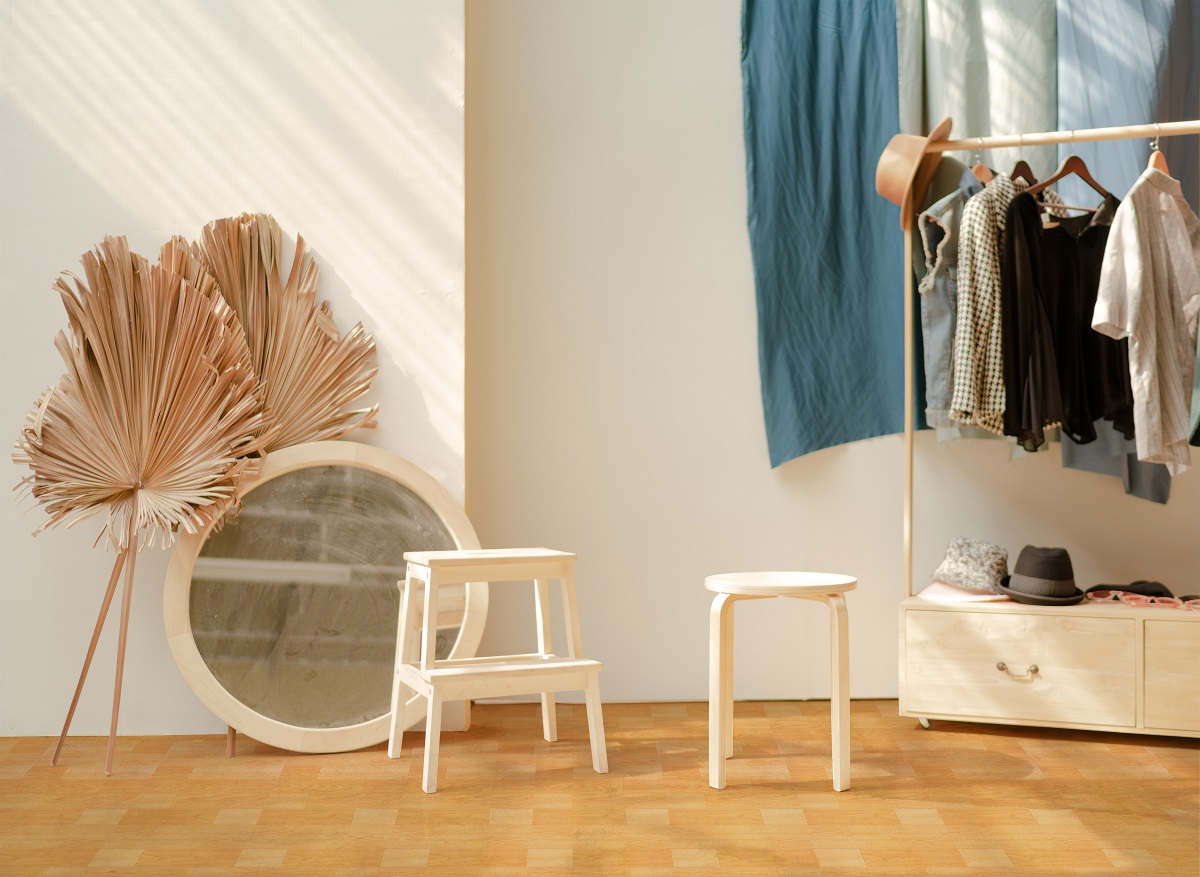
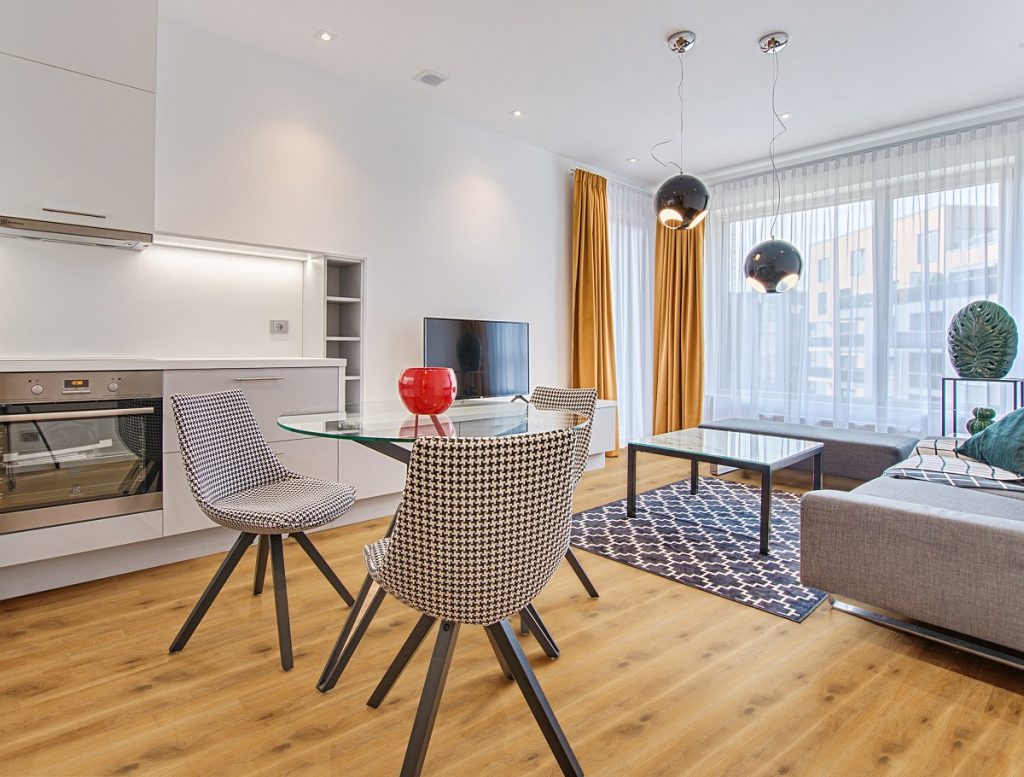
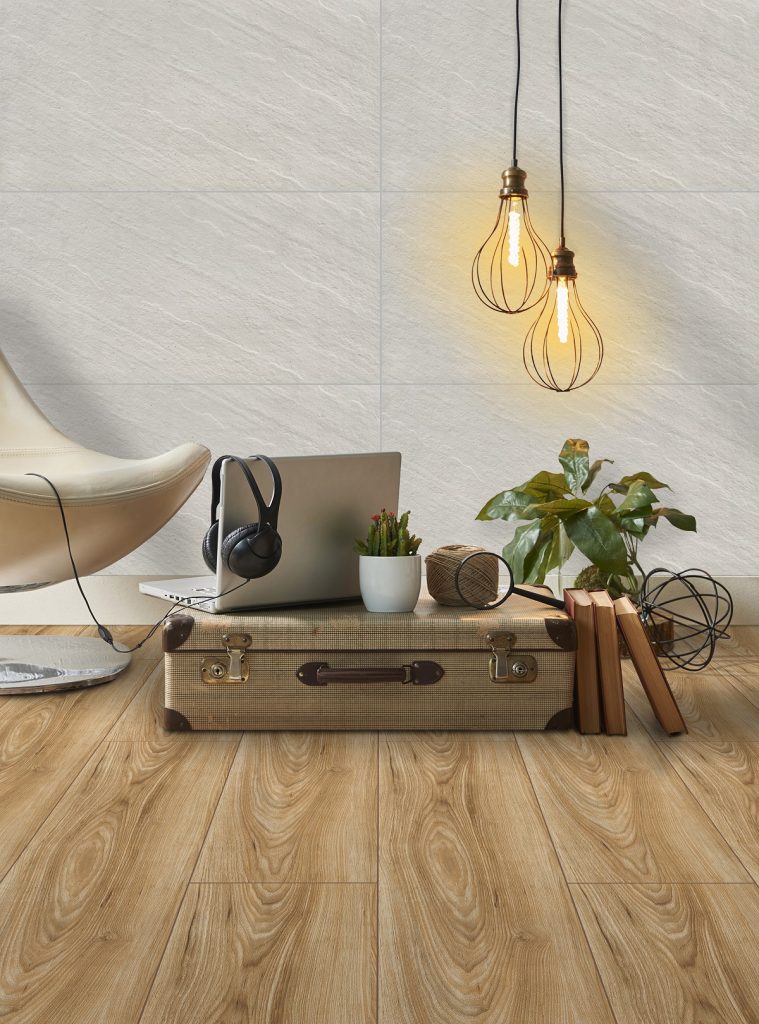
As mentioned before, Scandinavian designs are all about natural looks. It’s no surprise that the wood-look finish of the 2100P2 is one of your best bets in creating calmer interiors. Whether you want to install this tile as part of wall or flooring installations, you’ll be sure to come close to such an elusive design.

The first wood-look tile on this list perfectly complements living rooms, provided you have the right type of furniture and paint color. In particular, the wood-look finish blends in well with any kind of rattan furniture to give your living room the appearance of breeziness. If you’re a fan of indoor plants, then you certainly won’t go wrong with these tiles, as they work well with any kind of your choosing – whether it be a small pot of bonsai, bird’s nest, or aloe vera.

Soon enough, you’ll feel like you’re transformed to the Nordic beachside, where the coolness of the sea breeze is just enough to make you sit back, relax, and enjoy the view.


AI209

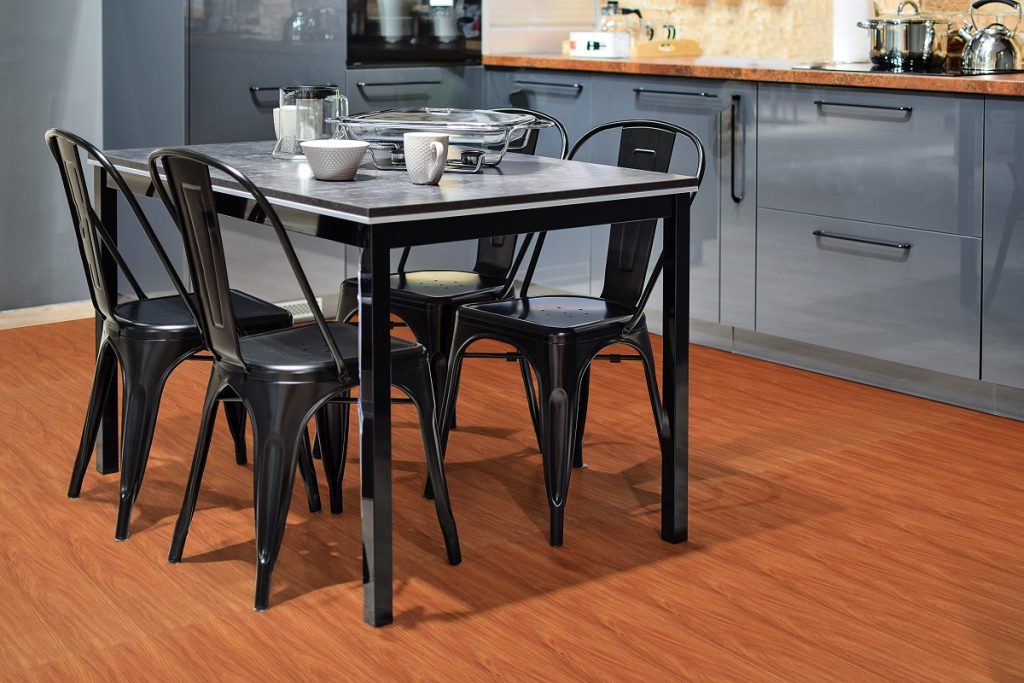
Who says only generic wood-look tiles make for a perfect Scandinavian interior? Certainly not the next tile on our list. The AI209’s gray wood design is another perfect tile to start off your journey of having Scandinavian-inspired designs for your home. This latest creation from Floor Center is highly versatile as it can be used for your living room, dining room, bedroom, as well as the kitchen.

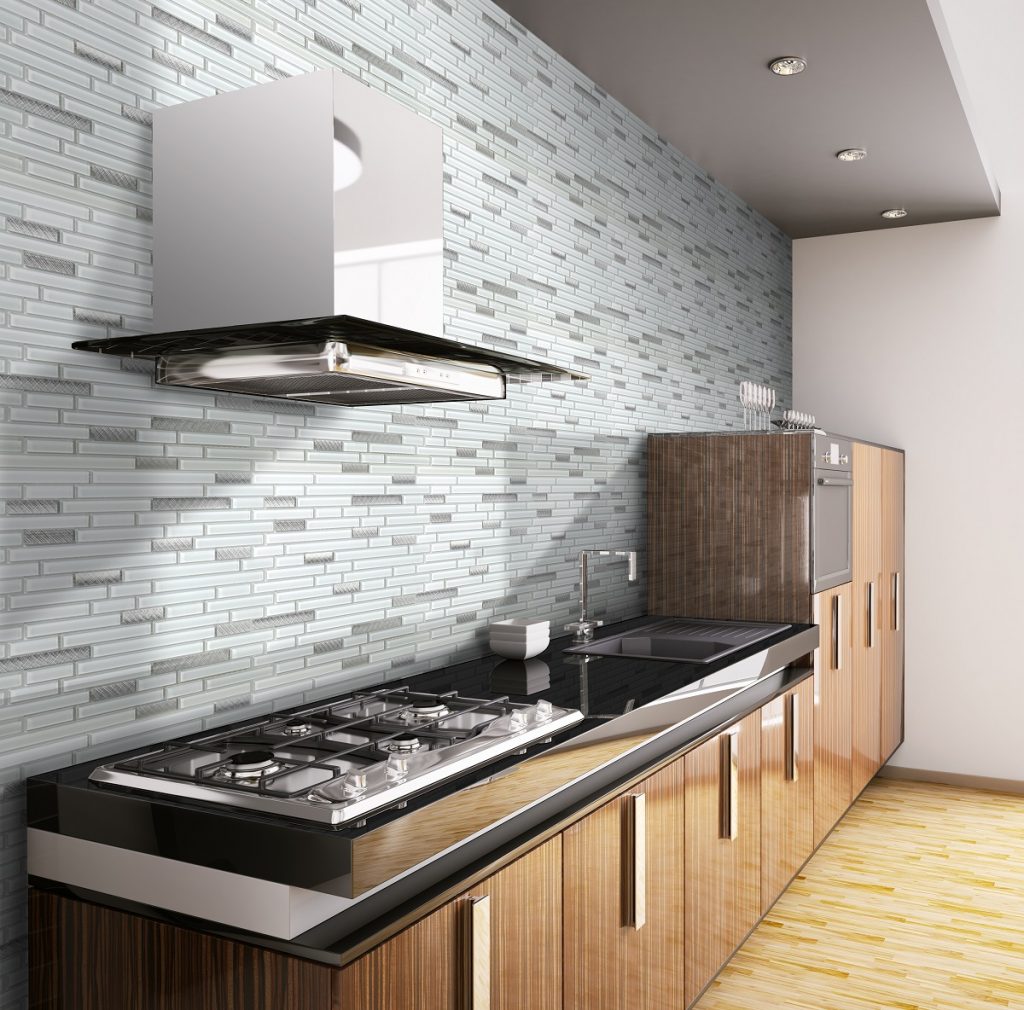
Some designers may want to steer clear of using wood-look tiles for kitchen spaces – whether it be due to functionality issues, or simply uncertainty when it comes to achieving the Scandinavian design, wood-look tiles can be challenging. However, this shouldn’t have to be the case. Gray wood designs are perfect for any small kitchen for the everyday minimalist. Specifically, the gray colors mingle well with natural lighting that may hit the “floorboards” of any kind of kitchen. Coupled with wooden counters and a clean, white-tiled backsplash, the gray wood appearance of this tile is as natural as can be.


AI207

[20X100] AI1212

It need not be said, but working with wood when it comes to designing your home interiors can be a challenge. This material requires a significant amount of maintenance, which is why going for wood-look finishes without the drawbacks is one of the best choices you can make. Featuring a darker tone compared to the 2100P2, the A1207 is also another Scandinavian-transforming tile.

Dealing with richer-toned wood-look tiles may not initially seem to be a great choice since Nordic designs are all about cool tones and lightness. But on the contrary, the darker tones offer the best contrast, especially for 1950’s Scandinavian-appropriate furniture, like egg chairs for the living room, or some stylized side tables.


2100P5

Sometimes, achieving the Scandinavian style doesn’t require you to necessarily stick to the conventions and the rules surrounding this style. Simply going for Scandinavian inspirations in your interiors is also a smart choice, especially if you want to retain already-existing architectural decisions of a room.

Once again, the darker-colored tone of the 2100P5 can aid in your endeavor of achieving the contemporary-Scandinavian fusion. This tile is also perfect for wall applications, particularly for your kitchen space. The cool-look inherent in gray colors make this wall tile fit together with higher-leveled kitchen furniture such as tables and high stools. As with any wood-look tile, make sure the room is garnering sufficient natural lighting for truly eye-popping, yet relaxing visuals.


Key Takeaway

Achieving a Scandinavian interior with tiles doesn’t necessarily have to be difficult, as long as you’re equipped with proper knowledge when it comes to creating Scandinavian looks or those from its derivatives.

Despite the simplicity of this design, it offers any room with the highest level of sophistication, provided you use the right wood-look tiles. Click here to explore more timeless designs with Floor Center!
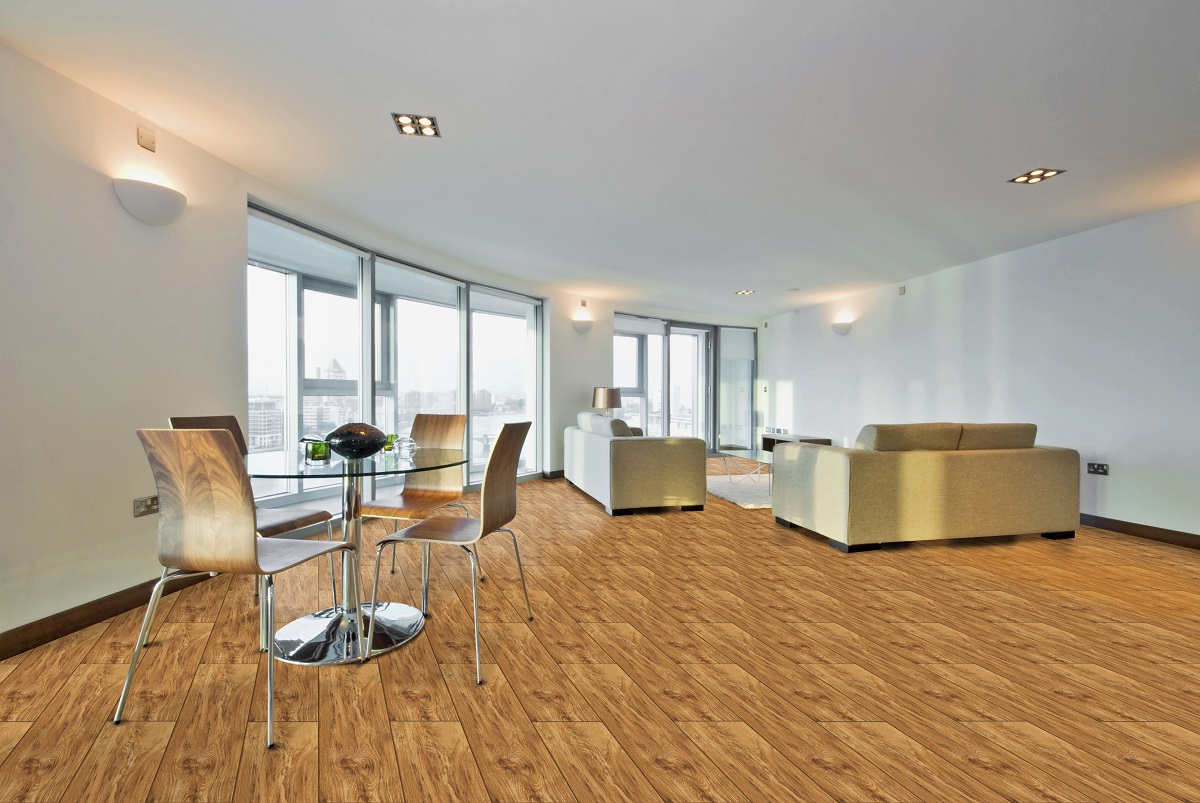
60×120 Slabs for a Luxurious Home

[60x120] YM6133

What are some 60×120 you can use to transform your home?

  1. M6121-6
  2. XPY61226F-1
  3. Y1GL25GE
  4. YM61242


When you take a look at your home, you’re probably brimming with home improvement ideas. Sometimes, this urge to transform your contemporary home into something more luxurious is something that you simply cannot shake off. The old wall painting which has started chafing simply won’t do anymore. You might even find that your tiles have already gone out of fashion. Why not change your floors with some 60×120 slabs? Maybe this is the perfect time to replace your living rooms’ outdated tile design.

At first, switching your tiles to achieve a more luxurious feel for your home can become difficult. Fortunately, you can easily get rid of these fears and anxieties with Floor Center’s timeless 60×120 tile designs. These tiles are vibrant and will liven up any part of your house they’re installed in. This tile size can easily provide any room with a more spacious feel. Featuring natural designs fit for contemporary living, check out Floor Center’s 60×120 tiles.


M6121-6

[60x120] M6121-6_[30x60]NHC63001

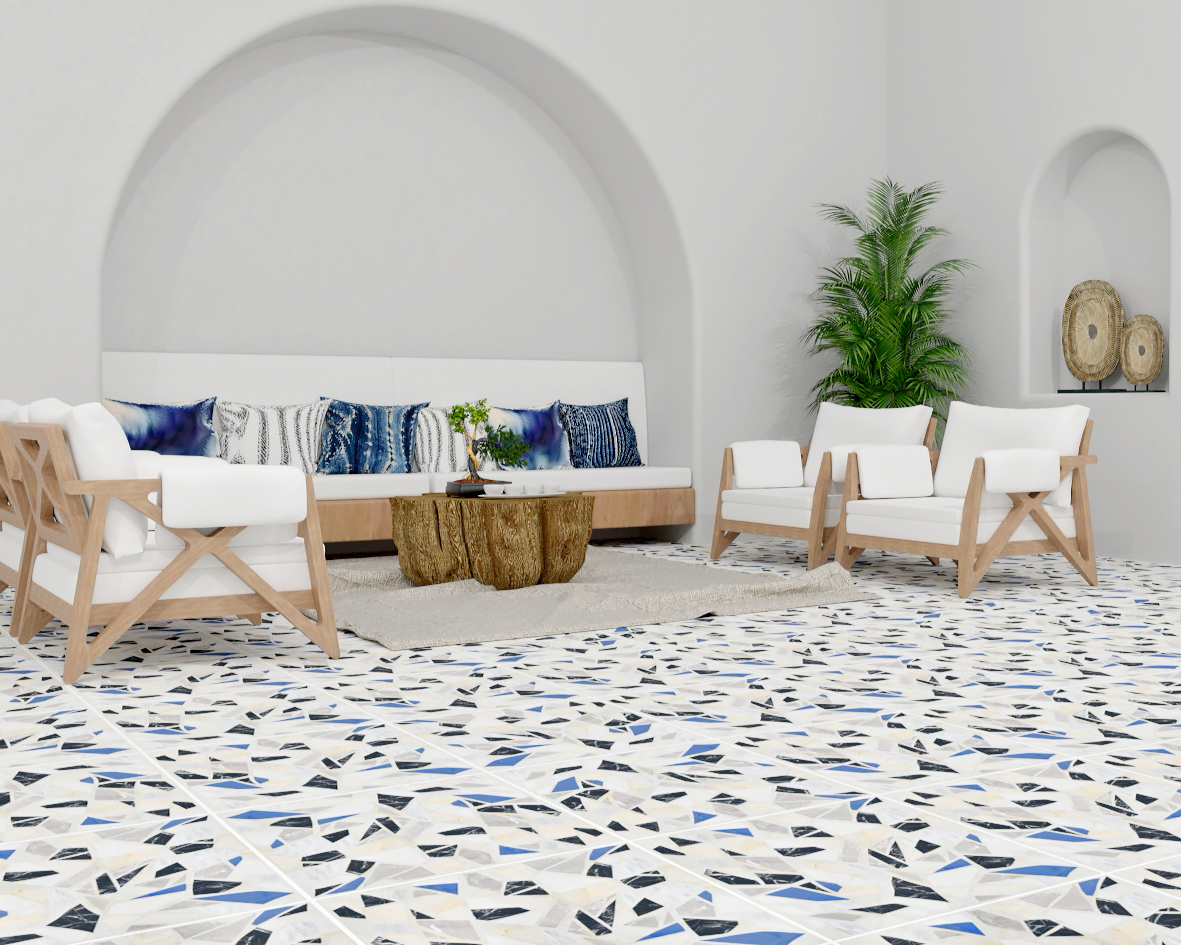
Your living room and bathroom tiles would surely do with a little more texture. While lining the floors or walls of these two areas of your home with plain tiles featuring basic and muted colors isn’t wrong, you have a chance to take the design up a notch. There’s no better way to do this than through the M6121-6.

This terrazzo-look tile works best with other bright and lighter shade colors like white, grey, or black. Don’t be daunted by the tile’s highly-patterned tile design because these tiles’ speckled look and feel just further creates a cleaner and more natural vibe for any kind of room. As mentioned before, the tile size can make any area more spacious without requiring you to undergo other more complex renovations.


XPY61226F-1

There seems to be a misconception that it’s fairly difficult to adopt a more contemporary design for your home with rustic designs. Contemporary styles typically take the shape and form of straight, sleek looks with precise dimensions. Other elements that may be markers of contemporariness include shades of black or white. This doesn’t necessarily have to be the case, though. You can easily incorporate natural designs into any modern installation. One way of doing this is through the XPY61226F-1. Its predominantly light brown coloring featuring natural-looking streaks of white, dark brown, and black make this tile the perfect choice to achieve a rustic look.

While this tile is best fit for virtually any room in your house – bedroom, living room, and kitchen – its style advantage can easily be maximized by having it installed in your dining room. This tile look can adapt well to wood, or wood-look furniture and can complement kitchen or dining spaces belonging in this thread. Don’t worry about getting these tiles grimy – they’re specifically designed to be stain resistant which makes this all the more perfect for any rustic dining room area.


Y1GL25GE

Interior modern bathroom 3D rendering

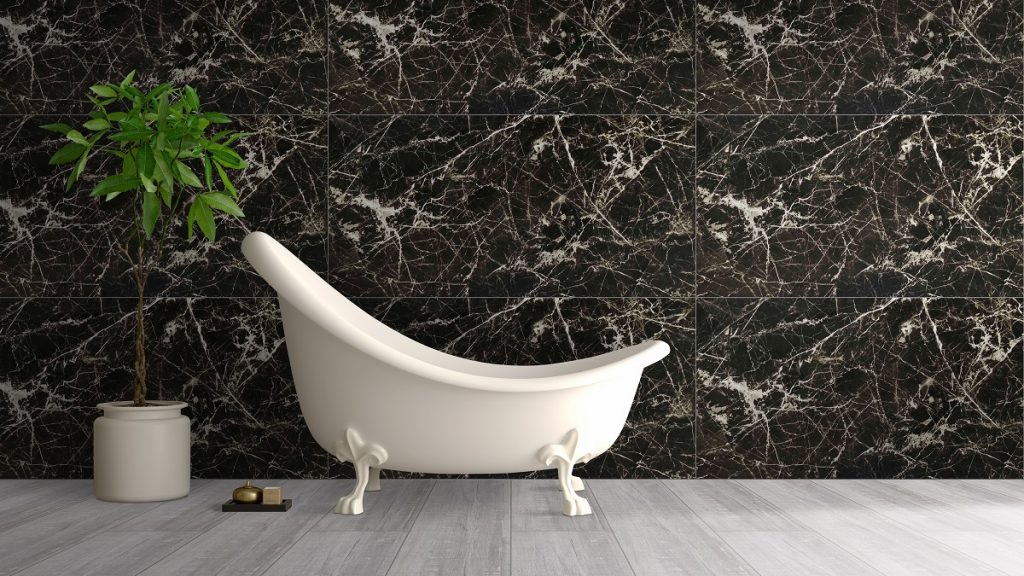
Black is one of the easiest colors to work with when it comes to achieving a sleeker look and finish for any living room space. You’ll likewise achieve the same effect by using the Y1GL25GE 60×120 tile.

This black tile color further enhances your living room space’s modern appearance. One of its most distinguishing features is the natural white-colored veins that adorn slabs of this tile design. While black can complement virtually any color you can think of, the white veins pop up even further in living rooms that feature contemporary decorations. This tile design can highlight any kind of stainless steel furniture you may have in your living room It also adds to the vibrancy provided by your modern furniture and lighting fixture.


YM61242

[60x120] YM61242

When people usually design their bathrooms, they may unconsciously find themselves avoiding unconventional designs. Usually, they may go for safer choices such as white or black tones, or designs which add an overall feel of refreshment. If you truly want to get the elusive duality of natural and contemporary look for your bathroom, consider a wood-like tile design such as that of the YM61242.

This tile is perfect as a wall installation in shower spaces, as it can easily provide you with a countryside living experience with its rustic appearance. The design blends in well with stone-look flooring in the shade of black to achieve your look.


Key Takeaway

Tile sizes like those of 60×120 slabs may seem difficult to work with in the beginning because of the sheer size. However, with the right kind of tile design, any room can be made more spacious without failure.

Floor Center’s 60×120 tiles are excellent for living rooms, dining rooms, kitchen, or even as wall tiles – you need only get creative. Click here to check out more designs with Floor Center!

Have a Summer Ready Home with These Tile Designs

Have a Summer Ready Home with These Tile Designs

What are the summer-ready tile designs perfect for your house?

  1. QG26066
  2. F52
  3. YM6133 and LM6680
  4. M91-4


No matter how many times you take a shower, or how high you turn on the setting of your electric fan, it just seems so difficult to keep yourself cool during the summertime. Fortunately, you can easily transform your home into a tropical dwelling with these summer-ready tile designs.

In choosing tile designs, you want to make sure that they can provide any room in your house with a sense of coolness, no matter where these tiles are placed. Floor Center’s ceramic tiles can not only achieve this for you, but these tiles are also great at repelling the heat coming from the rays of the summer sun. You’d no longer have to experience uncomfortable moments of stepping on extremely hot tiles. What are you waiting for? There’s no better way of redesigning your summer home than with these tile designs.


QG26066

[60x60] QG26066

[60X60] QG26066

Tiles with vibrant and lively designs can be considered fit to be summer-ready. This tile design is beautifully-patterned, allowing it to provide any room with a more natural appearance. When it comes to complementing this tile design with your interiors, the best way to go is to always cultivate a good match between and among the colors you’ll be using. This creates not only eye-popping visuals but also gives the room a cool vibe.

Manufactured with an impeccable finish, the QG26066 is perfect for living rooms, bedrooms, dining rooms, bathrooms, or any outdoor tile installation of your choosing.


F52

[40x40]F52

[40X40] F52

Sometimes, going for simple shades easily gets the job done. Floor Center’s 40×40 F52 tile is a lovely addition to a contemporary home with modern-day furnishing and fixtures. Its rustic appeal has the ability to offer any room with a natural, classic hint, while still enhancing modern furnishing.

Perfect for outdoor areas, the finish of this tile can transport you to the imagery of a beachside house with a picturesque view of the clear, blue waters. Its design can surely provide any room with a coolness that has since eluded many homes.


YM6133 and LM6680

[60x120] YM6133 + [60x60] LM6680

 [60×120] YM6133 and [60×60] LM6680

Have you always wanted to give your home a sleeker and more stylish vibe? After all, nothing is reminiscent of summer than the mesmerizing elegance of coastal areas. You’ll be pleased to find out that you can easily achieve a seamlessly beautiful look for any room in your house with Floor Center’s [60×120] YM6133 and [60×60] LM6680 tiles.

Featuring masterfully designed patterns and finishes, these tile designs are easy on the eyes and well-suited for any summer home redesigning endeavor. The smooth finish of the tile is comfortable to the touch and will provide any surface with a cool feel that many summer homes aspire to have. Whether you’re using this tile for your kitchen or as a wall design for your dining room, you simply cannot go wrong.


M91-4

White dining room interior design. White round table with flowers, candles and cups.

[60×60] M91-4

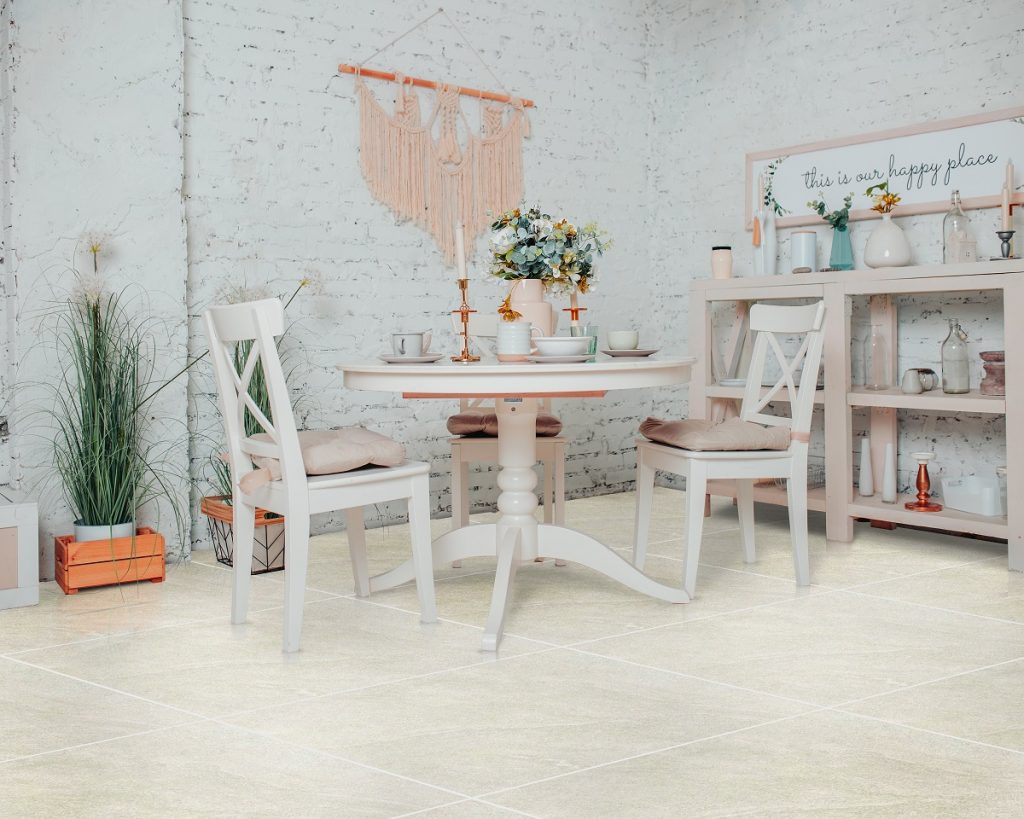
Finally, there is no better way of finishing this article than with the M91-4 tile design from Floor Center.

Don’t let this tile’s plain cream design fool you – it can easily enhance your indoor wall’s appearance, especially if installed in combination with tiles of darker tones. Its cream color is highly-reminiscent of a refreshing bowl of ice cream during hot summer afternoons.

With its easy-to-clean finish, your interiors would virtually be able to withstand the hot climate in no time at all.


Key Takeaway

Preparing your home for the summer is as simple as using the right kind of summer-ready tile designs. You don’t necessarily have to stick to generic conventions when it comes to choosing tile designs to create a perfect summer house – you need only get creative.

From rustic tones and matte finishes to glossy finishes, these tiles from Floor Center create some of the best summer-looks you’ll ever get to experience. Click here to check out more high-quality products with Floor Center!

4 Sanitizing Tips for Vinyl Flooring

4 Sanitizing Tips for Vinyl Flooring

What are some sanitizing tips for vinyl flooring?

  1. Place a doormat in the entryway
  2. Avoid soaking vinyl
  3. Regularly sweep floors
  4. Use baking soda paste


Maintaining hygiene is undoubtedly one of the first things we have to consider during these extraordinary times. By making ourselves and our environment cleaner, we’re doing our part in preventing the spread of the COVID-19 virus. Particularly, if we’re staying at home for long periods of time, we should know how to keep every part of the house clean. We might want to equip ourselves with the proper knowledge on how to sanitize vinyl flooring especially if this kind of surface is present in high-activity areas like the kitchen, dining room, and living room.

Because of the lockdown, families have been left with no choice but to stay indoors. When one of them does not follow a work from home arrangement, they can potentially expose the other family members to different kinds of bacteria. Luckily, Floor Center’s vinyl tiles are easy to clean and will easily sanitize any part of your home, preventing unwanted bacteria buildup. If you want to learn more about the most efficient ways of sanitizing vinyl planks to make it safe for you and your family, continue reading.


Place a doormat in the entryway

Place a doormat in the entryway

Placing a doormat in your entryway is a preventive measure in order to avoid any unwanted dirt from accumulating on vinyl flooring. As mentioned before, keeping your family safe is the priority in these times. While Floor Center’s vinyl tiles are already hygienic enough to achieve this, placing a doormat keeps shoes clean before stepping onto vinyl tiles. This tip is useful when not all of your family members are working from home.

For example, if they regularly have to go out, they might unknowingly expose their shoes to grime, dust, and dirt. With the presence of a doormat, they would be more inclined to clean their shoes first before stepping inside the house. In choosing a doormat, ensure they’re sturdy enough to last longer periods before they’re washed.


Avoid soaking vinyl

There is a tendency for many people to use water in cleaning almost anything. There’s no harm in doing this, after all, water is a great way to clean light stains, clean dishwashing foam, and virtually almost any grime which can come off easily. But when it comes to cleaning your vinyl tiles with water, avoid soaking it.

The reason for this is that when you drench your vinyl floors with too much water, the water can seep into the cracks and the gaps in between the vinyl planks. This can potentially cause damages such as loose or warped planks.

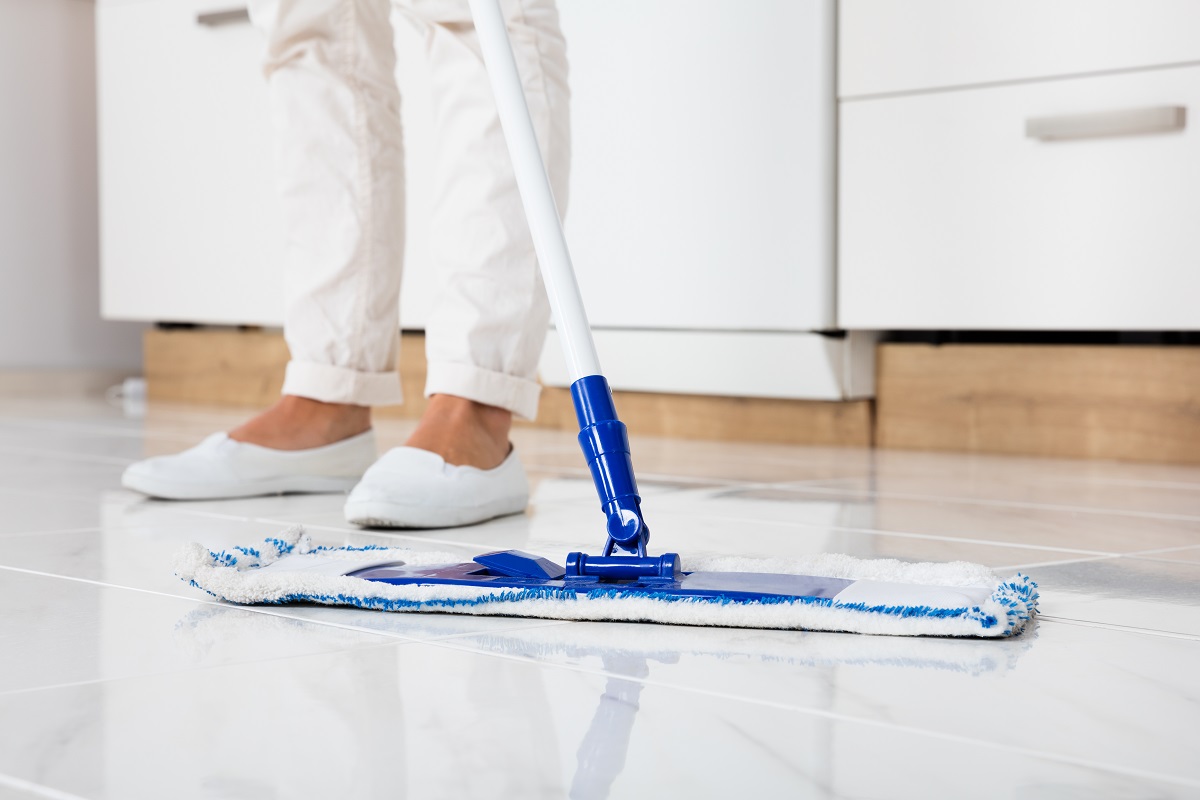
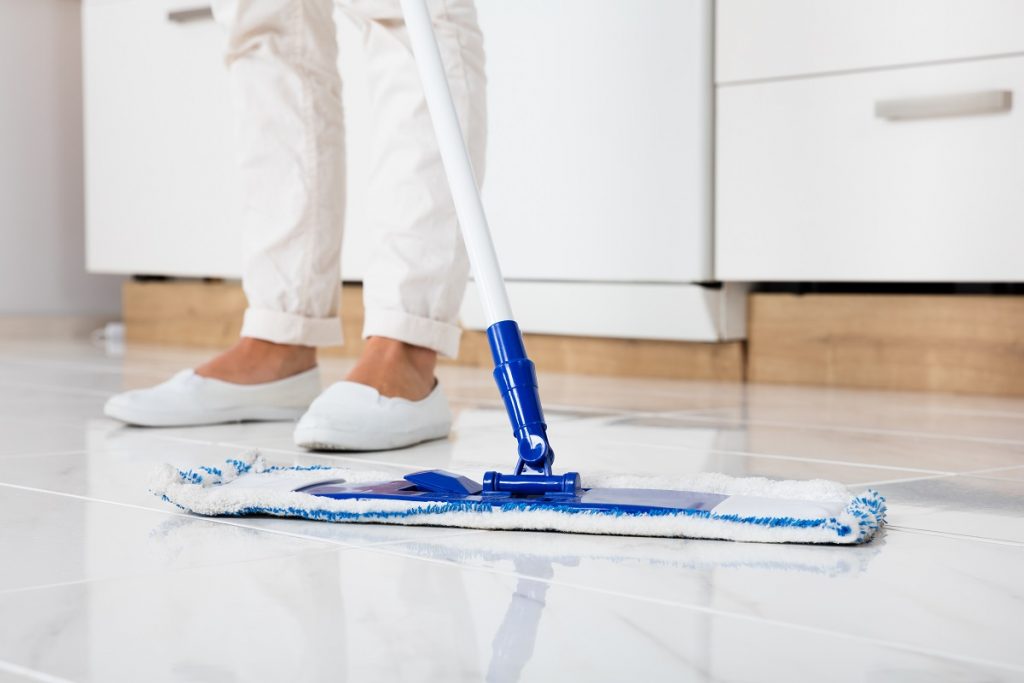
If you’re cleaning with a mop, make sure to dip it in the appropriate amount of water along with the right kind of cleaner. Make sure the mop isn’t dripping wet before applying it onto the flooring surface. In this way, you’ll retain the appearance and arrangement of the vinyl, while at the same time making your floors spic and span for the rest of the household.


Regularly sweep floors

Regularly sweep floors

Two of the most underrated cleaning materials in your home are the dustpan and broom. They’re simple items but they are the most useful when it comes to getting rid of different kinds of debris, dirt particles, and dust which may be accumulating in certain areas of the house. As such, they’re also useful in cleaning your vinyl flooring.

Regularly sweeping your floors is a low-impact technique in maintaining the hygienic value of vinyl tiles. You may not know it, but sanitizing your floors in this way can create better health outcomes for both you and the family. The reason for this is that sweeping vinyl tiles can prevent the buildup of dust mounds which can easily enter the respiratory system. Though not instantaneously, inhaling dust can cause further allergies and potentially dangerous breathing problems for anyone in contact with this kind of dirt.

It is advised that you set a schedule to clean your vinyl surfaces. While it is generally recommended that you do this daily for the most optimal results, you may also opt to do it every other day.


Use baking soda paste

Finally, another effective way of cleaning vinyl floors is through the application of baking soda paste. This is a good way to get rid of stubborn stains like those coming from grape juice, ketchup, grease, and the like. Simply mix a solution of baking soda and water until you are left with a mixture with a paste-like consistency.

Cleaning your stains immediately after the spill is the best way for them to prevent lasting on your floors. On another note, this method also prevents ants, cockroaches, vermin, and other kinds of pests from infesting vinyl floors, as the stains have already been dealt with.


Key Takeaway

If you don’t know how to sanitize vinyl flooring, then you don’t have to worry as the guide above sets out to simplify it for you. In these extraordinary circumstances that we’re currently living in, keeping our household hygienic for every family member is essential to maintain their health and improve their immune system.

With Floor Center’s easy-to-maintain vinyl flooring, you won’t experience any problems with regards to keeping your house clean. Furthermore, you’re giving your house a fighting chance of better protecting itself during the pandemic. Click here to check out more helpful tips!

How to Fight COVID 19 with Proper Hygiene and the Right Tiles

How to Fight COVID 19 with Proper Hygiene and the Right Tiles

What are some hygiene tips to combat COVID 19?

  1. Wash your hands
  2. Take a bath
  3. Properly clean ceramic tiles
  4. Disinfect rooms


With the spread of the COVID-19 virus, many people have been quick to purchase hygienic products and other sanitary items to help them combat its effects. Some measures which have been imposed by governments include lockdowns as well as stringent social distancing measures. Many people have been looking for ways on how to fight COVID-19 at home.

Something as simple as having the right kind of tiles for your flooring surface can make a big difference in terms of increasing the quality of your family’s overall hygiene at home. Continue reading to learn more about some tips you can follow to maintain proper hygiene while combating the virus.


Wash your hands

Wash your hands

Staying at home for an indefinite amount of time can lead to people becoming too easily complacent about their hygiene and how properly they practice it around the presence of others. There is a tendency for some people to just lie down in their beds for the entire day without even so much as moving a muscle. However, it’s highly important to maintain hygiene through simple practices such as washing your hands as much as possible.


Take a bath

Take a bath

If you’re not working from home or have to run errands at the grocery store, bank, etc., you obviously run the risk of exposing yourself to different types of bacteria because of being exposed outside. You may not be aware of it, but interacting with large groups will unknowingly lead to some of the pathogens or bacteria getting on your clothing. This is why as soon as you get home, take a long shower before you greet your family. While this task may be fairly simple, you’re giving yourself more of a fighting chance to avoid contracting a highly-contagious virus.

Properly clean ceramic tiles

Another proper hygiene tip you can follow during the lockdown is to properly clean the ceramic tile flooring in the different parts of your house. You may not be entirely aware of it, but someone who might have come from outside may have unknowingly left with them bacteria and other kinds of dirt on the soles of their shoes.

While ceramic tile flooring is already durable, cost-efficient, and requires only low maintenance, there is no better way to enhance these desirable properties by subjecting them to regular maintenance.

Before cleaning your ceramic tile surface, ensure you’ve undergone the proper surface preparation methods. This is for the purpose of removing any mounds of dust or loose debris in the process. Do this with either a broom or a vacuum cleaner for maximum results. After, use a tile-safe all-purpose cleaner, or mop every inch of the ceramic tile surface with a mild detergent solution.


Disinfect rooms

Disinfect rooms

Finally, another effective method of maintaining proper hygiene is by using effective air treatment products in order to disinfect a particular room.

Depending on the kind of product that you have, your room would start smelling good and will become relatively germ-free in no time. When disinfecting rooms, particularly the kitchen, you should ensure the chemicals of the product aren’t getting into any food items which might render them inedible.

Furthermore, you can also use this opportunity to clean the various high-activity items in a room. These items might be doorknobs and door handles, sinks, showerheads, light switches, or even toothbrushes. By thoroughly cleaning these objects, you’re increasing your home’s resistance against the transmission of the virus.


Key Takeaway

If you’re not yet aware of how to fight COVID 19 at home, then you don’t need to be overwhelmed because the guide above has set it out simply for you. You can achieve proper hygiene through simple tasks like taking showers, washing dishes, cleaning your ceramic tiles, and the like.

The best piece of advice is to as much as possible subject anything that may have come into human contact to proper cleaning. Having the right kind of ceramic tiles for your home also greatly helps in fighting the virus. Floor Center’s tiles are low-maintenance and can easily be cleaned, giving your home a better chance of arming itself against COVID 19. Click here to check out more helpful tips with Floor Center!

What Are the Advantages of Using Ceramic Wall Tiles?

What Are the Advantages of Using Ceramic Wall Tiles

What are some advantages of using ceramic wall tiles?

  1. Hygienic
  2. Resistant to high temperatures
  3. Durable
  4. Environmentally-friendly
  5. Come in a variety of designs


When it comes to designing your walls, using ceramic wall tiles may not have even crossed your mind. Oftentimes, you might resort to just applying wallpaper or a paint coating. While there’s nothing inherently wrong about doing these methods, they don’t necessarily last for a long time and might even require you to undergo more frequent maintenance repairs. For example, wallpaper can be easily peeled off if applied incorrectly, in much the same way that paint designs can easily get outdated.

You should definitely consider installing ceramic tiles for your walls instead. Fortunately for you, you can take advantage of Floor Center’s large collection of ceramic wall tiles which come in different kinds of designs and finishes.

Continue reading to learn more about the benefits of using ceramic wall tiles for your home.


Hygienic

Hygienic

In these unprecedented times – when the country is dealing with a health crisis, hygiene should definitely be on the fore. Families spend a major part of their lives spending time at home. As such, it’s important that houses remain hygienic in order for people to maintain a good quality of health.

One advantage of using ceramic wall tiles is that they’re hygienic and relatively easy to clean. You don’t even have to use complicated cleaning agents, as well as chemicals just to retain the appearance of ceramic wall tiles. Simply wipe them with a soft damp cloth from time to time in order to retain their luster.

If you’ve installed ceramic tiles for your kitchen walls or bathroom walls, they may be more susceptible to grime and dirt. But this is no cause for alarm as cleaning them is as simple as applying warm water and a little bit of mild detergent to a cloth. In order to avoid permanent stains on your wall tiles, it would do you well to clean the stain as soon as it comes into contact with the tiles.


Resistant to high temperatures

Resistant to high temperatures

Another benefit of using ceramic wall tiles is that they’re generally resistant to fire. Your home is supposed to be conducive for living. For this reason, it’s important that the house materials will not pose any safety hazards or risks to the people residing in it.

If your walls have been lined with wallpaper, for example, there is a higher possibility of it catching fire, as opposed to using ceramic tiles. Some areas in your room which may be susceptible to some form of fire danger include the kitchen, living room, and any part of your house which stores flammable items.

By using ceramic tiles, you’d be avoiding such a situation from occurring. Aside from heat, they’re also highly-resistant against drastic temperature changes, ensuring they pose no safety or fire hazards to a particular room.


Durable

Young businessman with skateboard walking in rush

With virtually any kind of home improvement project you engage in, you want materials that can offer any room inside your house with the highest level of comfort, design, and durability. You can easily achieve these with the use of ceramic tiles because they’ve been specifically manufactured to last for a long time. Ceramic wall tiles can generally withstand significant levels of pressure. They also do not easily crack.

The durability of ceramic wall tiles allows you to do away with time-consuming activities mainly spent on repair. A wall that has been painted on might require you to repaint a certain section all over again simply due to the development of surface defects.


Environmentally-friendly

Environmentally-friendly

Ceramic tiles are also another environmentally-friendly alternative to your wall designs. As mentioned before, wallpaper is not only difficult to maintain but it is also subject to constant replacement. You would end up having to use more paper material than you would otherwise have expected. This may eventually prove to be unsustainable since you might end up using wallpaper manufactured with no recyclable materials.

If you didn’t already know many phases in the manufacturing process of ceramic tiles present you with a more sustainable alternative. The raw materials are fairly easy to mine and produce, meaning less fuel is combusted in the manufacturing process. Another feature of ceramic tiles is that they’re composed of recycled materials, further minimizing their impacts on the environment.

Ceramic tiles themselves are usable – you can repurpose them for a variety of other functions to add more design and utility to your home.


Come in a variety of designs

Design is undoubtedly one of the most important factors to consider when you’re choosing ceramic tiles for your walls. Luckily for you, you can easily choose from over hundreds of tile designs by Floor Center which can fit your preference or the style you want for a particular room.

You can either go for a plain black tile color with a matte finish or a marble-look ceramic tile in a glossy finish – either way, you’ll be sure to add a flair of sleekness and vibrancy to any room to wish to have these tiles installed. Floor Center’s wall tile measurements range from 7.5×15 CM to as much as 150×150 CM, ensuring that you’ll have the freedom to mix and match different ceramic wall tiles to your liking.


Key Takeaway

Ceramic wall tiles have numerous benefits for your home. Aside from adding a layer of liveliness to any part of a room, they also benefit your house due to their durability, eco-friendliness, as well as ease of maintenance. There is no better way for you to exercise your creative freedom than by choosing different designs of ceramic wall tiles.

While there are many other benefits of using these kinds of tiles, the guide above has hopefully equipped you with information on just some of these important advantages. Click here to learn more with Floor Center!

How to Achieve a Perfect Tile Layout

How to Use Grids for the Perfect Tile Layout

How do you use grids to create a perfect tile layout?

  1. Gather materials and determine the average size of the tiles
  2. Measure the grout joint size
  3. Measure the room and begin laying out tiles
  4. Apply adhesive
  5. Cut and set tiles


If you’re constantly undergoing do-it-yourself home projects, you would want to keep yourself informed of the correct procedures and materials required for a smooth-sailing process.

Some home improvement projects, after all, are difficult to perfect if you don’t know the necessary methods. For example, laying out tiles can be a laborious task if you don’t know where to begin. In this kind of endeavor, it would be in your best interest to equip yourself with the most accurate and efficient tile layout tips.

Continue reading to learn more about how can take advantage of grids in laying out your tiles.


Gather materials and determine the average size of your tiles

Gather materials and determine the average size of your tiles

The first step in any home improvement project is to bring out all your materials and gather them all in one place. This act would eventually make it easier for you to access whatever tool you need for a particular procedure.

In laying out tiles, you would need the following: tiles, tile cutter, nipper, tape measure, pencil, chalk line, adhesive, and grout.

After you have gathered your materials, the next important step is for you to measure a few of your tiles. Using your tape measure, measure the respective lengths and widths of around 10 tiles from the stack.


Measure the grout joint size

The grout in your tiling simply refers to the spaces in between each tile on the surface of the floor. Wider grout joint size measurements are generally considered to be more favorable compared to narrower ones. Especially if the surface of your flooring is not entirely flat, wider joints can allow for more breathing room.

Apart from this, the wider grout joints can also help you in adjusting the positioning of your tiles whenever you need to change them. For example, if you’ve accidentally made a mistake on the tile spacing, wider joints can help you move around more tiles with relative ease, versus narrow joints. You should ensure that the smallest measurement of your grout joint would be 3/16 of an inch.


Measure the room and begin laying out the tiles

Measure the room and begin laying out the tiles

This phase of laying out your tiles on a grid is probably the most difficult one, as it requires a higher level of precision and accuracy. This part of grid-application requires more meticulous attention to detail. Nevertheless, this portion aims to offer you a step-by-step guide to help you measure your room.

You should begin by marking the center point of every wall in the room. Make chalk markings between the center points of each opposing wall to help you identify the center of the room. Because you want each tile to perfectly fit in their designated space, you should be careful to make the appropriate adjustments to create perfect-looking squares in every intersection.

Start laying out your tiles at the center point of your floor by placing a row of loose tiles in both directions. Cut tiles as needed once you reach the walls. There may be cases where these cuts are smaller than half the measurement of the tiles. You can instead adjust the positioning of the center line by marking a new line around a half-tile size nearer the wall. To ensure a higher level of precision, you may also repeat this step along the intersecting line.


Apply adhesive

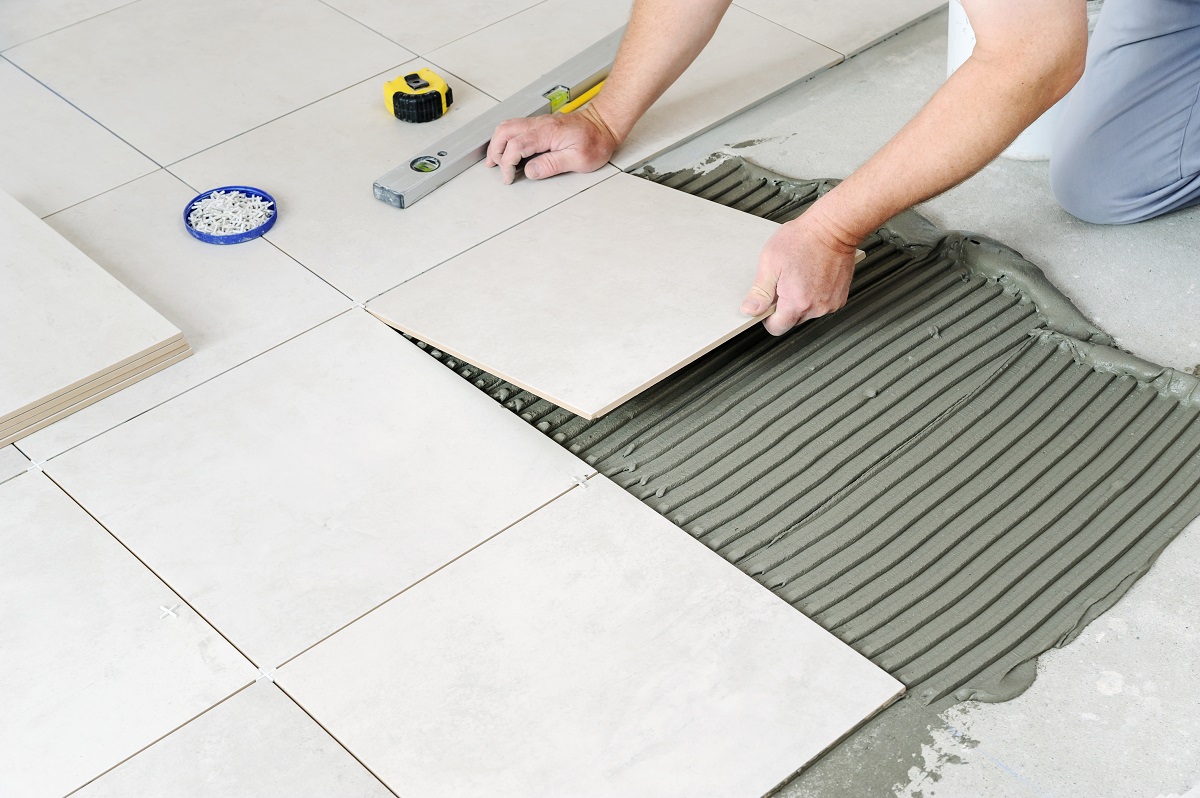
In applying your tile adhesive, you should ensure not to cover your gridlines in order to help you in the correct placement of your tiles. Depending on the instructions on your adhesive, spread a 0.25-inch thick layer on one grid area.

The best piece of advice for applying tile adhesive is to ensure that you apply only the amount which you can use within a 30-minute period. This is so that you will avoid instances of having to scrape off the dried adhesive.


Cut and set tiles

Cut and set tiles

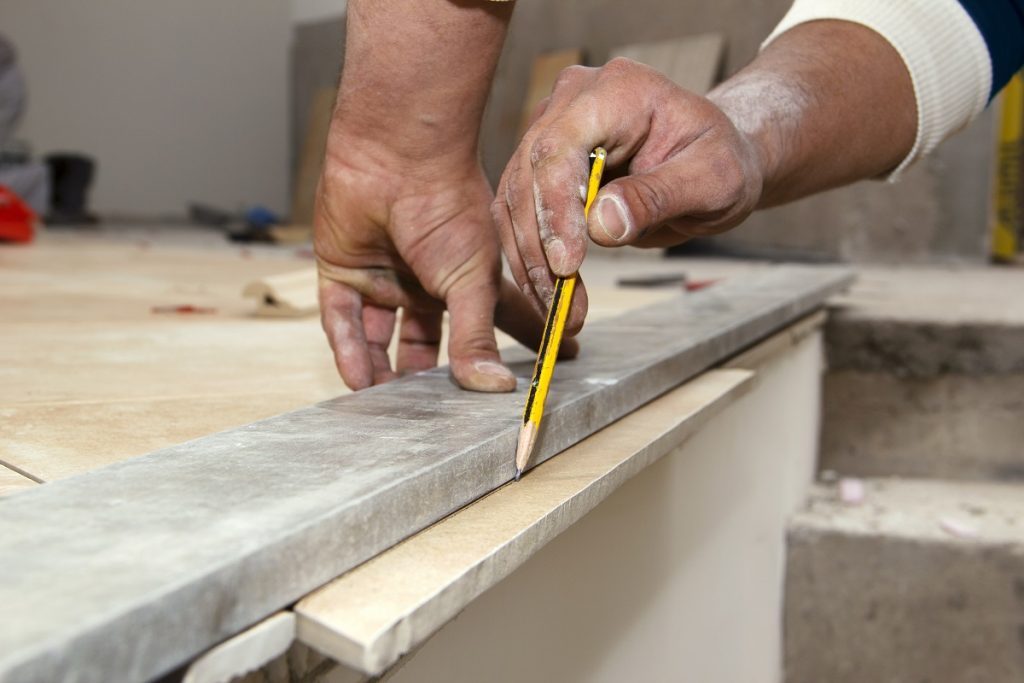
You should be able to cut your tiles with a tile cutter or a nipper, depending on the size that you need it to fit. Use a pencil to mark the size of the area you want to cut off.

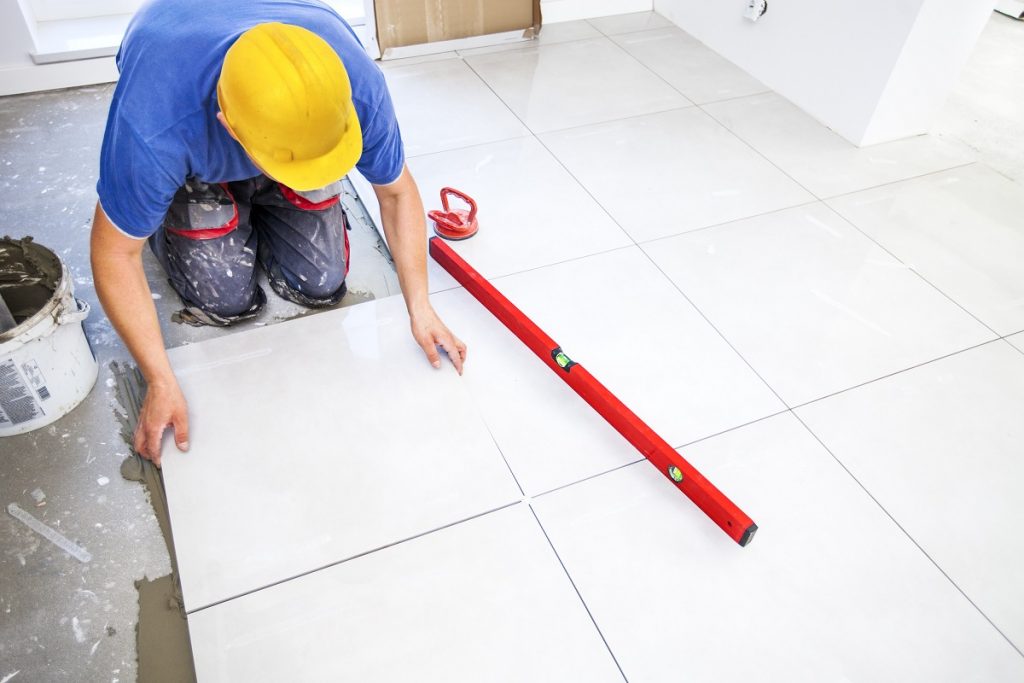
Finally, you’re ready to install your tiles. It’s always best to begin the installation in the center of the room, per grid. As mentioned before, always ensure to leave grout joints or small spaces in between each tile.

After you have filled up each grid with tiles, secure the tiling surface with a small block to ensure that the area is free from irregular leveling.

After a 24-hour period, or so, you can now begin applying the grout in the joints which you have left. Simply follow the instructions on the packaging of your grout, then you will be good to go.


Key Takeaway

When you think about laying out your own tile, you should always ensure to follow the correct procedures and use the right tools and materials. Not knowing the basic tile layout tips might lead to a botched tile installation project – which is why you have to ensure that your grid measurements are as accurate as possible.

The guide above has hopefully provided you with the necessary steps and procedures for a successful tile installation. Click here for more helpful tips with Floor Center!

The Ultimate Guide to Selecting the Best Wall Tiles for Your Home

[30x60] K6P373

What are the best wall tiles for your home?

  1. White marble
  2. Blue subway
  3. Patterned tile
  4. Brick walls
  5. Wood walls


When it comes to do-it-yourself home improvement projects, you always want the best look for certain parts of your home. If one day, you walk into a room and notice that your wall tiling is outdated, then maybe it’s time to consider replacing the tiling with some of the best wall tiles in the Philippines.

In choosing a wall tile, you would undoubtedly have many considerations before coming up with a design. The tile should not only complement the other elements of the room, but it should also be appropriate for the room itself.

Luckily for you, Floor Center’s tile collections are highly-versatile, making them appropriate for virtually any part of your house. As such, it would be in your best interest to continue reading about the best wall tiles you can use for your home.


Classic White Wall

Classic White Wall

[30×60] VLM6680

People who want to add a more contemporary feel to their home would do well to consider shades of white, gray, or black for their wall designs. These colors can easily provide a particular room with a sleekness and sophistication that is characteristic of contemporary homes.

If you’re one such person who values the importance of contemporary elements, you can choose Floor Center’s [30×60] VLM6680. It can easily serve as an aesthetically-pleasing wall installation.

This white tile can give your walls a more natural appearance. The design is suitable for use in bathrooms, bedrooms, kitchens, and even dining rooms. It is stain-resistant, so you wouldn’t have to worry about conducting high levels of maintenance and cleaning once you have this tile installed.


Blue subway

[10x20]12GDM1[60x120]Y1GL17GE

The trouble with using bright, or vibrant colors for your wall tiling is that they can easily serve as a distraction to the regular onlooker. Colors such as yellow, orange, green, or red might easily stand out like a sore thumb from the rest of the elements of the room, unable to properly blend in with the rest of the design.

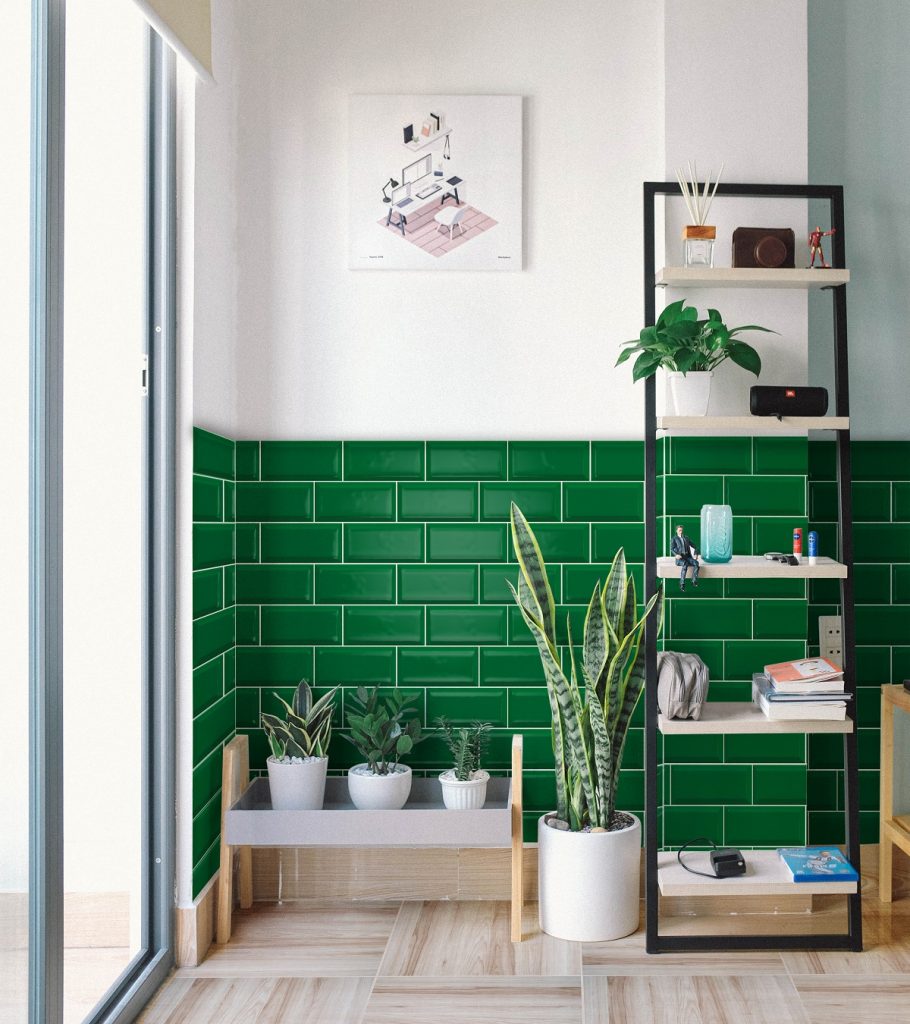
While some people may have no problem with vibrant colors, they ensure to apply the tile design as strategically as possible. You can do this with Floor Center’s [20×20] 12GDM1 blue subway tile design which can make for a strikingly lovely, yet seamless complement for your indoor walls.

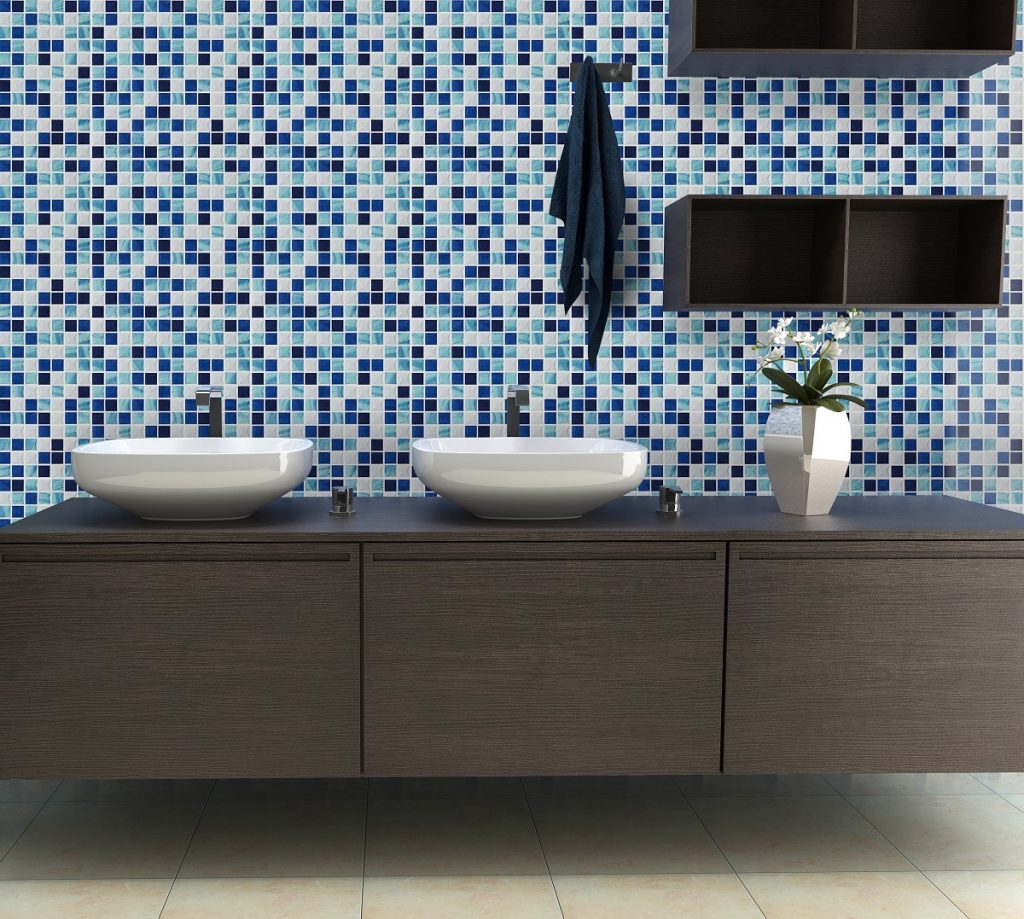
Incorporating the blue subway tile design for your bathroom walls is easy enough, as long the tiles take up only around 40% of the wall space – preferably in the lower part of the wall. This glossy tile can be best complemented with while tiling, or simply a fresh coat of white paint.


Patterned tile

Asian senior father and smiling daughter, Happy family relations

[40×40] S4040A

Lovers of abstract designs would rejoice well in the availability of Floor Center’s [40×40] S4040A wall tile. Featuring a predominantly cream-colored design adorned with mesmerizing shapes and patterns, this tile is perfect for your living room.

The S404A can easily blend in with whatever lighting fixture and table furnishings you might have around your living room space. Its designs are not too overwhelming, providing you with a calm, yet relatively lively feel.

This indoor living room wall tile is easy to install, as it has been manufactured to ensure precision in measurements and dimensions.


Brick walls

Brick Wall

 [30×60] P-63612

Sometimes, sophistication expresses itself in the simplest of tile designs. Though this does not mean that not enough thought and work was put into the design – it simply means that all unnecessary elements have been filtered out, leaving you with a versatile tile design.

You can achieve all these with Floor Center’s [30×60] P-63612. While the tile is suitable for dining rooms, kitchens, and bathroom walls, the design would offer your living room with more aesthetic appeal, due to its finish.

If your living room is adequately illuminated with natural light, the tile’s finish offers your walls with a low-reflective quality, making the tiles easy on the eyes.


Wood walls

Black and orange home office

[60×60] ME6622

Don’t let the color of the tile design deter you from installing wood-look wall tiling for your rooms. This type of tile finish can just as easily add a natural flair to this part of your home.

The natural look of the tile can immerse your space into another dimension – cut off from distractions and focusing only on calm and peacefulness. The [60×60] ME6622 can even add a bit of height and space to your rooms.


Key Takeaway

When it comes to choosing the best wall tiles in the Philippines, Floor Center has all the solutions for you. Our wide array of tile collections has every bit of everything for everyone – whether you’re seeking a rustic, vibrant, or simply a colorful tile design.

With the guide above, you would hopefully have an idea of what wall tiles you can use for the different parts of your house. Click here to view more world-class products by Floor Center!