How do you use grids to create a perfect tile layout?
- Gather materials and determine the average size of the tiles
- Measure the grout joint size
- Measure the room and begin laying out tiles
- Apply adhesive
- Cut and set tiles
If you’re constantly undergoing do-it-yourself home projects, you would want to keep yourself informed of the correct procedures and materials required for a smooth-sailing process.
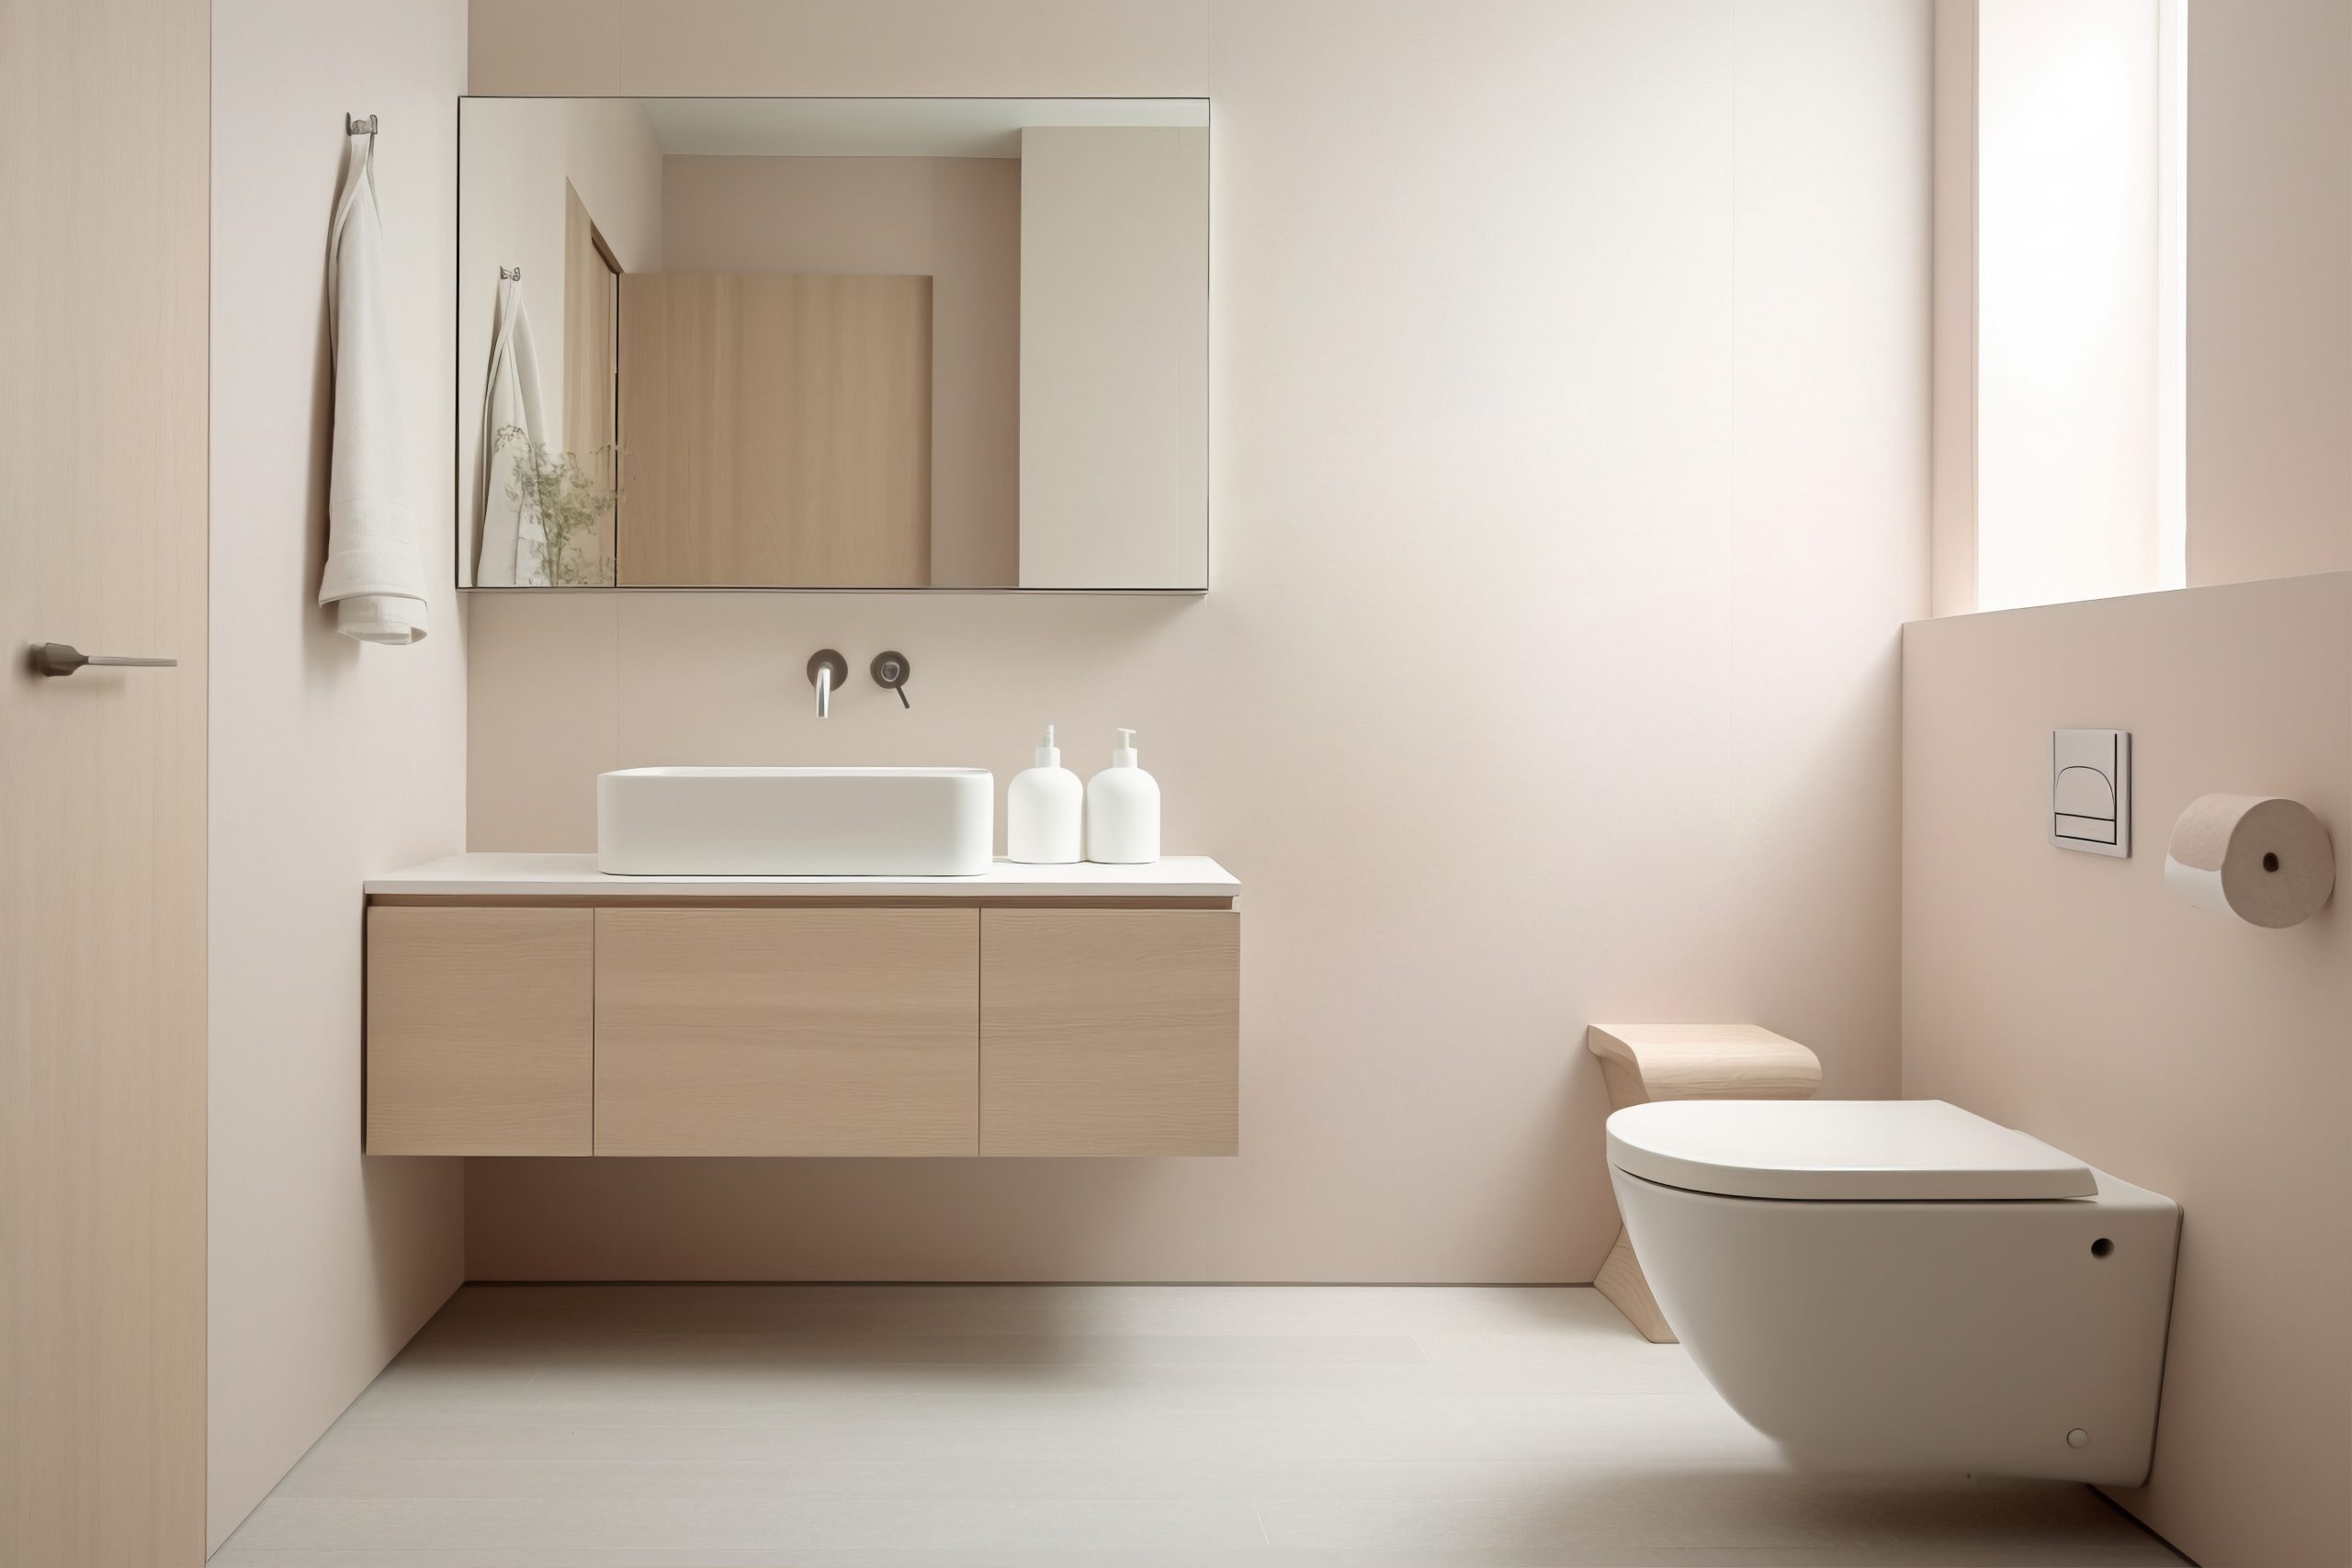
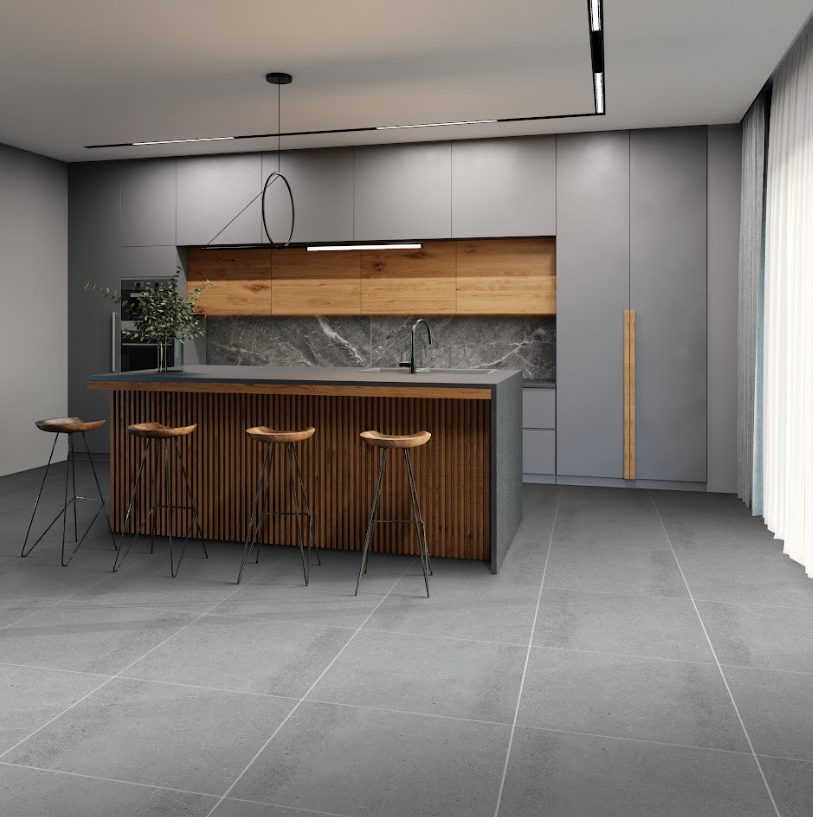
Some home improvement projects, after all, are difficult to perfect if you don’t know the necessary methods. For example, laying out tiles can be a laborious task if you don’t know where to begin. In this kind of endeavor, it would be in your best interest to equip yourself with the most accurate and efficient tile layout tips.
Continue reading to learn more about how can take advantage of grids in laying out your tiles.
Gather materials and determine the average size of your tiles
The first step in any home improvement project is to bring out all your materials and gather them all in one place. This act would eventually make it easier for you to access whatever tool you need for a particular procedure.
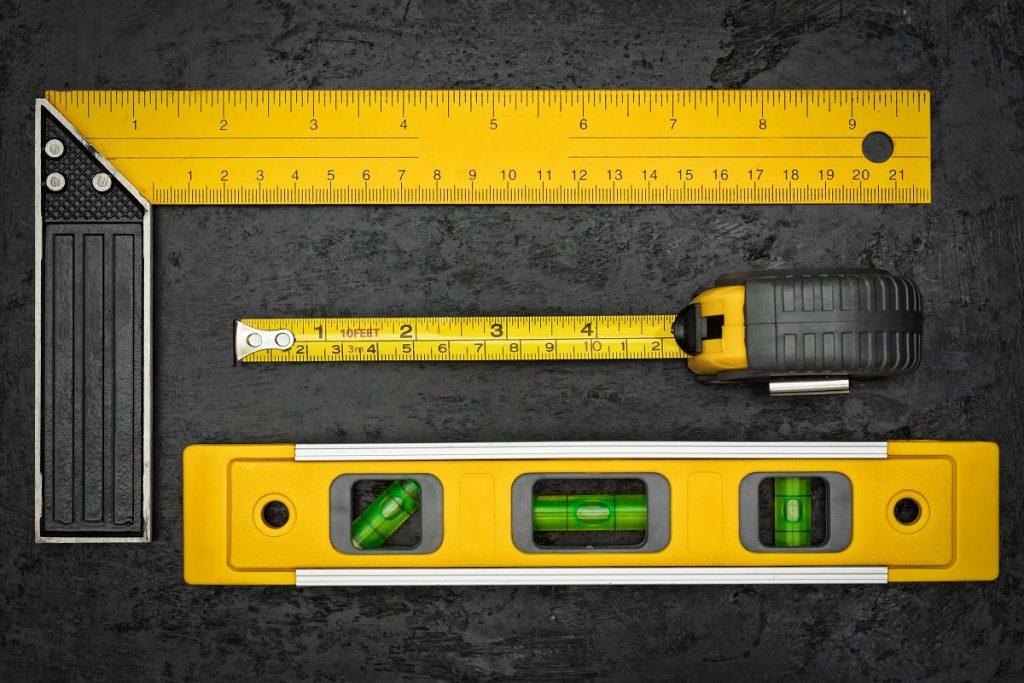
In laying out tiles, you would need the following: tiles, tile cutter, nipper, tape measure, pencil, chalk line, adhesive, and grout.
After you have gathered your materials, the next important step is for you to measure a few of your tiles. Using your tape measure, measure the respective lengths and widths of around 10 tiles from the stack.
Measure the grout joint size
The grout in your tiling simply refers to the spaces in between each tile on the surface of the floor. Wider grout joint size measurements are generally considered to be more favorable compared to narrower ones. Especially if the surface of your flooring is not entirely flat, wider joints can allow for more breathing room.
Apart from this, the wider grout joints can also help you in adjusting the positioning of your tiles whenever you need to change them. For example, if you’ve accidentally made a mistake on the tile spacing, wider joints can help you move around more tiles with relative ease, versus narrow joints. You should ensure that the smallest measurement of your grout joint would be 3/16 of an inch.
Measure the room and begin laying out the tiles
This phase of laying out your tiles on a grid is probably the most difficult one, as it requires a higher level of precision and accuracy. This part of grid-application requires more meticulous attention to detail. Nevertheless, this portion aims to offer you a step-by-step guide to help you measure your room.
You should begin by marking the center point of every wall in the room. Make chalk markings between the center points of each opposing wall to help you identify the center of the room. Because you want each tile to perfectly fit in their designated space, you should be careful to make the appropriate adjustments to create perfect-looking squares in every intersection.
Start laying out your tiles at the center point of your floor by placing a row of loose tiles in both directions. Cut tiles as needed once you reach the walls. There may be cases where these cuts are smaller than half the measurement of the tiles. You can instead adjust the positioning of the center line by marking a new line around a half-tile size nearer the wall. To ensure a higher level of precision, you may also repeat this step along the intersecting line.
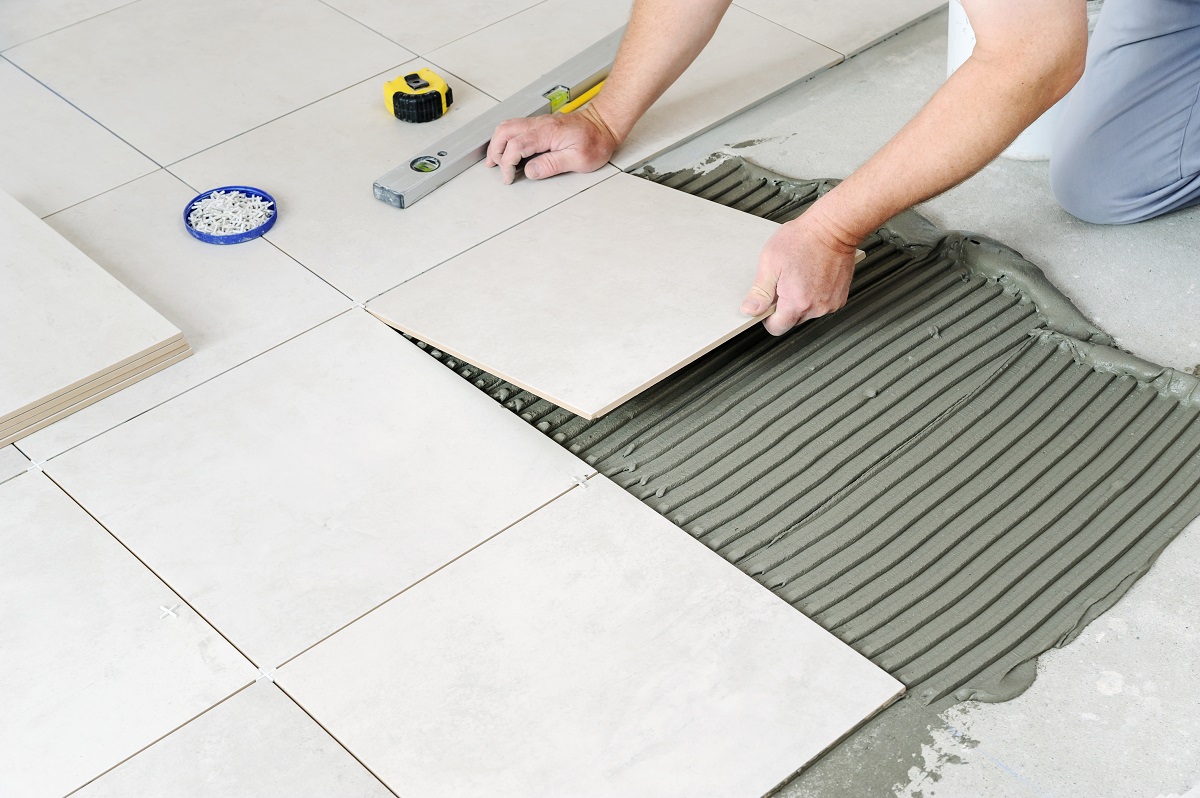
Apply adhesive
In applying your tile adhesive, you should ensure not to cover your gridlines in order to help you in the correct placement of your tiles. Depending on the instructions on your adhesive, spread a 0.25-inch thick layer on one grid area.
The best piece of advice for applying tile adhesive is to ensure that you apply only the amount which you can use within a 30-minute period. This is so that you will avoid instances of having to scrape off the dried adhesive.
Cut and set tiles
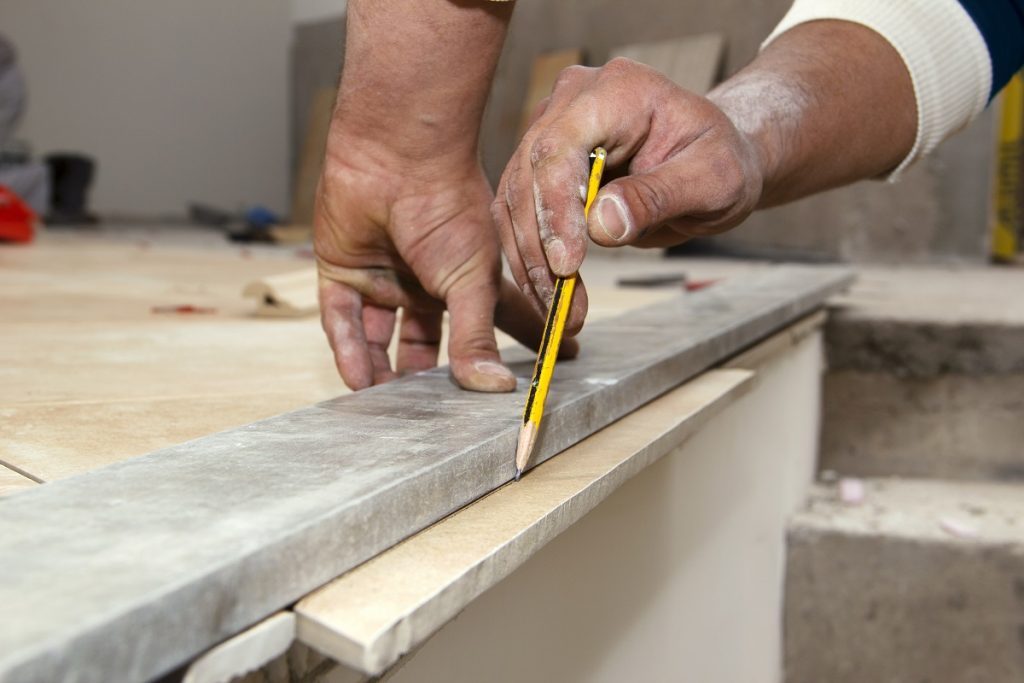
You should be able to cut your tiles with a tile cutter or a nipper, depending on the size that you need it to fit. Use a pencil to mark the size of the area you want to cut off.
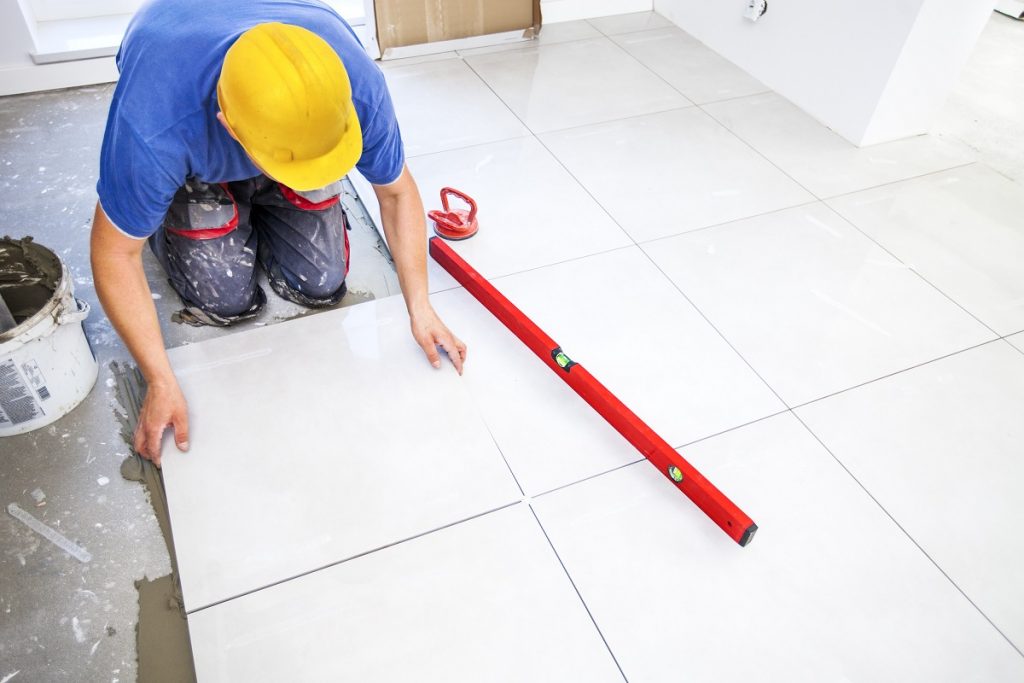
Finally, you’re ready to install your tiles. It’s always best to begin the installation in the center of the room, per grid. As mentioned before, always ensure to leave grout joints or small spaces in between each tile.
After you have filled up each grid with tiles, secure the tiling surface with a small block to ensure that the area is free from irregular leveling.
After a 24-hour period, or so, you can now begin applying the grout in the joints which you have left. Simply follow the instructions on the packaging of your grout, then you will be good to go.
Key Takeaway
When you think about laying out your own tile, you should always ensure to follow the correct procedures and use the right tools and materials. Not knowing the basic tile layout tips might lead to a botched tile installation project – which is why you have to ensure that your grid measurements are as accurate as possible.
The guide above has hopefully provided you with the necessary steps and procedures for a successful tile installation. Click here for more helpful tips with Floor Center!