What should you have to facilitate a proper tile installation?
- Wooden handle slicker
- Tile Spacer
- Tile cutter
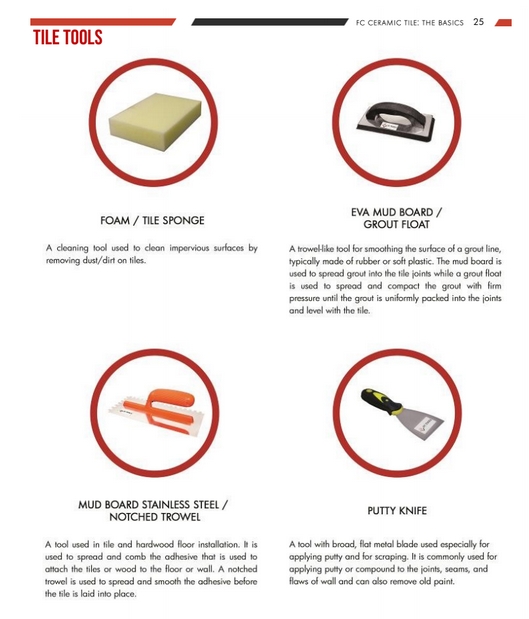
- Foam/Tile Sponge
- Grout float
- Notched trowel
- Putty knife
- Grout Remover
- Levelling ruler
- Measuring Pail
Often homeowners would go to different lengths just to make sure that their homes are as beautiful as possible. In the Philippines, the price of tiles make it possible for them to do so without breaking the bank and this is proven especially if you do a DIY tile installation.
When it comes to tiles, you can choose to have professionals install them for you, but they’re almost always expensive. That being said, it’s perfectly possible for you to install tiles on your own through the help of a guide or videos you can find online.
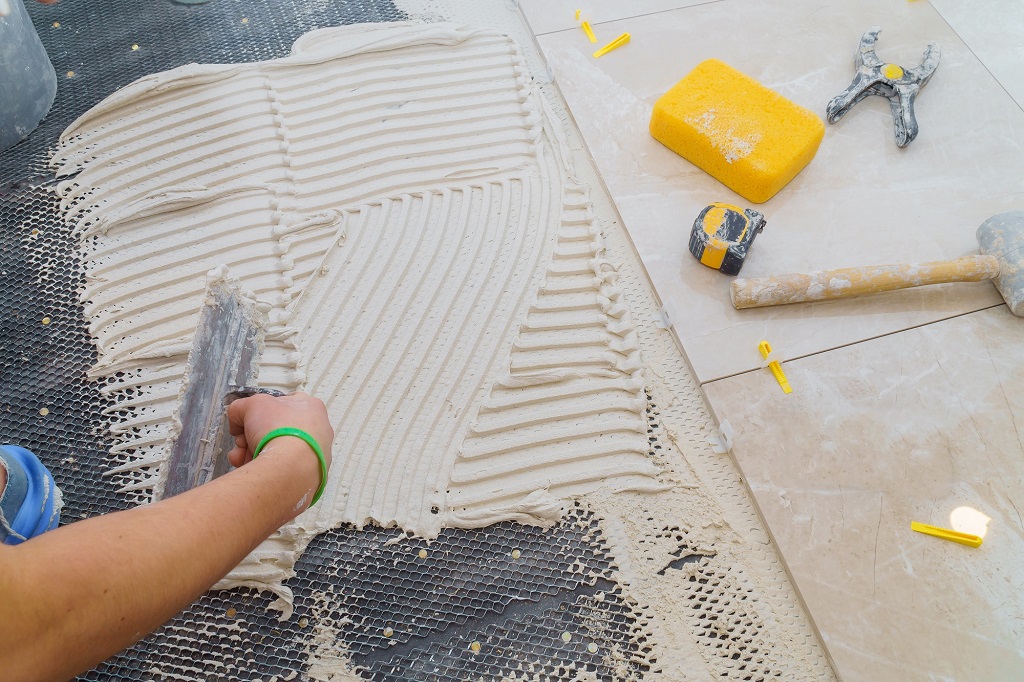
Of course, you can’t do tile installations all on your own. You need to have the appropriate tools in order for you to do your work efficiently and effectively. Keep in mind that you don’t need to buy them per se. It’s possible for you to find a way to rent them if you look hard enough. So, without further ado, here is a list of tools that you would need for a very easy DIY installation!
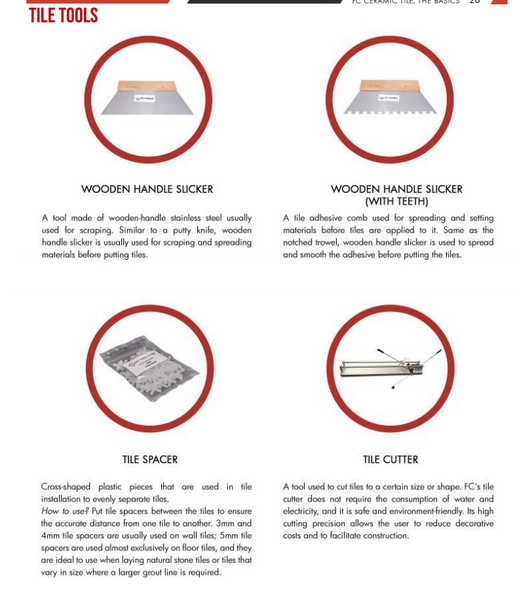
Wooden Handle Slicker
This tool is fairly similar to the putty knife but is increased in length. It’s also used for scraping and spreading materials before putting on the tiles. There’s another version of this tool that has some sort of teeth by its edges.
This one is more attuned to the task of spreading and setting materials evenly. When used to spread and set materials, the teeth create strips of it that will spread evenly when a tile is laid on it. This tool makes it easier for you to create even spreads of adhesive over large areas which are perfect for floor tile installations.
Tile Spacer
When it comes to tile installations, precision is very important. Even just a millimeter out of your intended spacing can cause a domino effect, completely ruining your whole flooring. With tile spacers, however, you can always be sure that you have the right amount of distance between tiles.
5mm tile spacers are almost always used for floor installations, though you can also find 3mm and 4mm ones. These tile spacers are perfect for installations that involve laying of natural stone tiles, porcelain tiles, and ceramic tiles.
Tile Cutter
For every tile installation project, you will need a tile cutter, especially for those tight corners where the dimensions of the tiles you’re using is not an appropriate fit. In general, tile cutters usually need electricity or at least water in order to cleanly cut the tiles. Fortunately for you, FC’s Tile Cutter does not need either of the two.
Our Tile cutters are eco-friendly and safe to use. It is also known for its high precision cutting. This enables it to reduce decorative costs and facilitate better construction.
Foam/Tile Sponge
This is practically the same as any sponge that you use. It’s used to clean impervious surfaces by removing dust and dirt that has accumulated on the tiles.
Grout Float
A rather trowel-like tool, this one is used to smoothen the surface of a grout line. A grout float is usually used to spread and compact the grout put into the tile joints. By applying firm and constant pressure, the grout becomes uniformly packed into the joints and leveled with the tile.
Notched Trowel
This tool is used for a number of tile and hardwood installations. Its primary use is to spread and comb the adhesive used to attach the tile toe floor. A notched trowel usually has teeth which make it incredibly easy and efficient to spread and smoothen the adhesive—making the laying of the tile way smoother.
Putty Knife
This is a tool that has a broad flat metal blade. Its primary use is to apply putty to joints, seams, and flaws on walls or floors. It can also be used to remove paint and other materials from surfaces.
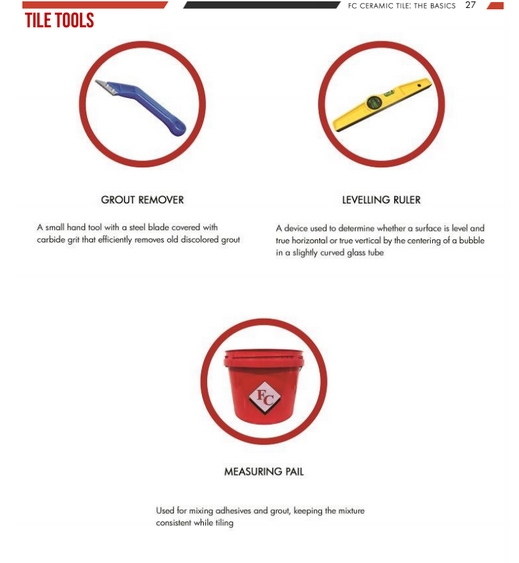
Grout Remover
This small hand tool is a slam steel blade that’s covered with carbide grit. It’s used to efficiently remove the old discolored grout found in old floors and walls.
Levelling Ruler
This device is needed to determine whether the surface of your tile is leveled. It shows whether the surface is horizontal or vertical. This can usually be seen by the use of a bubble in a slightly curved glass tube.
Measuring Pail
For your Measuring Pail, you need strong ones and not just generic types that you would see in retail stores. You need these for when you choose to make the thin-set mortar out of a powdered base.
These buckets will be useful for isolating the mixture from the rest of your home so that it won’t form into unwanted blots of cement.
Make sure that you have at least two buckets, one for the main mixture and another for sponging off the grout.
Key Takeaway
With the proper tools and guides, you can do tile installations on your own. Even with the prices of the varying tiles in the Philippines, it won’t cost you much to do them on your own when compared to when you get professionals to do it for you.
That being said, it’s still fairly worth getting professional tilers to do it for you if you have the budget to do so! Talk to us here, and we’ll help you during your tile installation that will ultimately make your home more stylish!