Tile installation can transform the look of a space, providing beauty, durability, and functionality. However, one must be aware of common mistakes that can compromise the outcome to achieve a successful and long-lasting tile installation. This comprehensive guide will explore the five mistakes to avoid during tile installation, empowering you to confidently tackle your project and achieve professional results.
1. Inadequate Surface Preparation
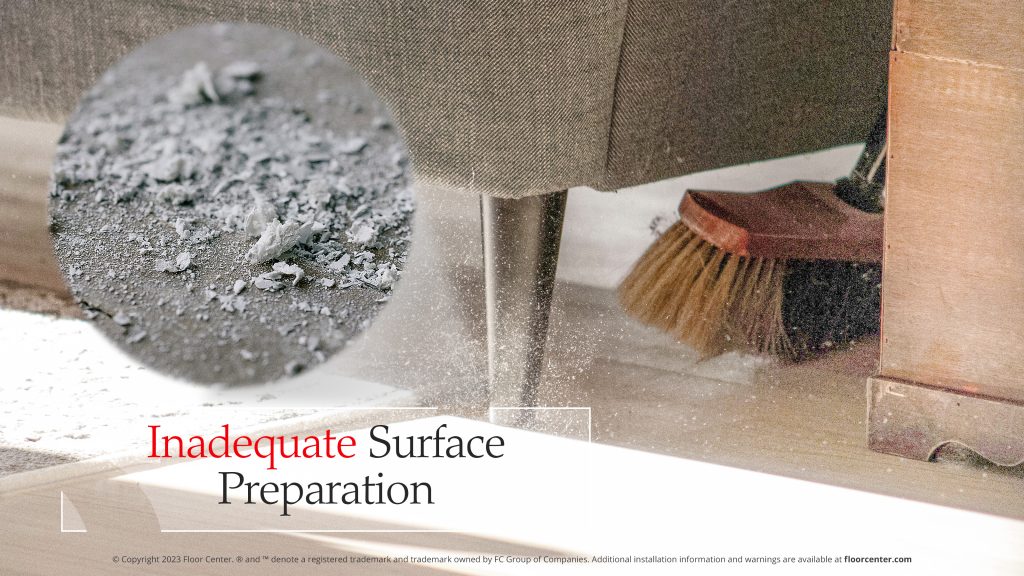
Regarding tile installation, ensuring proper surface preparation is significant for a successful and long-lasting result. Ignoring this step can cause problems later on. Ensure that it is clean, dry, level, and clear of dirt, oil, or dust. If there are any bumps or flaws in the underlying surface, it can lead to tiles cracking or becoming uneven over time.
How to ensure adequate surface preparation?
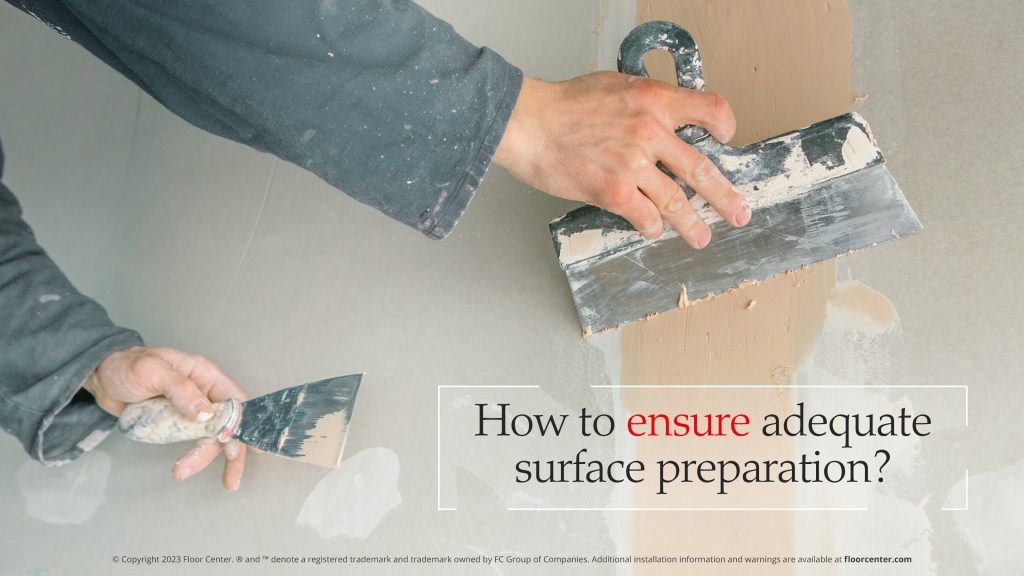
Before proceeding, firstly, use a broom, vacuum cleaner, and appropriate cleaning agents to remove dirt, dust, grease, or debris from the surface. Also, ensure that it is entirely dry. Next, check if it has cracks, holes, or uneven areas; if you find any, repair cracks and holes with a suitable compound and use a self-leveling compound to correct the surface’s unevenness. In addition, get rid of any old glue or coatings using an appropriate remover, scraper, or grinder.
2. Incorrect Tile Layout
Properly planning the arrangement of tiles is vital for achieving an attractive outcome. One mistake that often occurs is improper layout placement. Achieving a flawless tile installation goes beyond proper surface preparation. One critical aspect that often determines the success of a tile project is the layout. Incorrect tile layout can result in unsightly patterns, uneven spacing, and awkward cuts, diminishing the overall aesthetic appeal. Measuring and planning for cuts around corners, outlets, and pipes are essential to avoid tiles that don’t align correctly or have awkward gaps.
How to choose suitable tile layouts?
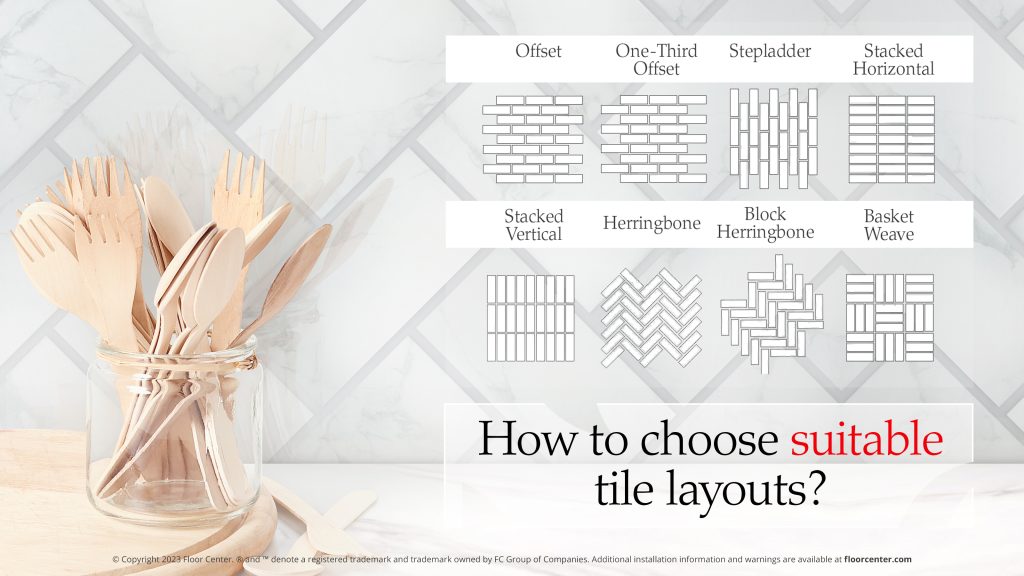
To achieve the desired look and usage of your space, choosing the proper tile layout is essential. The size and shape of the room should be considered, as larger tiles make it feel more spacious, and smaller tiles work well in tighter spaces. The chosen tile layout has a significant impact on the overall atmosphere of the room.
To avoid incorrect tile layout, and ensure a successful tile installation, start by making a plan, measuring the area accurately, and identifying the focal point or main feature. Then, create a layout plan that reflects your vision and allows you to visualize the final result. For a balanced and symmetrical tile layout, begin tiling from the center of the room or the focal point— this ensures a cohesive look and prevents uneven spacing or cut tiles. Always pay attention to the tile spacing to achieve consistency.
Proper preparation is necessary for a smooth and visually appealing layout when dealing with corners, doorways, or irregular spaces. Measuring and cutting the tiles correctly for these areas is crucial. Additionally, check the alignment of tiles periodically during installation using a level or straight edge to identify any unevenness or misalignment.
Explore various tile layout options by mixing and matching patterns, textures, and colors to achieve an exclusive look. Room functionality is also essential in selecting the best layout for the tiles, particularly in high-traffic areas where diagonal or herringbone patterns are ideal and wet areas such as kitchens or bathrooms where slip-resistant baskets or pinwheels are recommended. Add a playful touch to your room by incorporating chevron or windmill patterns, while circular or versailles patterns can create a luxurious feel. Make informed decisions about installation and maintenance to get the most out of your tile layout. Remember that proper care and cleaning are necessary to retain its aesthetic appeal and extend its longevity.
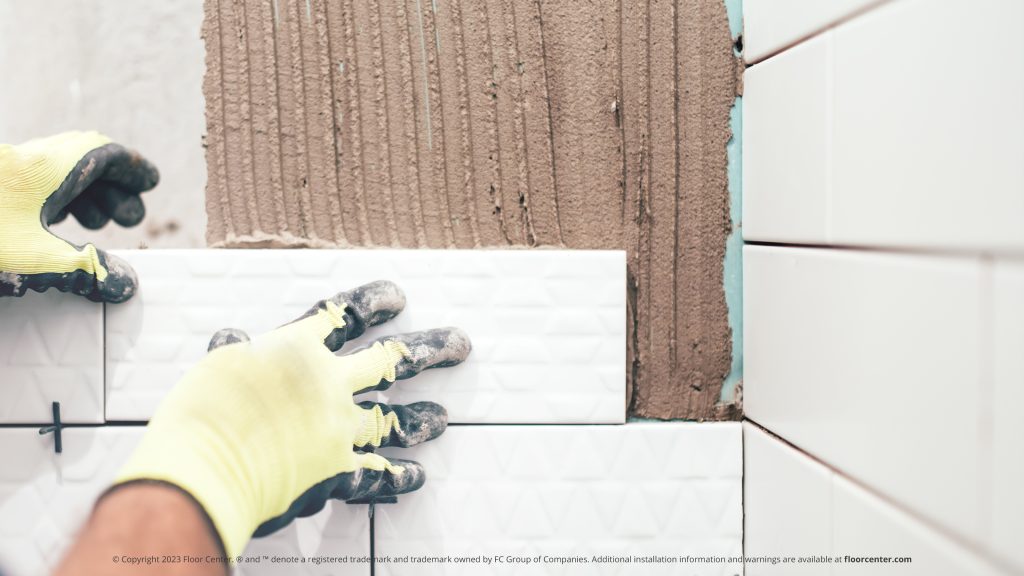
3. Improper Adhesive Application
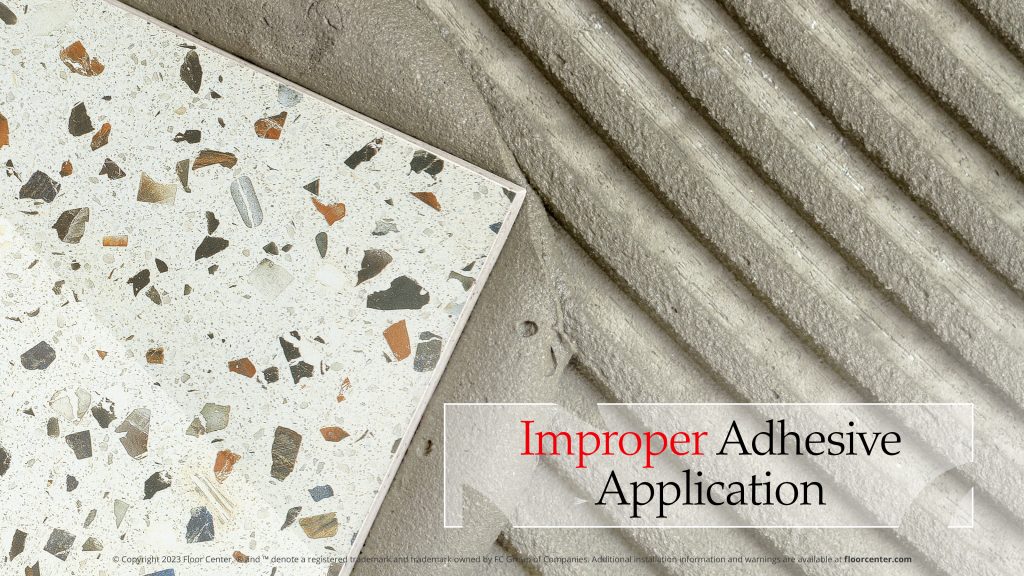
The adhesive is the base that holds tiles firmly in place for a durable installation. It’s crucial to carefully follow the manufacturer’s instructions when choosing the adhesive for your tile materials and surface. Apply the adhesive evenly and at the right thickness, using the recommended trowel size. If you don’t cover the surface adequately, the tiles may not bond properly, leading to potential problems. If you use the wrong adhesive or misapply, the tiles can get loose or even crack over time.
How to avoid improper adhesive application?
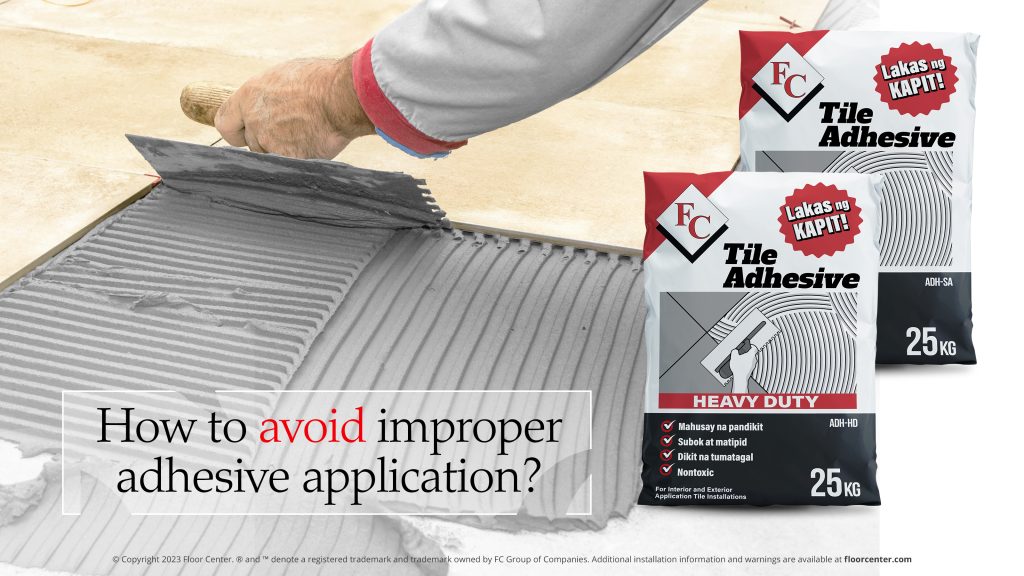
You can follow a few essential steps to avoid improper adhesive application when installing tiles. Firstly, ensure that you select the correct type of adhesive for the specific tile material and the substrate you are working with. Different types of tiles, such as ceramic, porcelain, or natural stone, may require other adhesives. Using the right adhesive can result in better adhesion leading to tiles that come loose or crack over time.
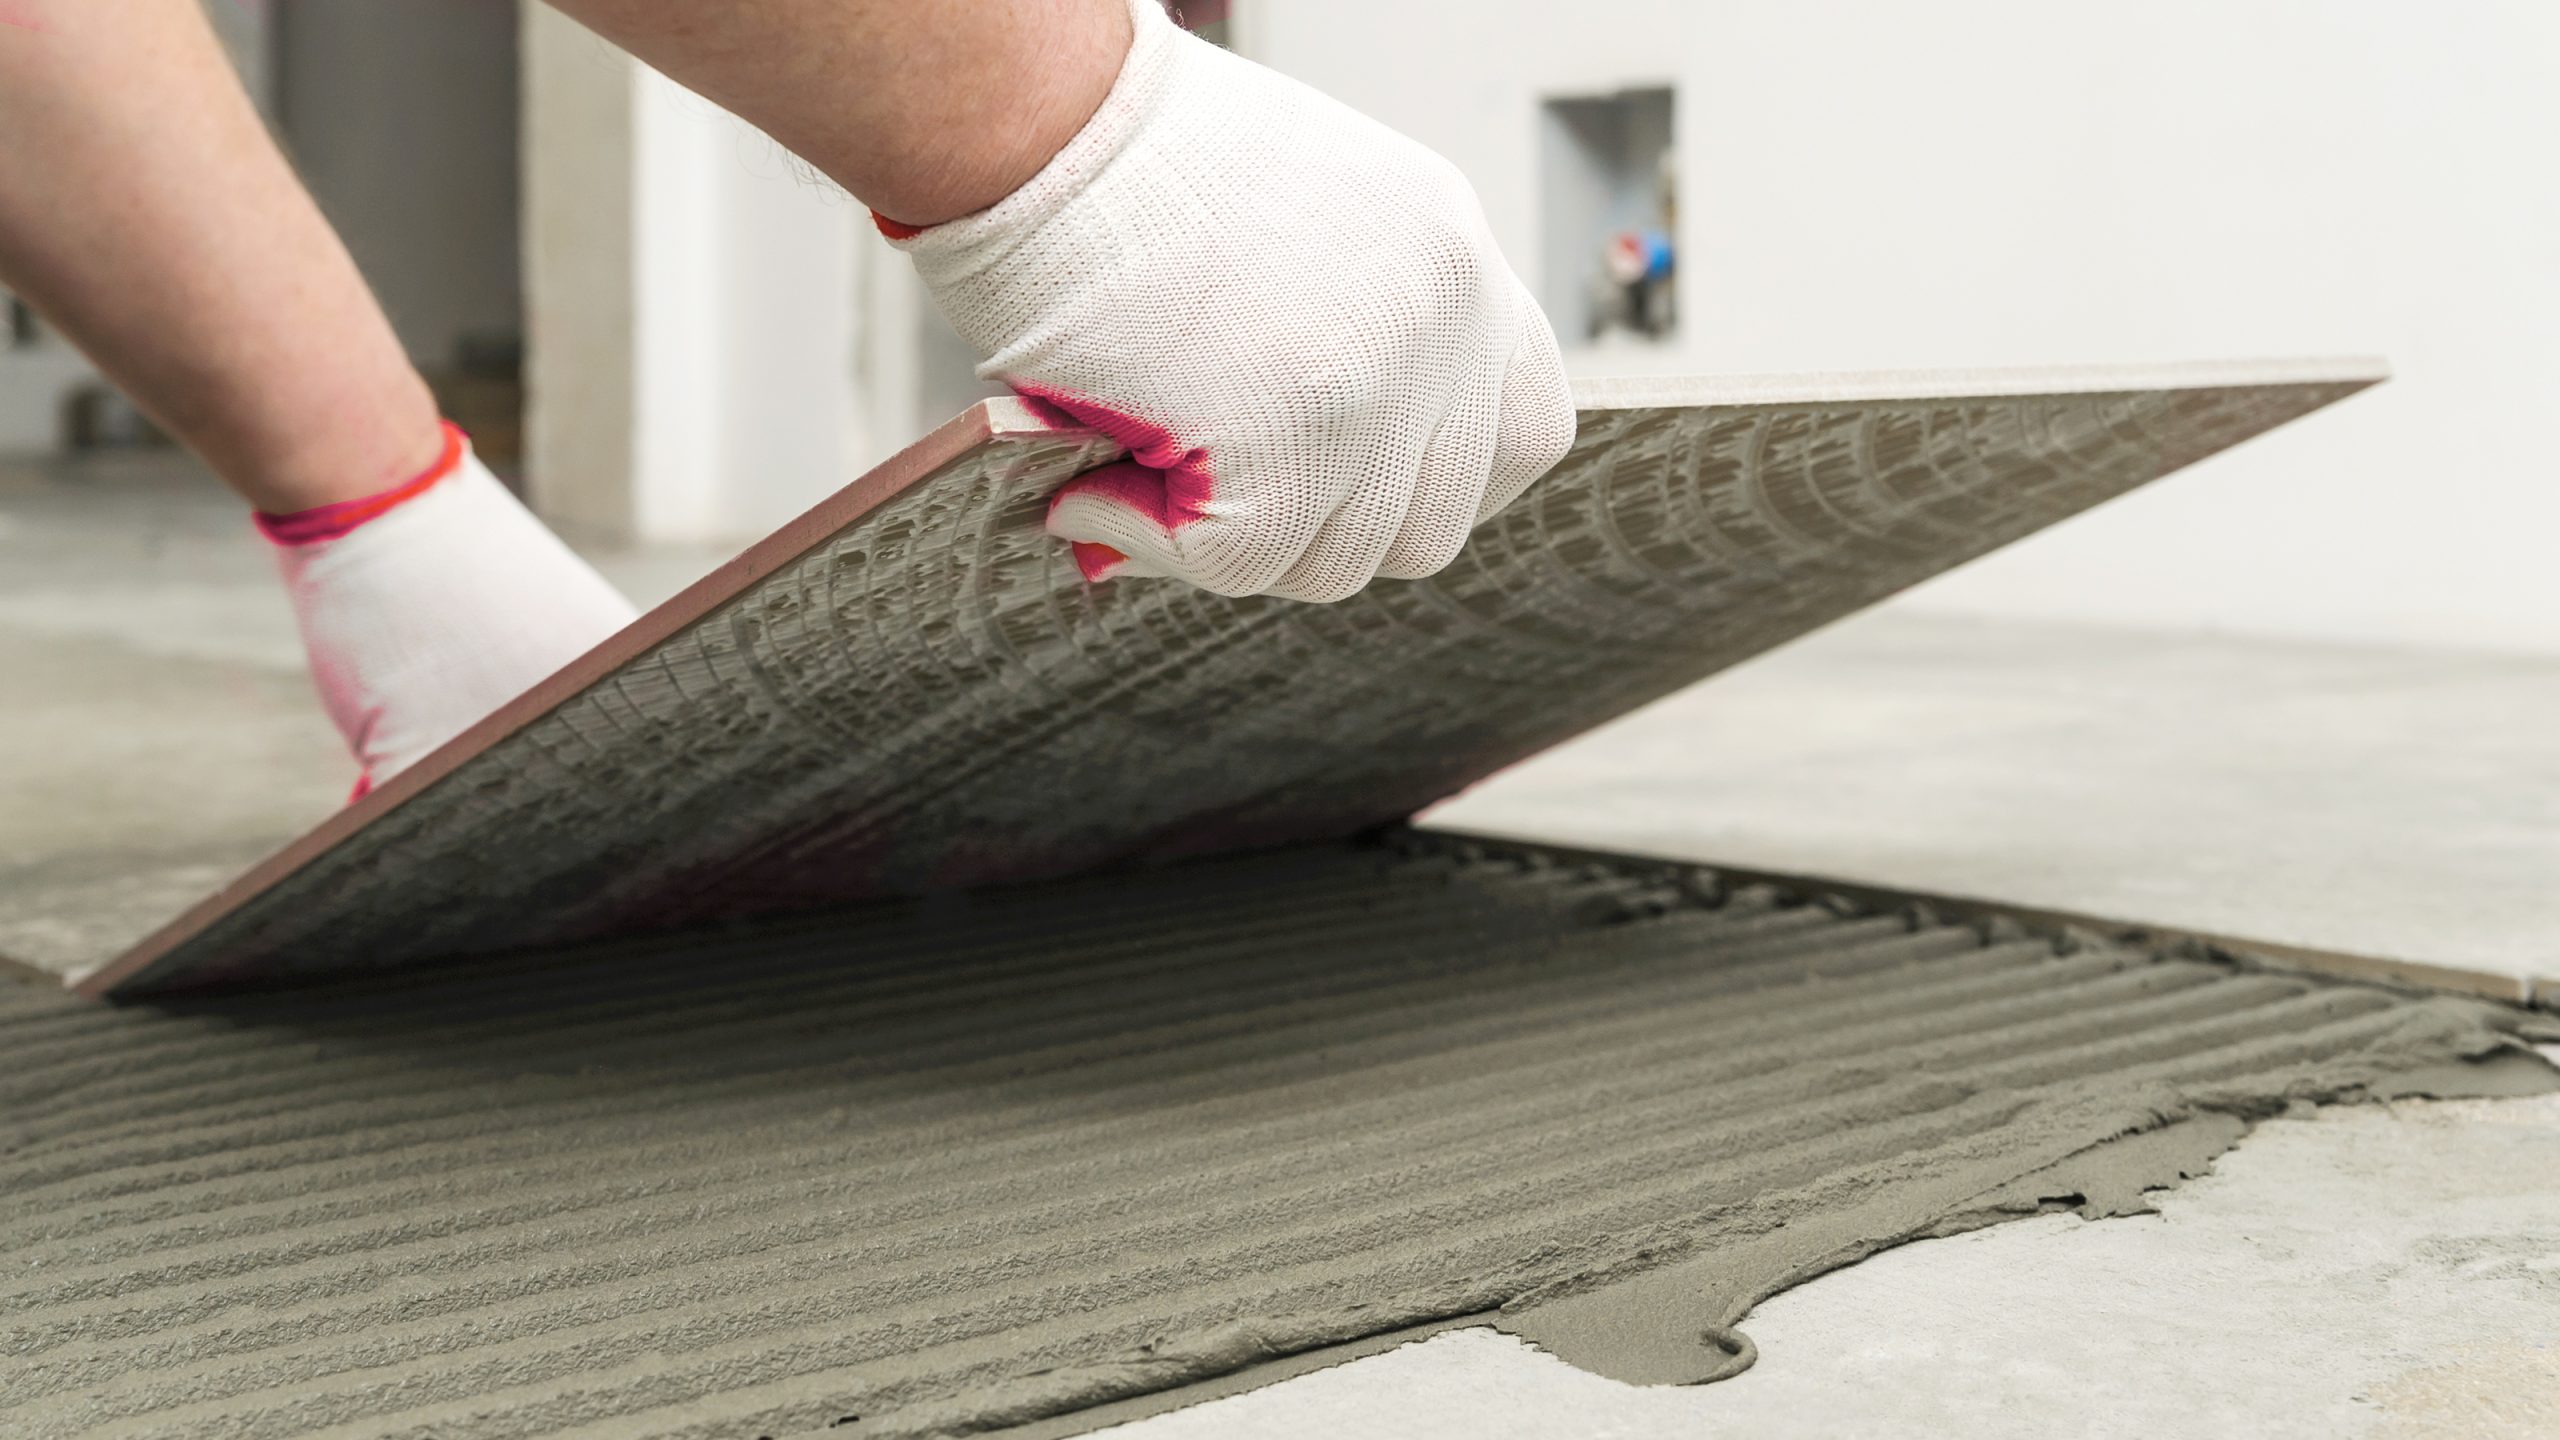
The application technique for adhesive in tile installation involves using a notched trowel to create an even layer of mortar or adhesive on the substrate. The notches on the trowel help control the amount of adhesive applied and ensure proper coverage. The trowel is held at a 45-degree angle to apply the adhesive, which is consistently spread onto the substrate. The trowel is pressed firmly against the surface, and the adhesive is applied in one direction using a sweeping motion. This ensures the adhesive is evenly distributed and creates uniform ridges or grooves.
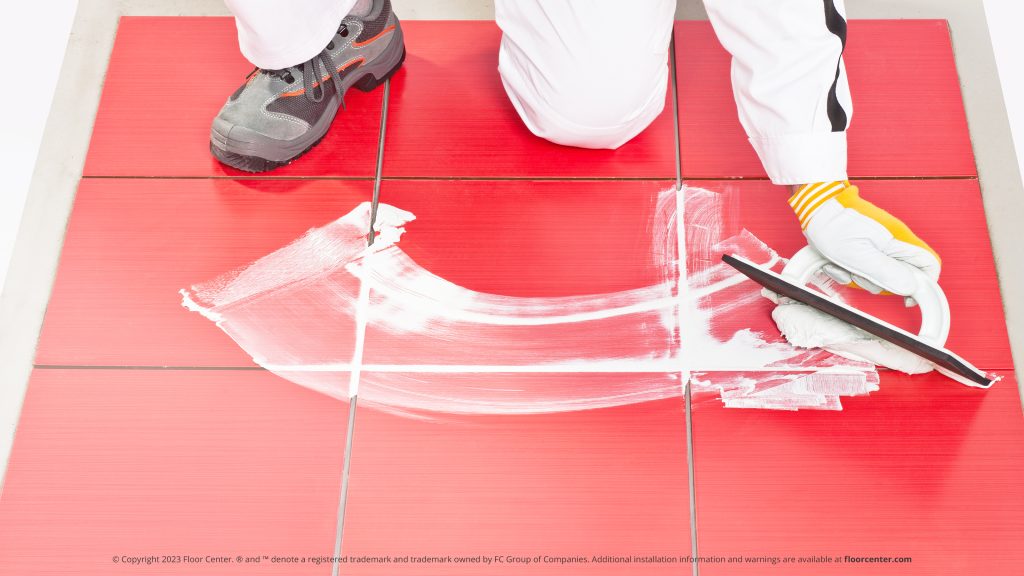
In tile installation, the proper direction of applying mortar depends on your specific tile pattern and layout. The back-buttering technique is commonly used when working with larger tiles or uneven substrates, or to compensate for any irregularities in the surface. The combing technique is used when a consistent mortar bed is required, such as installing ceramic or porcelain tiles in standard straight patterns. This technique allows for even mortar distribution and ensures proper coverage beneath the tiles. Typically, you should comb the mortar in one direction, such as horizontally or vertically, to create uniform grooves. This allows for better contact between the mortar and the tile, ensuring a solid bond.
4. Incorrect Grout Application
Spaces between tiles, known as grout lines, are essential for maintaining structural integrity by absorbing stress and allowing for slight movement while providing moisture control and visual alignment for a clean and aesthetically pleasing finished look. The size of the grout spacing is determined by the width of the grout lines, which can vary based on design preferences and tile type.
Importance of Grout Spacing
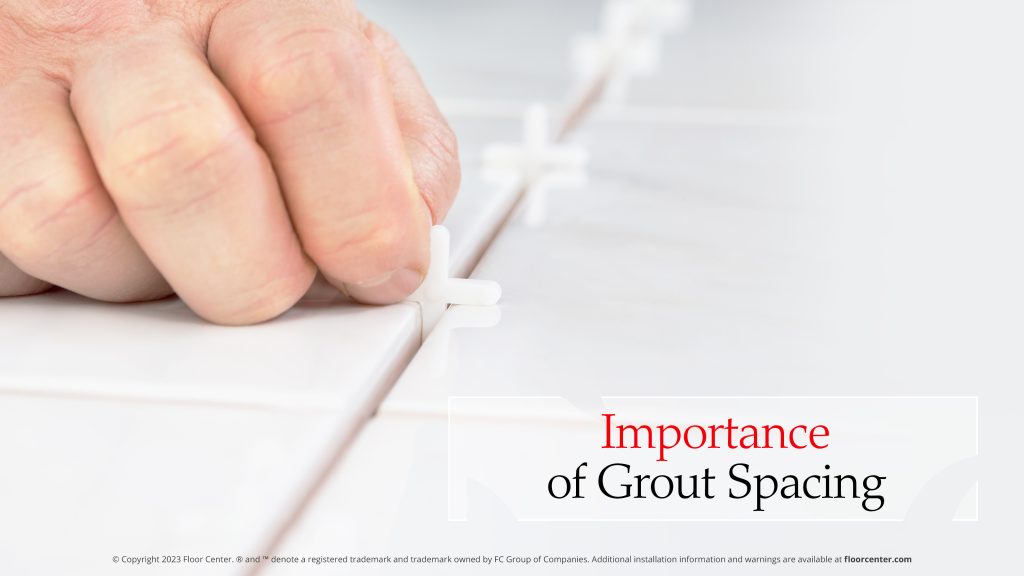
The amount of grout between each tile affects the quality of the installation over time. It prevents the tile from moving up over time, lippage, and cracked tile edges. Select the appropriate grout width based on the tile type for a successful installation. For joint width of rectified tiles, the standard recommendation is to use a grout width of 1/16 inch (1.5mm), while unrectified tiles recommended widths range from ⅛ inch (3mm) to 3/16 inch (4.5mm).
Certain design aspects may be highlighted or minimized depending on the size of the grout lines, which can change how the tile pattern is seen. Choosing the proper grout spacing may improve the visual effect, whether you want a clean, minimalistic design or a more traditional, rustic appearance. It also helps to ensure accurate tile alignment and spacing. Using it during installation ensures that every tile is placed precisely and consistently. Additionally, it keeps the distance between tiles consistent, preventing them from being set up too near or too far away.
Changes in temperature and moisture can cause minor expansion and movement in tiles, mainly ceramic and porcelain tiles. Tile breaking or popping out is less likely when enough grout spacing allows these motions and serves as a buffer. It allows for little flexibility and prevents excessive stress on the tiles. Grout lines separate the tiles, removing dirt, stains, and debris effortlessly. Properly sealed lines also help prevent moisture intrusion, mold growth, and mildew, resulting in a spotless and durable tile installation. Smaller tiles benefit from thinner lines to preserve a more seamless look, whereas larger tiles require more comprehensive lines to suit their proportions.
5. Improper Curing and Sealing
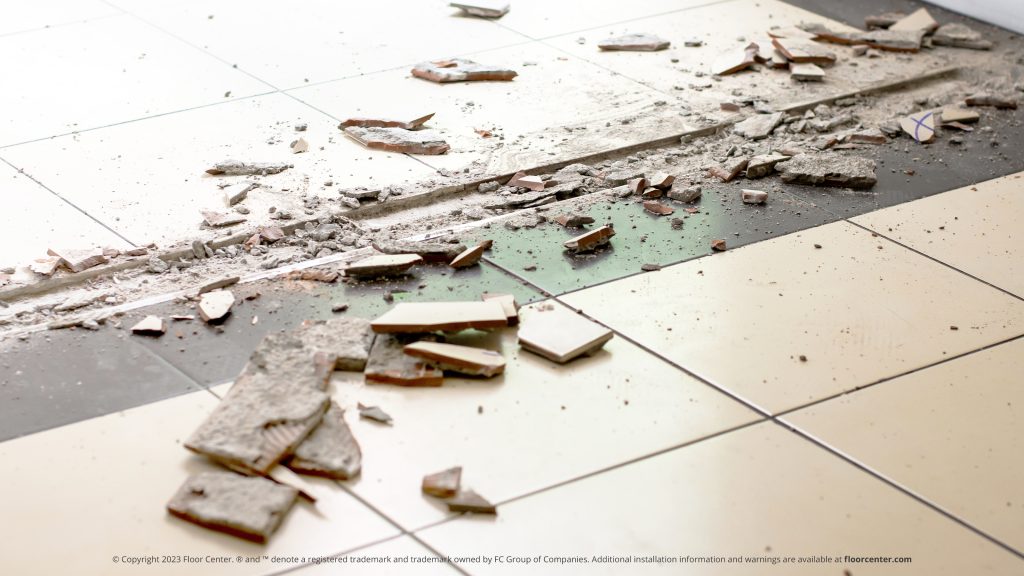
Once you’ve finished installing the tiles, give enough time for the adhesive, grout, and sealants to cure fully. Walking on or exposing the tiles to moisture too soon can weaken the installation. Additionally, it’s crucial to use a high-quality sealer specifically designed for the type of tiles you have. Improper curing can weaken adhesion and premature tile failure, while inadequate sealing can result in stains, discoloration, and moisture damage.
How to avoid improper curing and sealing?
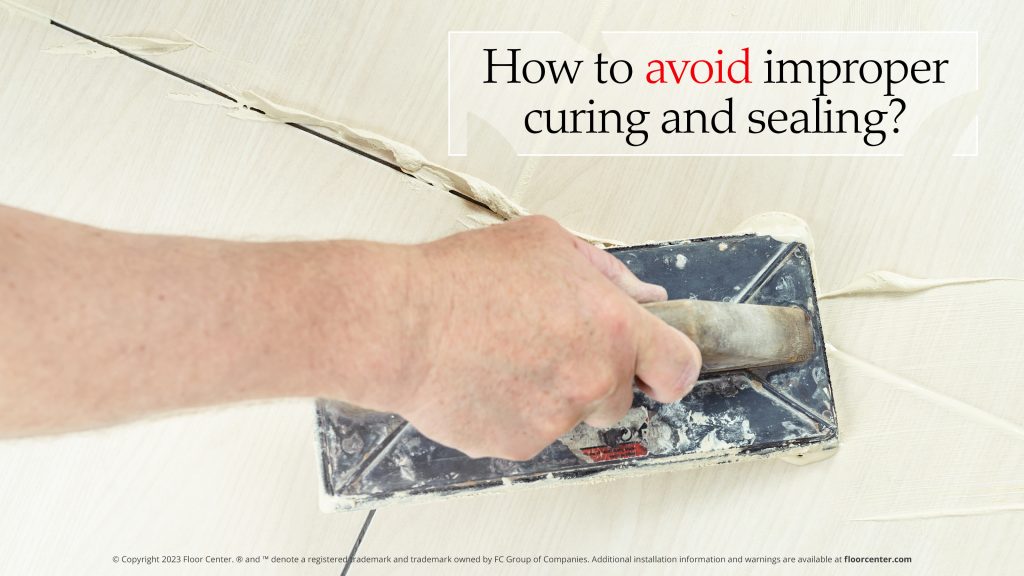
During this process, the adhesive and grout must dry and harden fully. Therefore, allowing ample time before exposing the tiles to heavy traffic or moisture is important. Maintaining the recommended temperature and humidity levels while installing tiles is essential for proper curing. Furthermore, fluctuations in temperature or high humidity levels can negatively affect the installation’s strength and stability. Therefore, adequate ventilation and temperature control are crucial. In addition, to prevent tile damage, preventive measures like using warning signs and barriers are necessary to reduce foot traffic and water exposure.
To prepare for sealing, firstly, clean the area thoroughly with a mild cleaning agent and a soft brush or sponge. Afterward, rinse the area with water and let it dry. It is essential to consider factors like the type of tiles and the level of protection needed before choosing a suitable sealer. Depending on the tile materials, you can use penetrating or topical sealers. Furthermore, regularly clean the tiles using pH-neutral cleaners to maintain the sealer’s protective qualities. We recommend periodically reapplying the sealer to enhance the longevity and appearance of your tile installation.
Key Takeaway

Regarding tile installation, avoiding common mistakes can save you time, money, and frustration. You can ensure a successful tile installation project by taking note of these five crucial mistakes. First, always prepare the surface properly, ensuring it’s clean, level, and dry. Second, don’t rush the layout and measurement process—accurate planning is vital. Third, use the correct adhesive and invest in high-quality tools and materials like FC Floor Center products to achieve professional results. Fourth, know the importance of tile gaps. Finally, seal the grout to protect against staining and moisture damage. You’ll achieve a beautiful, long-lasting tile installation by avoiding these mistakes and implementing proper techniques. Start your project confidently and enjoy the stunning results for years to come!
Ready to tackle your tile installation project? Visit our website www.floorcenter.com for step-by-step guides, expert advice, and high-quality materials to ensure a successful and hassle-free experience. Don’t let these mistakes derail your efforts—let us help you achieve the tile installation of your dreams!