![[30x30] WP3303_](https://blog.floorcenter.com/wp-content/uploads/2019/09/30x30-WP3303_.jpg)
How can you install and apply mosaic tiles into your home design?
- Prepare
- Mark Layout Lines
- Begin Installation
- Apply Grout
- Install A Backsplash
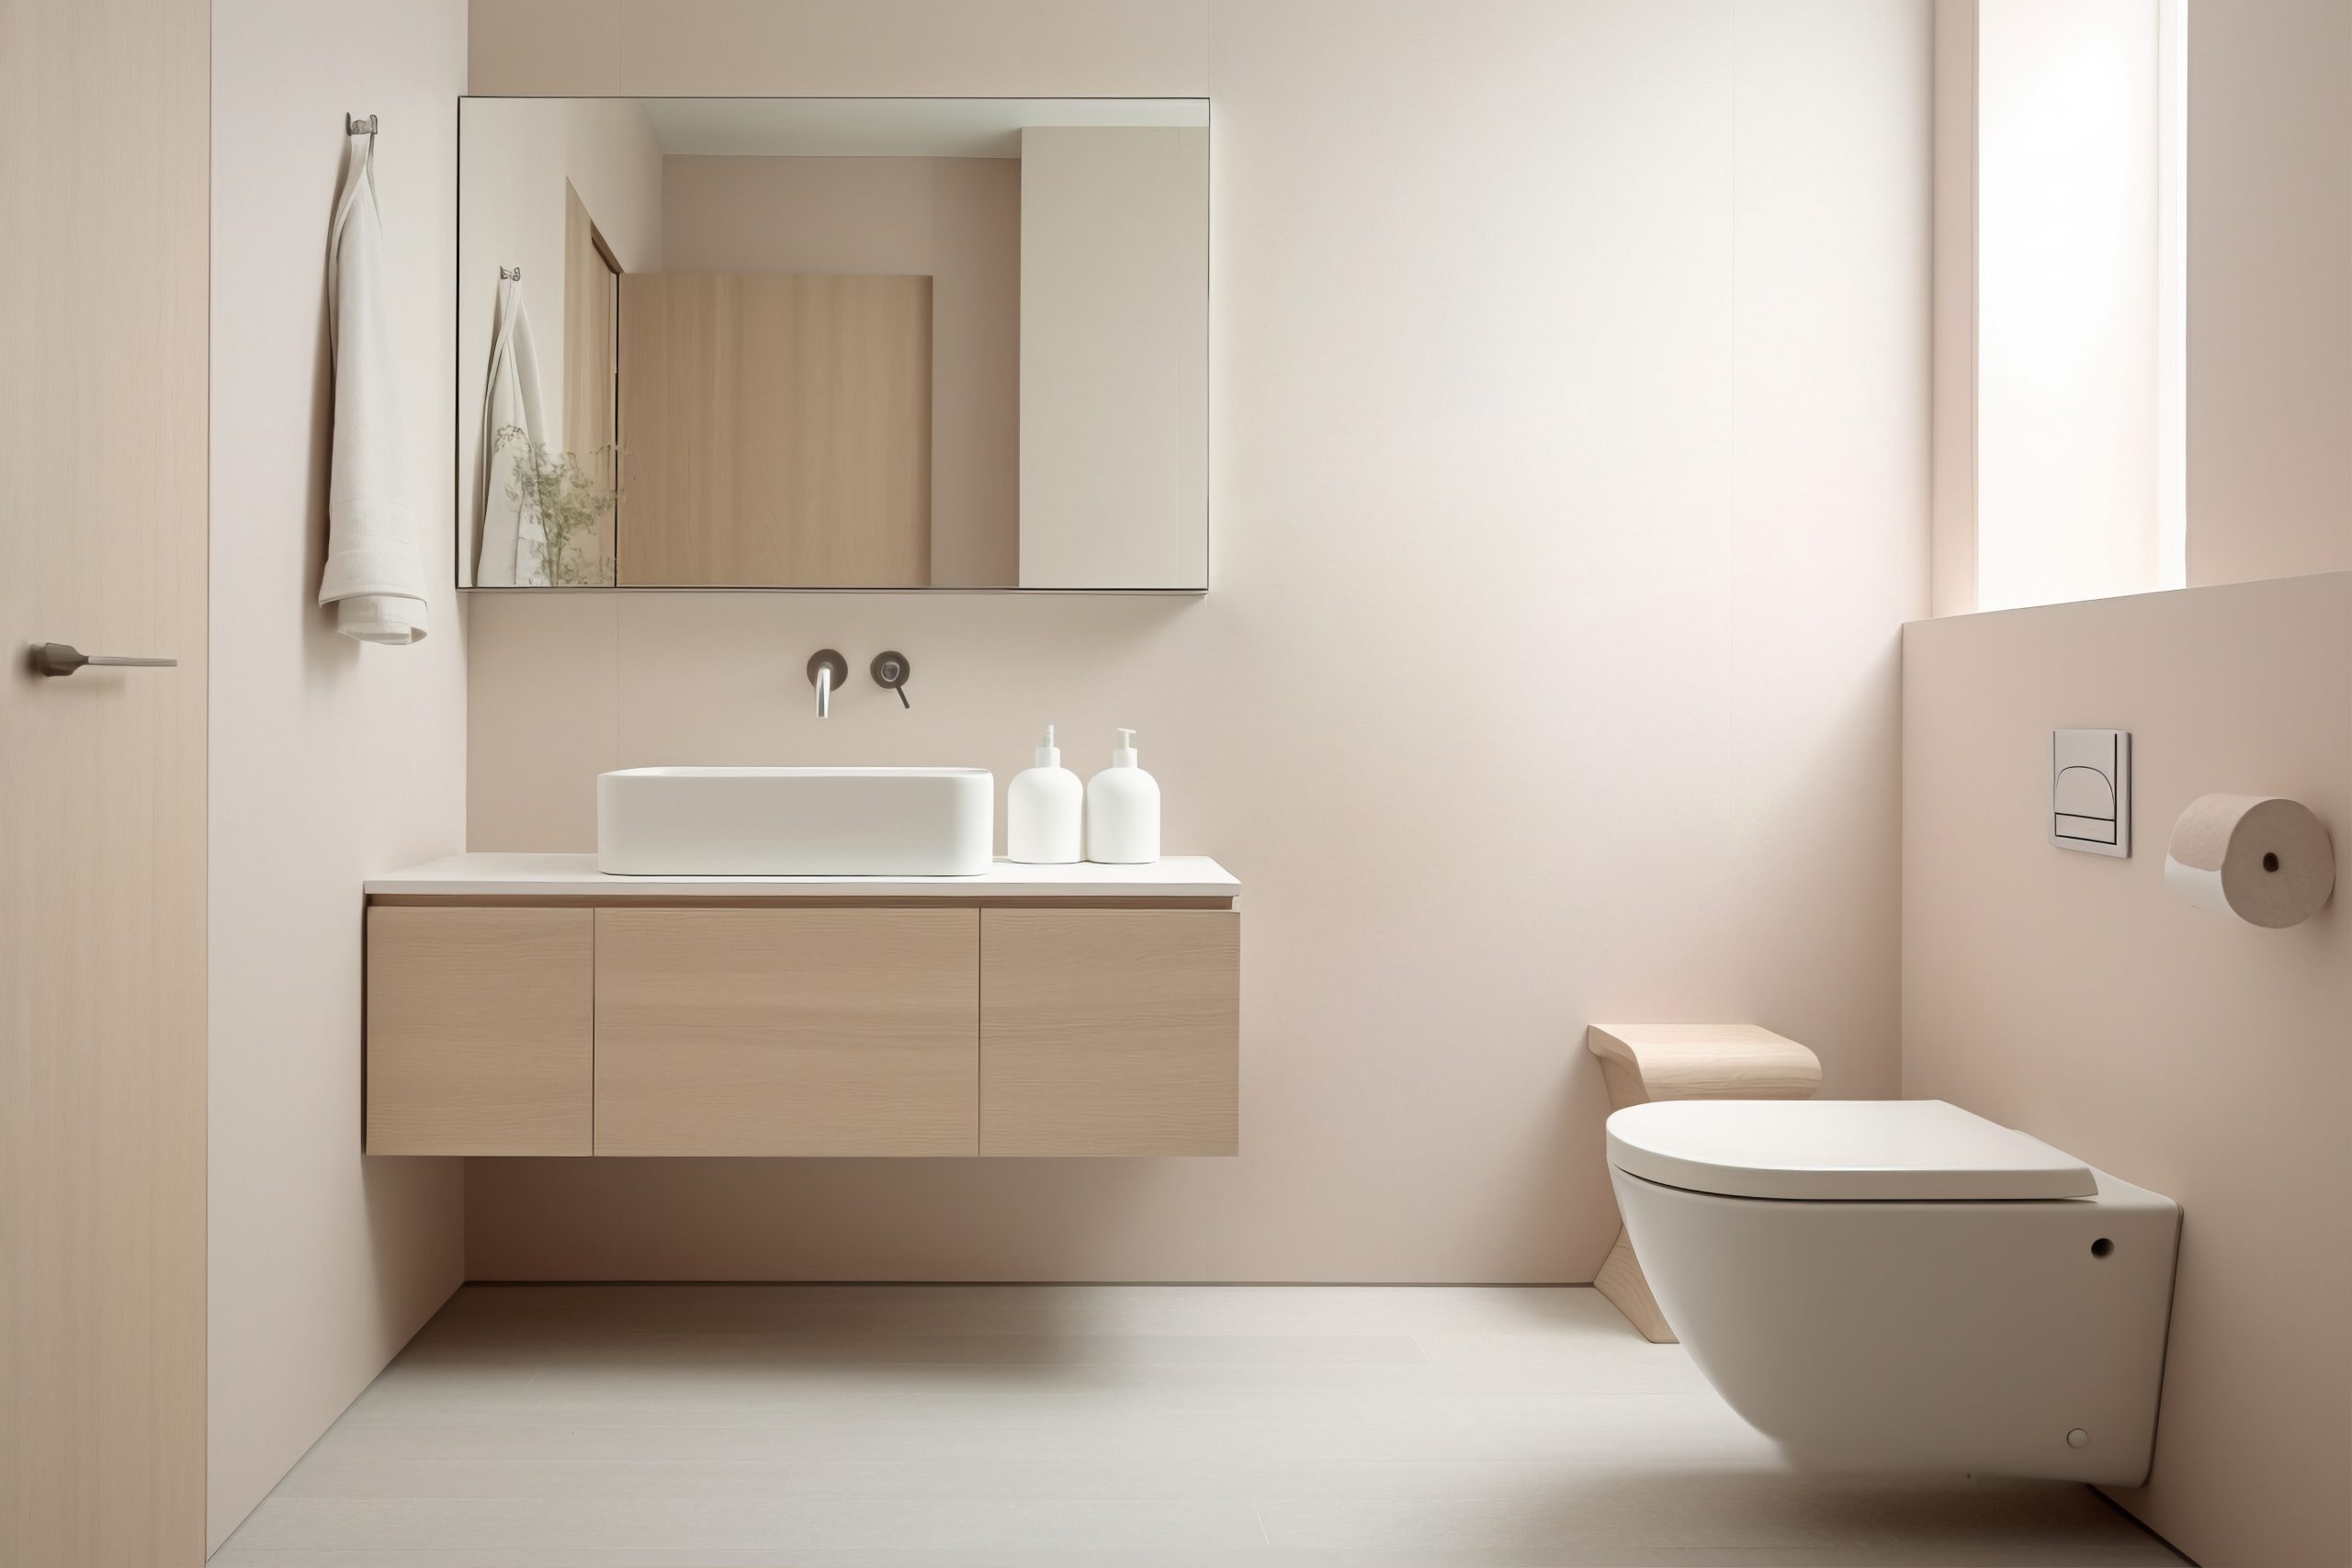
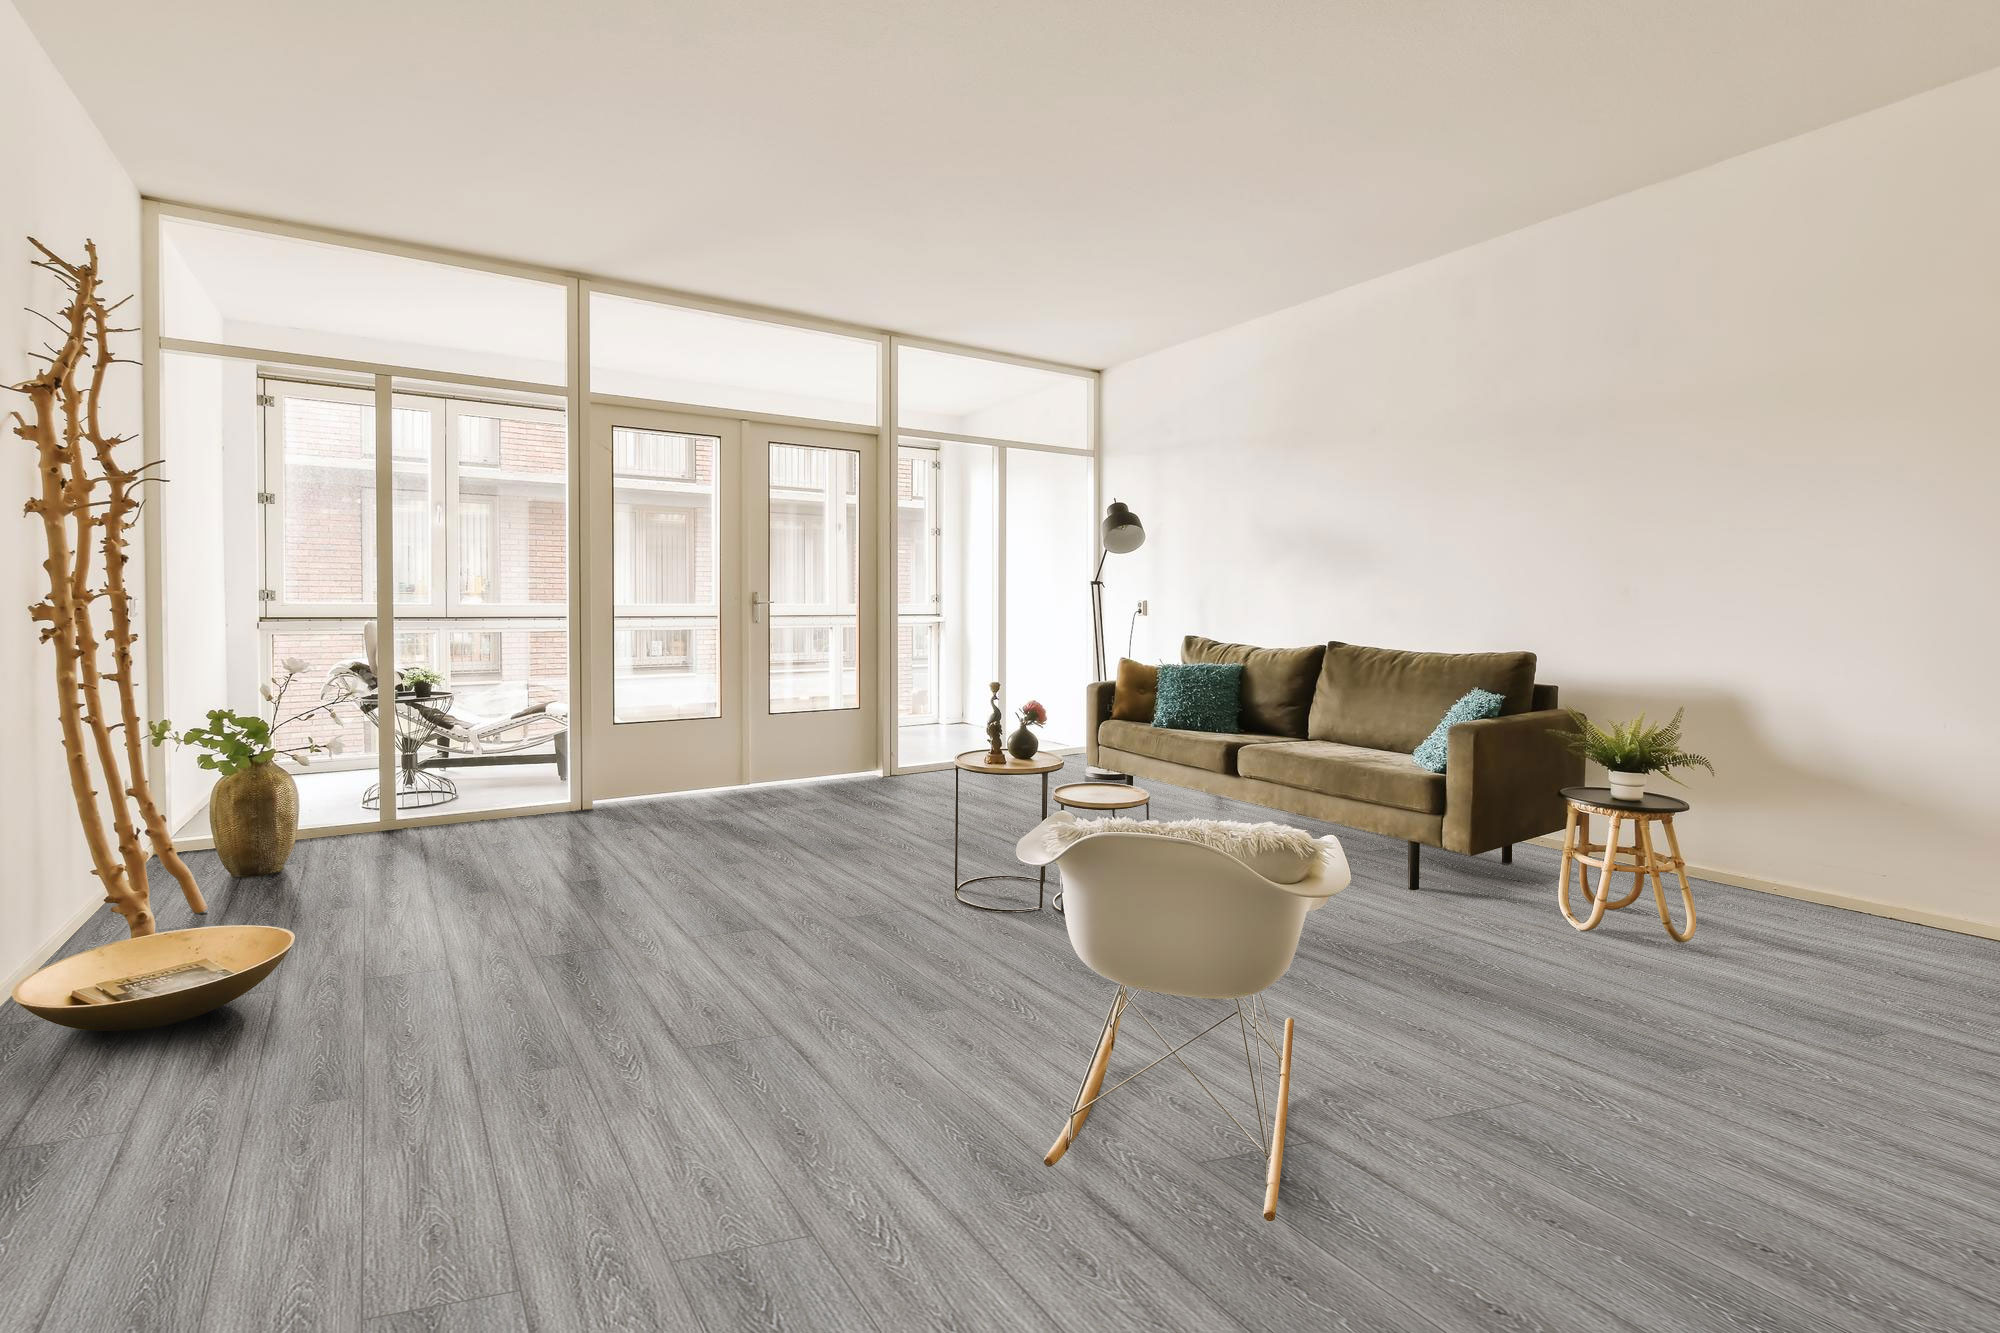
Mosaic tiles can easily make any home design more special. If you’ve been wanting to upgrade your home, this is the perfect weekend or holiday project. Add more style per square inch by creatively using mosaic tiles for any part of your home. If you’re curious about how to install and incorporate mosaic tiles into your home design, here are the steps you need to follow.
How to Install Mosaic Tiles
Visual interest is always recommended if you want to create a well-designed living space. You can use mosaic tiles in any part of your home because they come in a variety of different finishes that can create various intricate effects. It’s an instant visual upgrade you need to try out. Previously, you would have to manually cut and place the mosaic design yourself. Modern mosaic tiles are much easier to install. To install mosaic tiles, you need to do the following:
Prepare
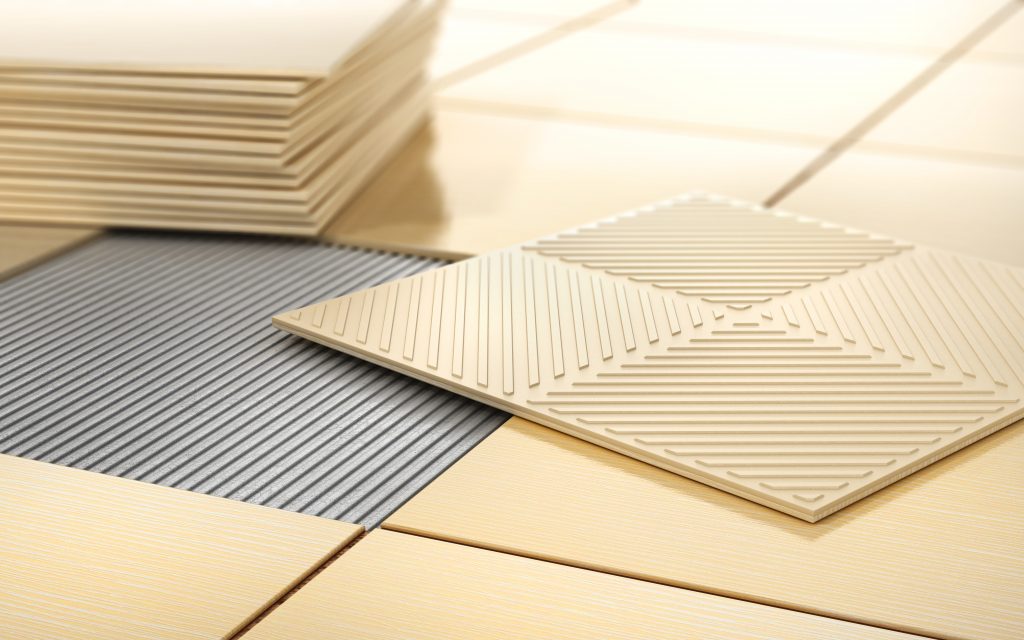
You need to prepare your materials and the surface. It’s similar to installing ceramic tiles. A good installation surface starts with a smooth surface. If you plan to create an underlay, you can use a cement board which is applied directly over your plywood subfloor. This under-layer is great for surfaces that tend to get damp easily, such as your kitchen area, pool area, and bathroom. Areas that stay dry generally don’t require an under-layer. Skip this step if you’re installing your tile elsewhere.
Mark Layout Lines
Test-fitting your tiles should be done before installation. After test fitting, you can prepare your layout lines. The most effective method is the quarter method. Divide the space into four quarters. Use a tape measure to mark the midpoint of the wall or floor. Use chalk to create intersecting lines. You should have a square cross at this point.
Make a point 4 feet from the center of one of your lines. Mark a point 3 feet from the center on the intersecting line. The diagonal line from the two points should have a total measurement of 5 feet and 90 degrees. If your results are different, adjust your lines accordingly until you get the right results.
Begin Installation
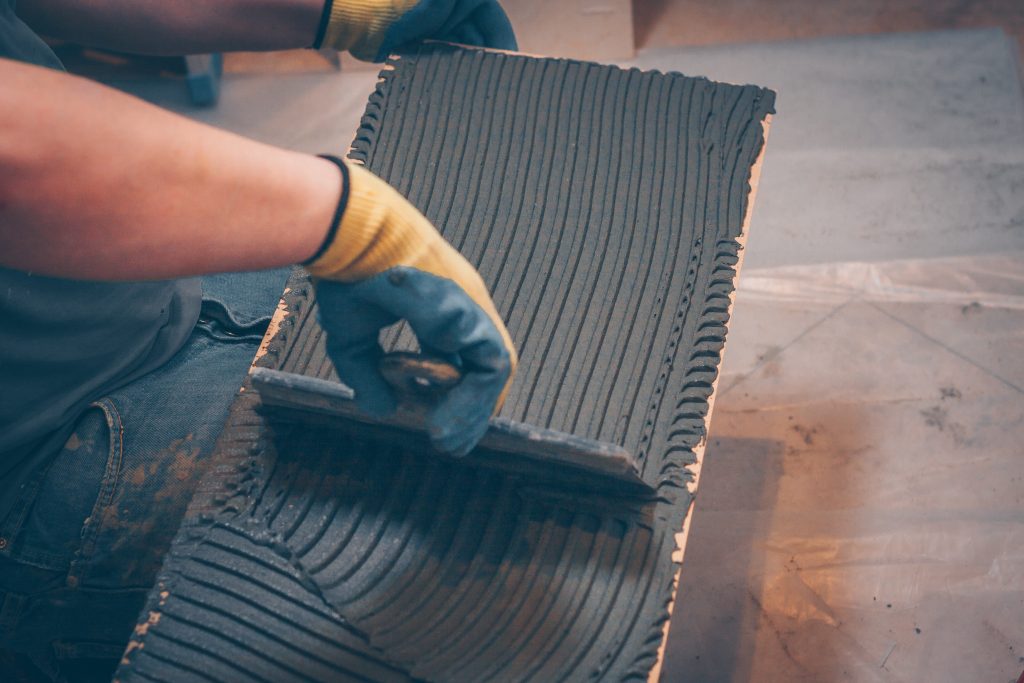
Once your layout lines are created, use a trowel and thin-set adhesive. Spread the adhesive evenly per quadrant. Apply enough but not too thick that you don’t see the under-layer.
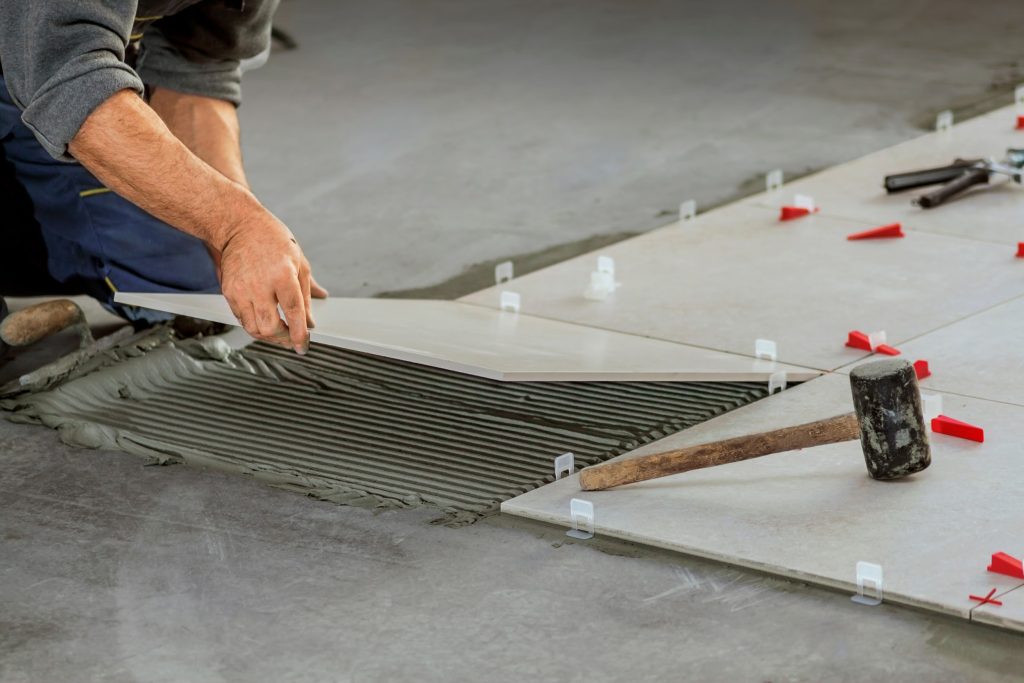
Proceed to apply one sheet of mosaic tile on one corner of the quadrant. When you’re adjusting the tile, you may use your hands but remember to be careful. Make sure that the tiles are set perfectly within the square. Press firmly for several seconds and make sure that you don’t slide the tile when you release your hand.
Continue to install the other tiles in the same manner. Use tile spacers in between each tile to ensure that the spaces are uniform. Work your way outwards until all quadrants are completely covered.
Tile Setting
Did you know that mosaic tiles can ripple or form waves on the surface? You can avoid this by taking a rubber mallet and a small piece of plywood. Place the plywood on top of the tile and gently tap the mallet to set it in place. Pay extra attention to the seams of each tile. This can prevent uneven surfaces and uneven gaps.
Grout
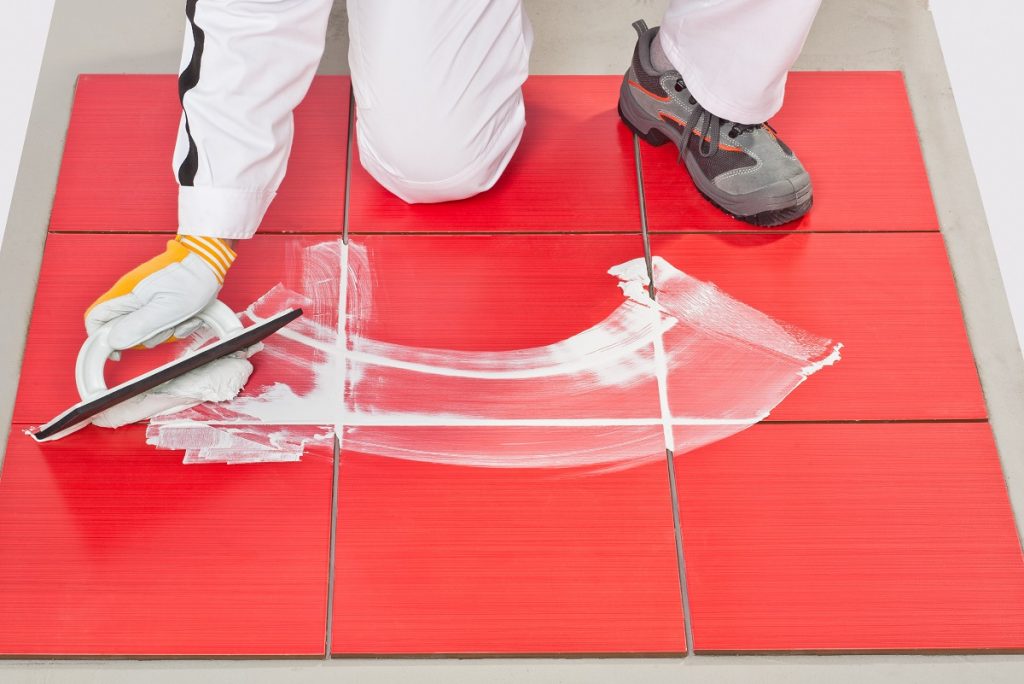
The mosaic tiles are now dry and hardened into the thin-set. What do you need to do next? Grout is needed to tie everything together and to seal everything in. Mix your grout according to the instructions. Use a grout float to spread the grout over the tiles evenly. Use the grout float to make multiple passes. This allows the grout to spread over the joints properly.
Continue this process until all the joints are filled in evenly. If there is excess grout, use the grout float to scrape it away. Let the grout harden slightly then wipe the excess with a clean cloth. Use a liquid grout haze remover to remove the remaining grout once it’s fully cured.
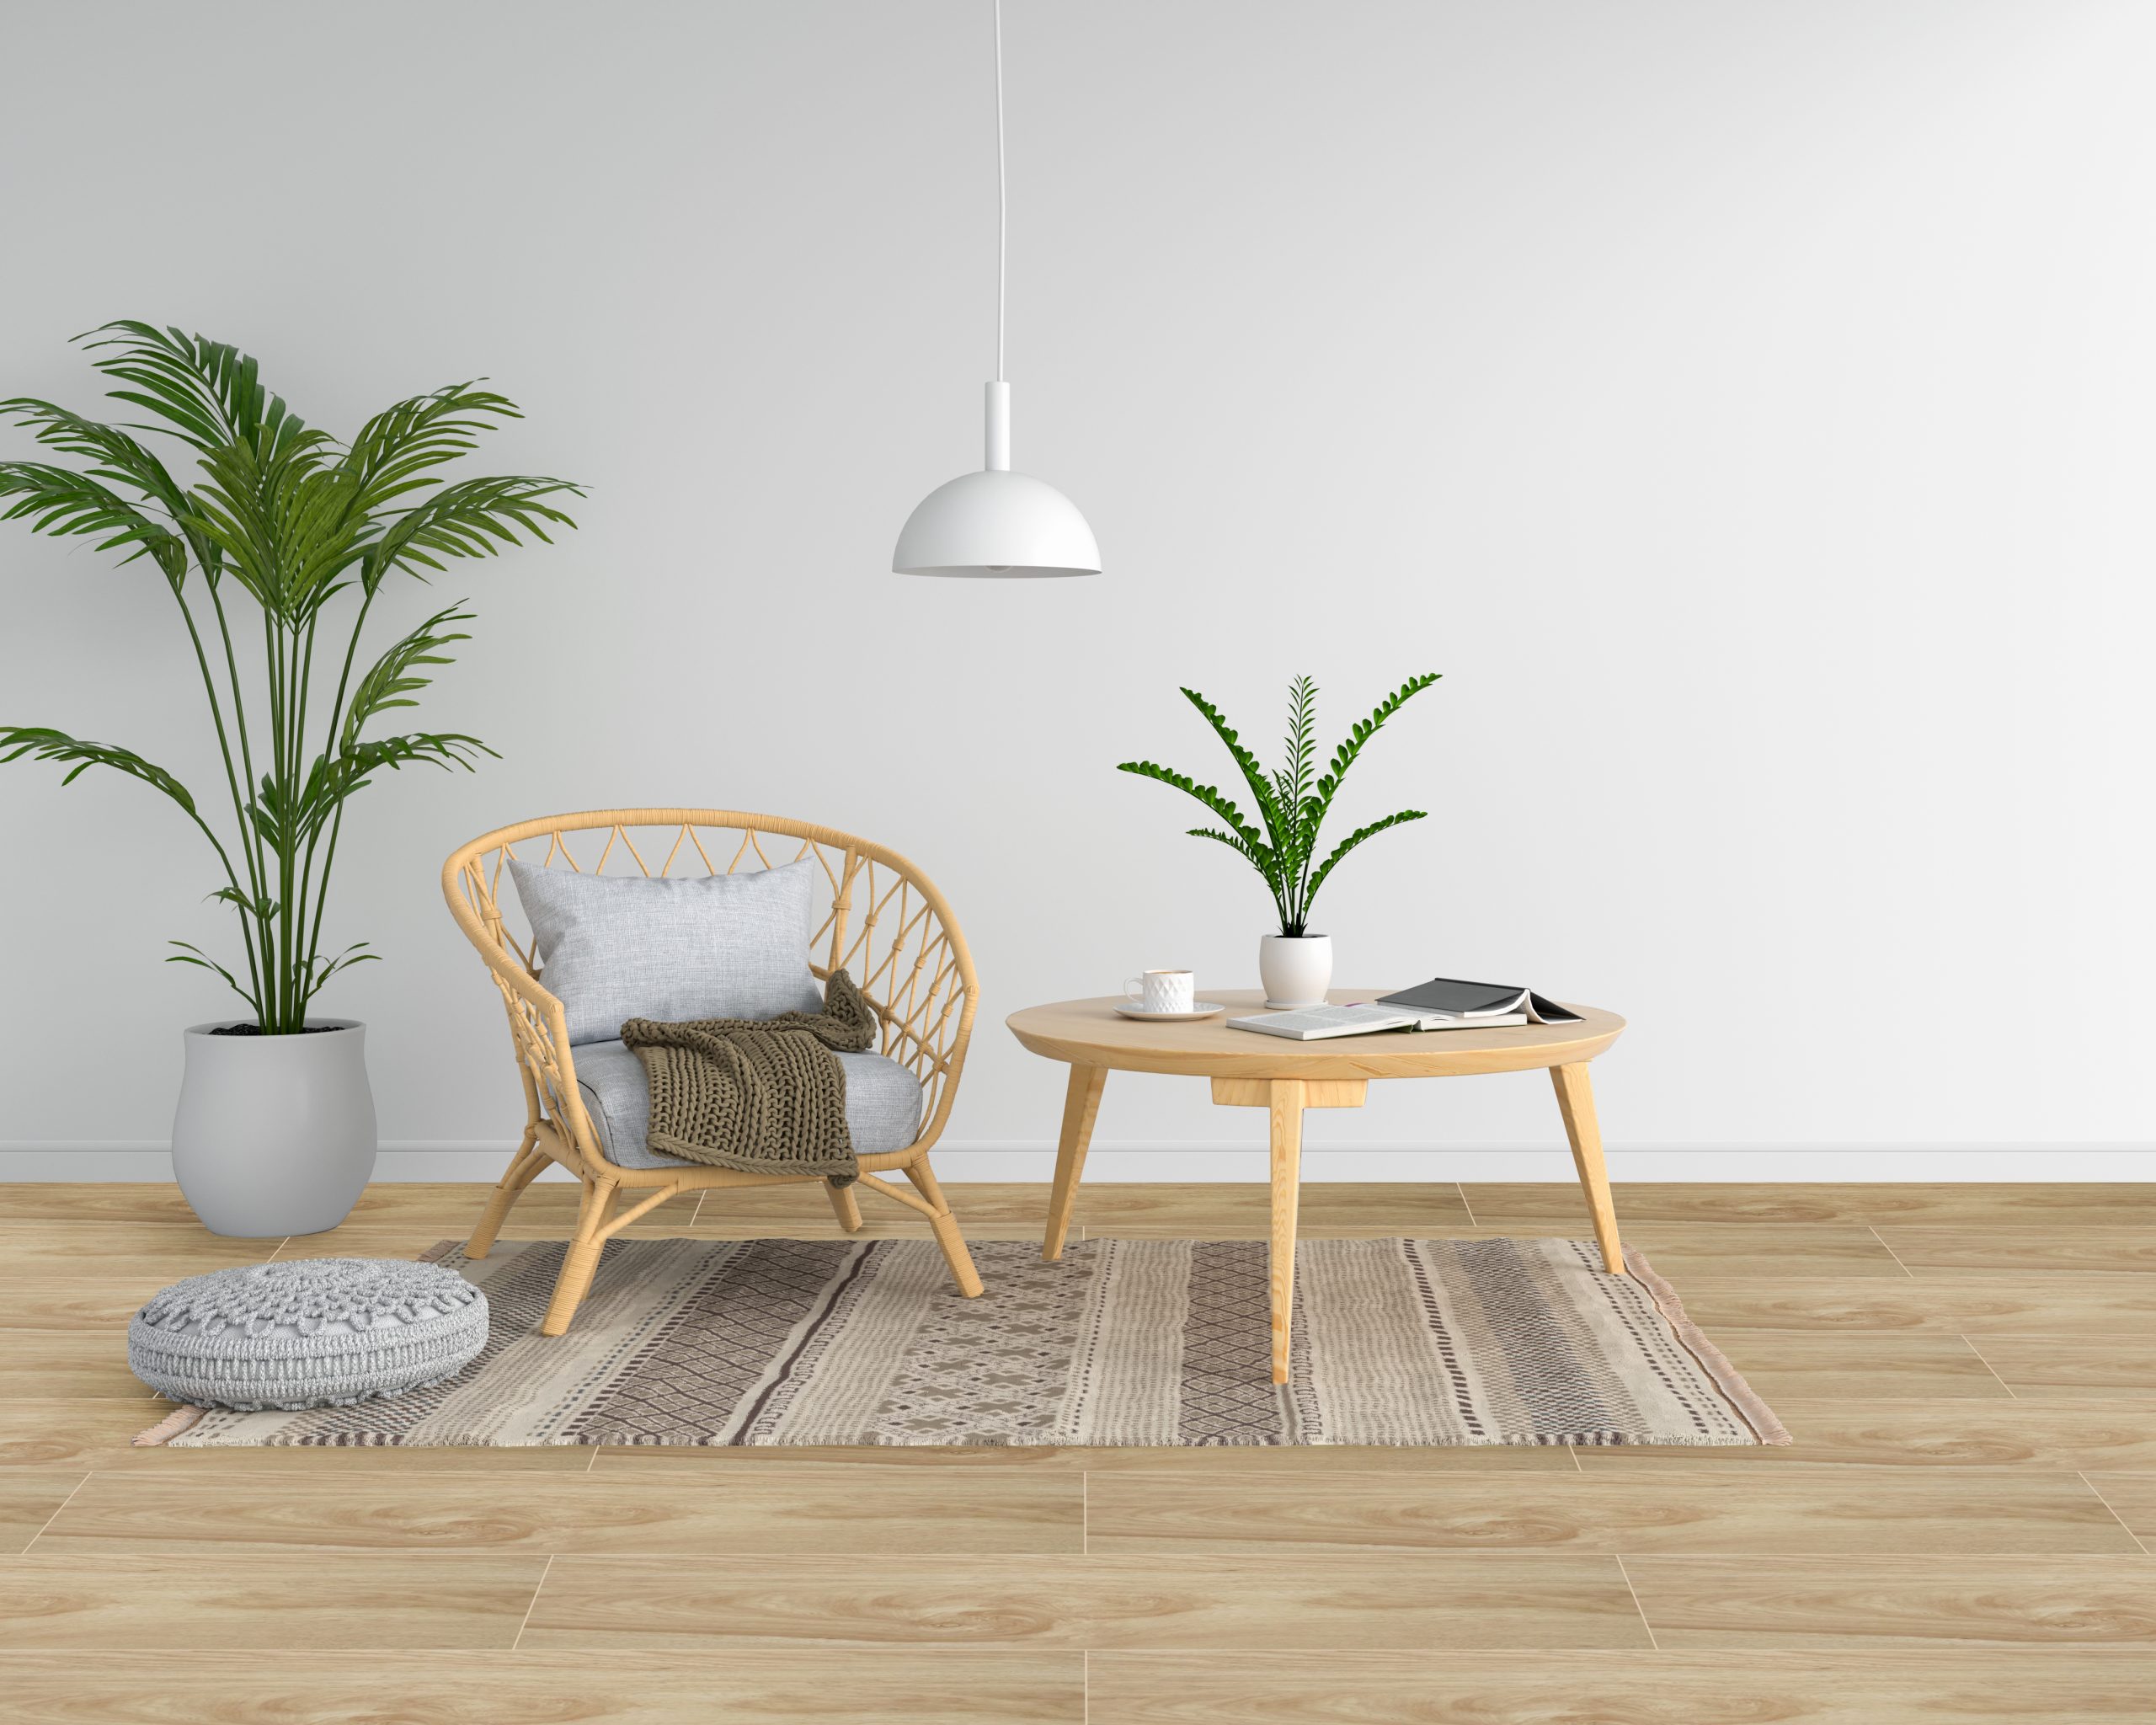
Install a Backsplash
Backsplashes are an instant fix to create interest in any part of your home. You can use a backsplash for your patio, foyer, and more. If you’re cutting your mosaic tiles or installing pre-made tiles, you can easily create a backsplash.
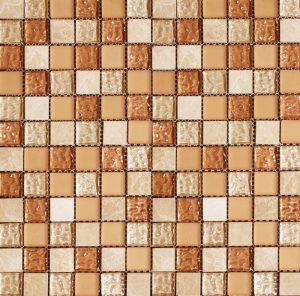
[30×30- Mosaic] L233-3
![[30x30- Mosaic] L233-4](https://blog.floorcenter.com/wp-content/uploads/2019/09/30x30-Mosaic-L233-4-300x297.jpg)
[30×30- Mosaic] L233-4
Your patio can transform from simple to glamorous with these mosaic tiles by Floor Center. The earth tones from this set are both warm and neutral. It can easily complement your patio furniture and more. Choose L233-3 and L233-4 30×30 tiles for a unique patio backsplash design.
![[30x30- Mosaic] W-02](https://blog.floorcenter.com/wp-content/uploads/2019/09/30x30-Mosaic-W-02.jpg)
[30×30- Mosaic] W-02
![[30x30- Mosaic] W-04](https://blog.floorcenter.com/wp-content/uploads/2019/09/30x30-Mosaic-W-04.jpg)
[30×30- Mosaic] W-04
Add an accent to your foyer with the glossy W-02 and W-04 tiles. All tiles are pleasing to the eye. The grey tones used in this 30×30 set are neutral and can easily brighten up your foyer.
Key Takeaway
Mosaic tiles can instantly transform the look of your home. Enjoy the wide collection of Floor Center for all your ceramic and mosaic tile needs. Floor Center also offers tools that are essential when you’re installing your mosaic tiles. Elevate your home design with mosaic tiles by Floor Center for a fresh look for your home!