How do you tile over existing wall tiles?
- Inspect Your Existing Tiles
- Choose the Right Tile
- Prepare the Wall
- Pick Your Adhesive
- Begin Installation
When it comes to price, tiling over existing tiles is more affordable than retiling the entire wall or floor. If you don’t have a lot of time on your hands, this can be a great time-saver. You can finish your tiling work faster without having to deal with a large mess. If you want to save money, tiling over existing tiles is also a cost-effective option. There’s no need to hire extra pairs of hands to complete your retiling work. You can consider this as an easy do-it-yourself project. Here’s how you can tile over your existing wall tiles.
Inspect Your Existing Tiles
Inspecting your current tile setup is important. You have to make sure that they’re adhering well to the current substrate. It’s easy to tell when the tiles are successfully installed, make sure that your tiles don’t produce any hollow or drum-like sounds when you tap them. You can check for the sound by tapping each tile with the back of a screwdriver and listen for the hollow sound. If you find that the area sounds solid, you can proceed to tile over it. Tiles that sound hollow have to be replaced before tiling. If your existing surface is uneven, tiling over it will be uneven as well. So it is critical that you make sure that the surface is even before proceeding with your tiling job.
Choose the Right Tile
Current wall tiles can make a huge impact on your project. If the wall tiles you’ve used previously are flat, you can use any tile you want. It’s much easier to install everything on a flat surface. However, you may face some difficulties when the tile pattern is uneven. Tiles with a wave pattern or layers can be difficult to install over. It doesn’t matter if your substrate is even, you will need to adjust according to the design of the pre-existing tile.
Take a straight edge tool. You need this to check how the wall tiles undulate. Use this as a reference when choosing your tiles. If they appear to be too uneven, use small tiles to accommodate the uneven tile surface.
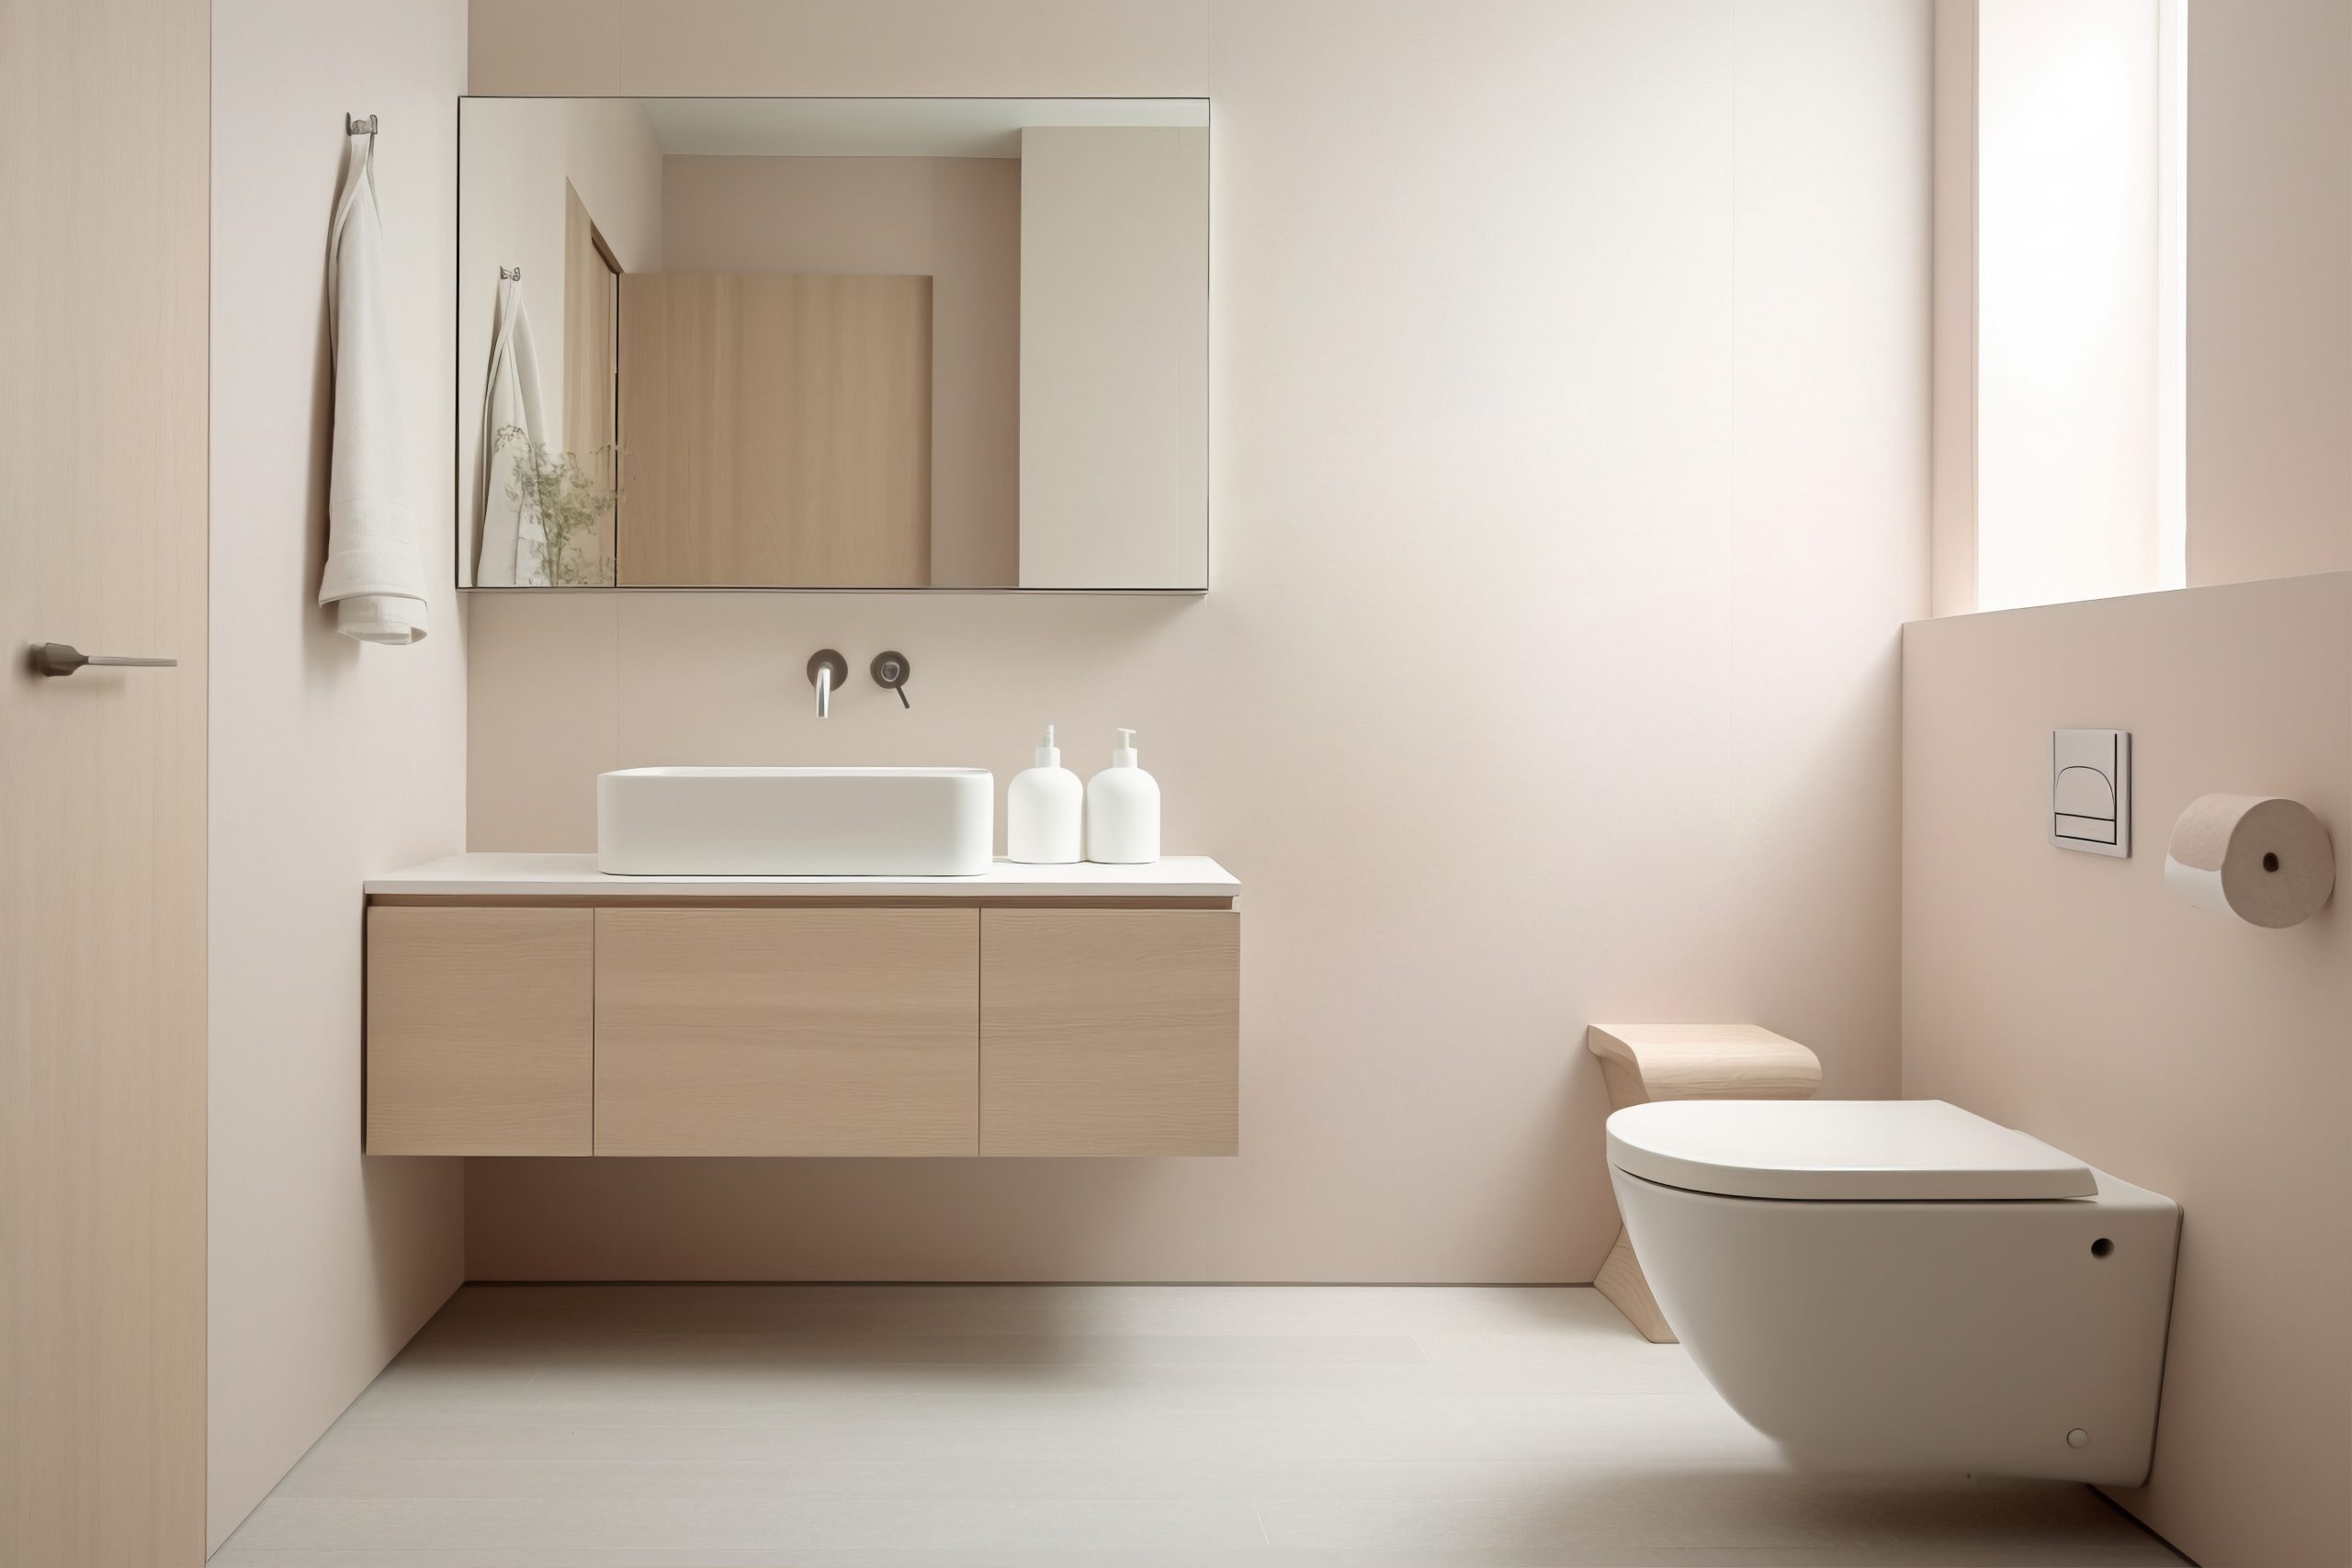
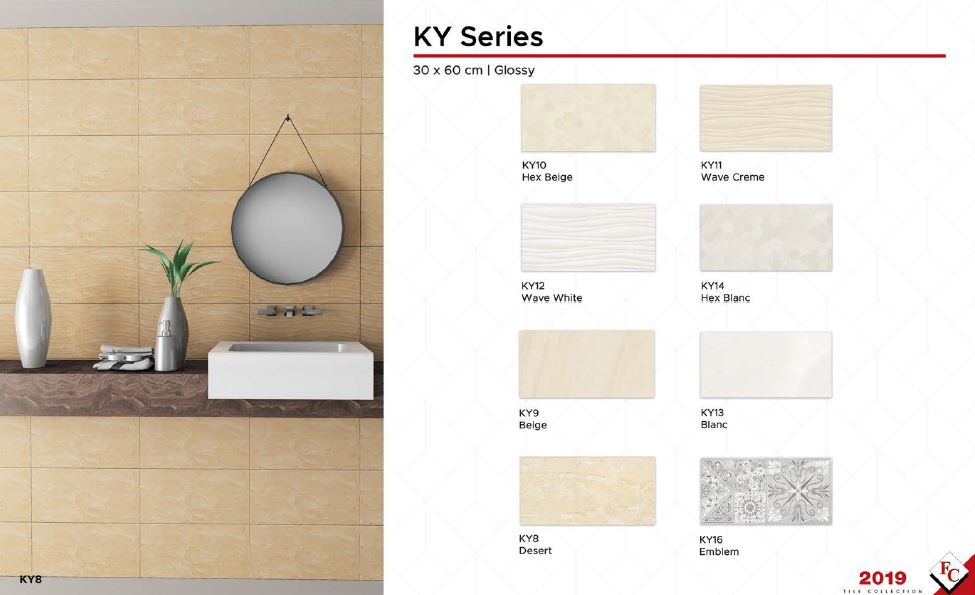
One tile design you can try for your wall tiles is from Floor Center’s 30X60 KY collection. Hex Beige (KY10) and Hex Blanc (KY14) are glossy tiles that are the ideal fit for your bathroom. The light colors reflect your ambient lighting perfectly. The gloss texture allows for easy cleaning.
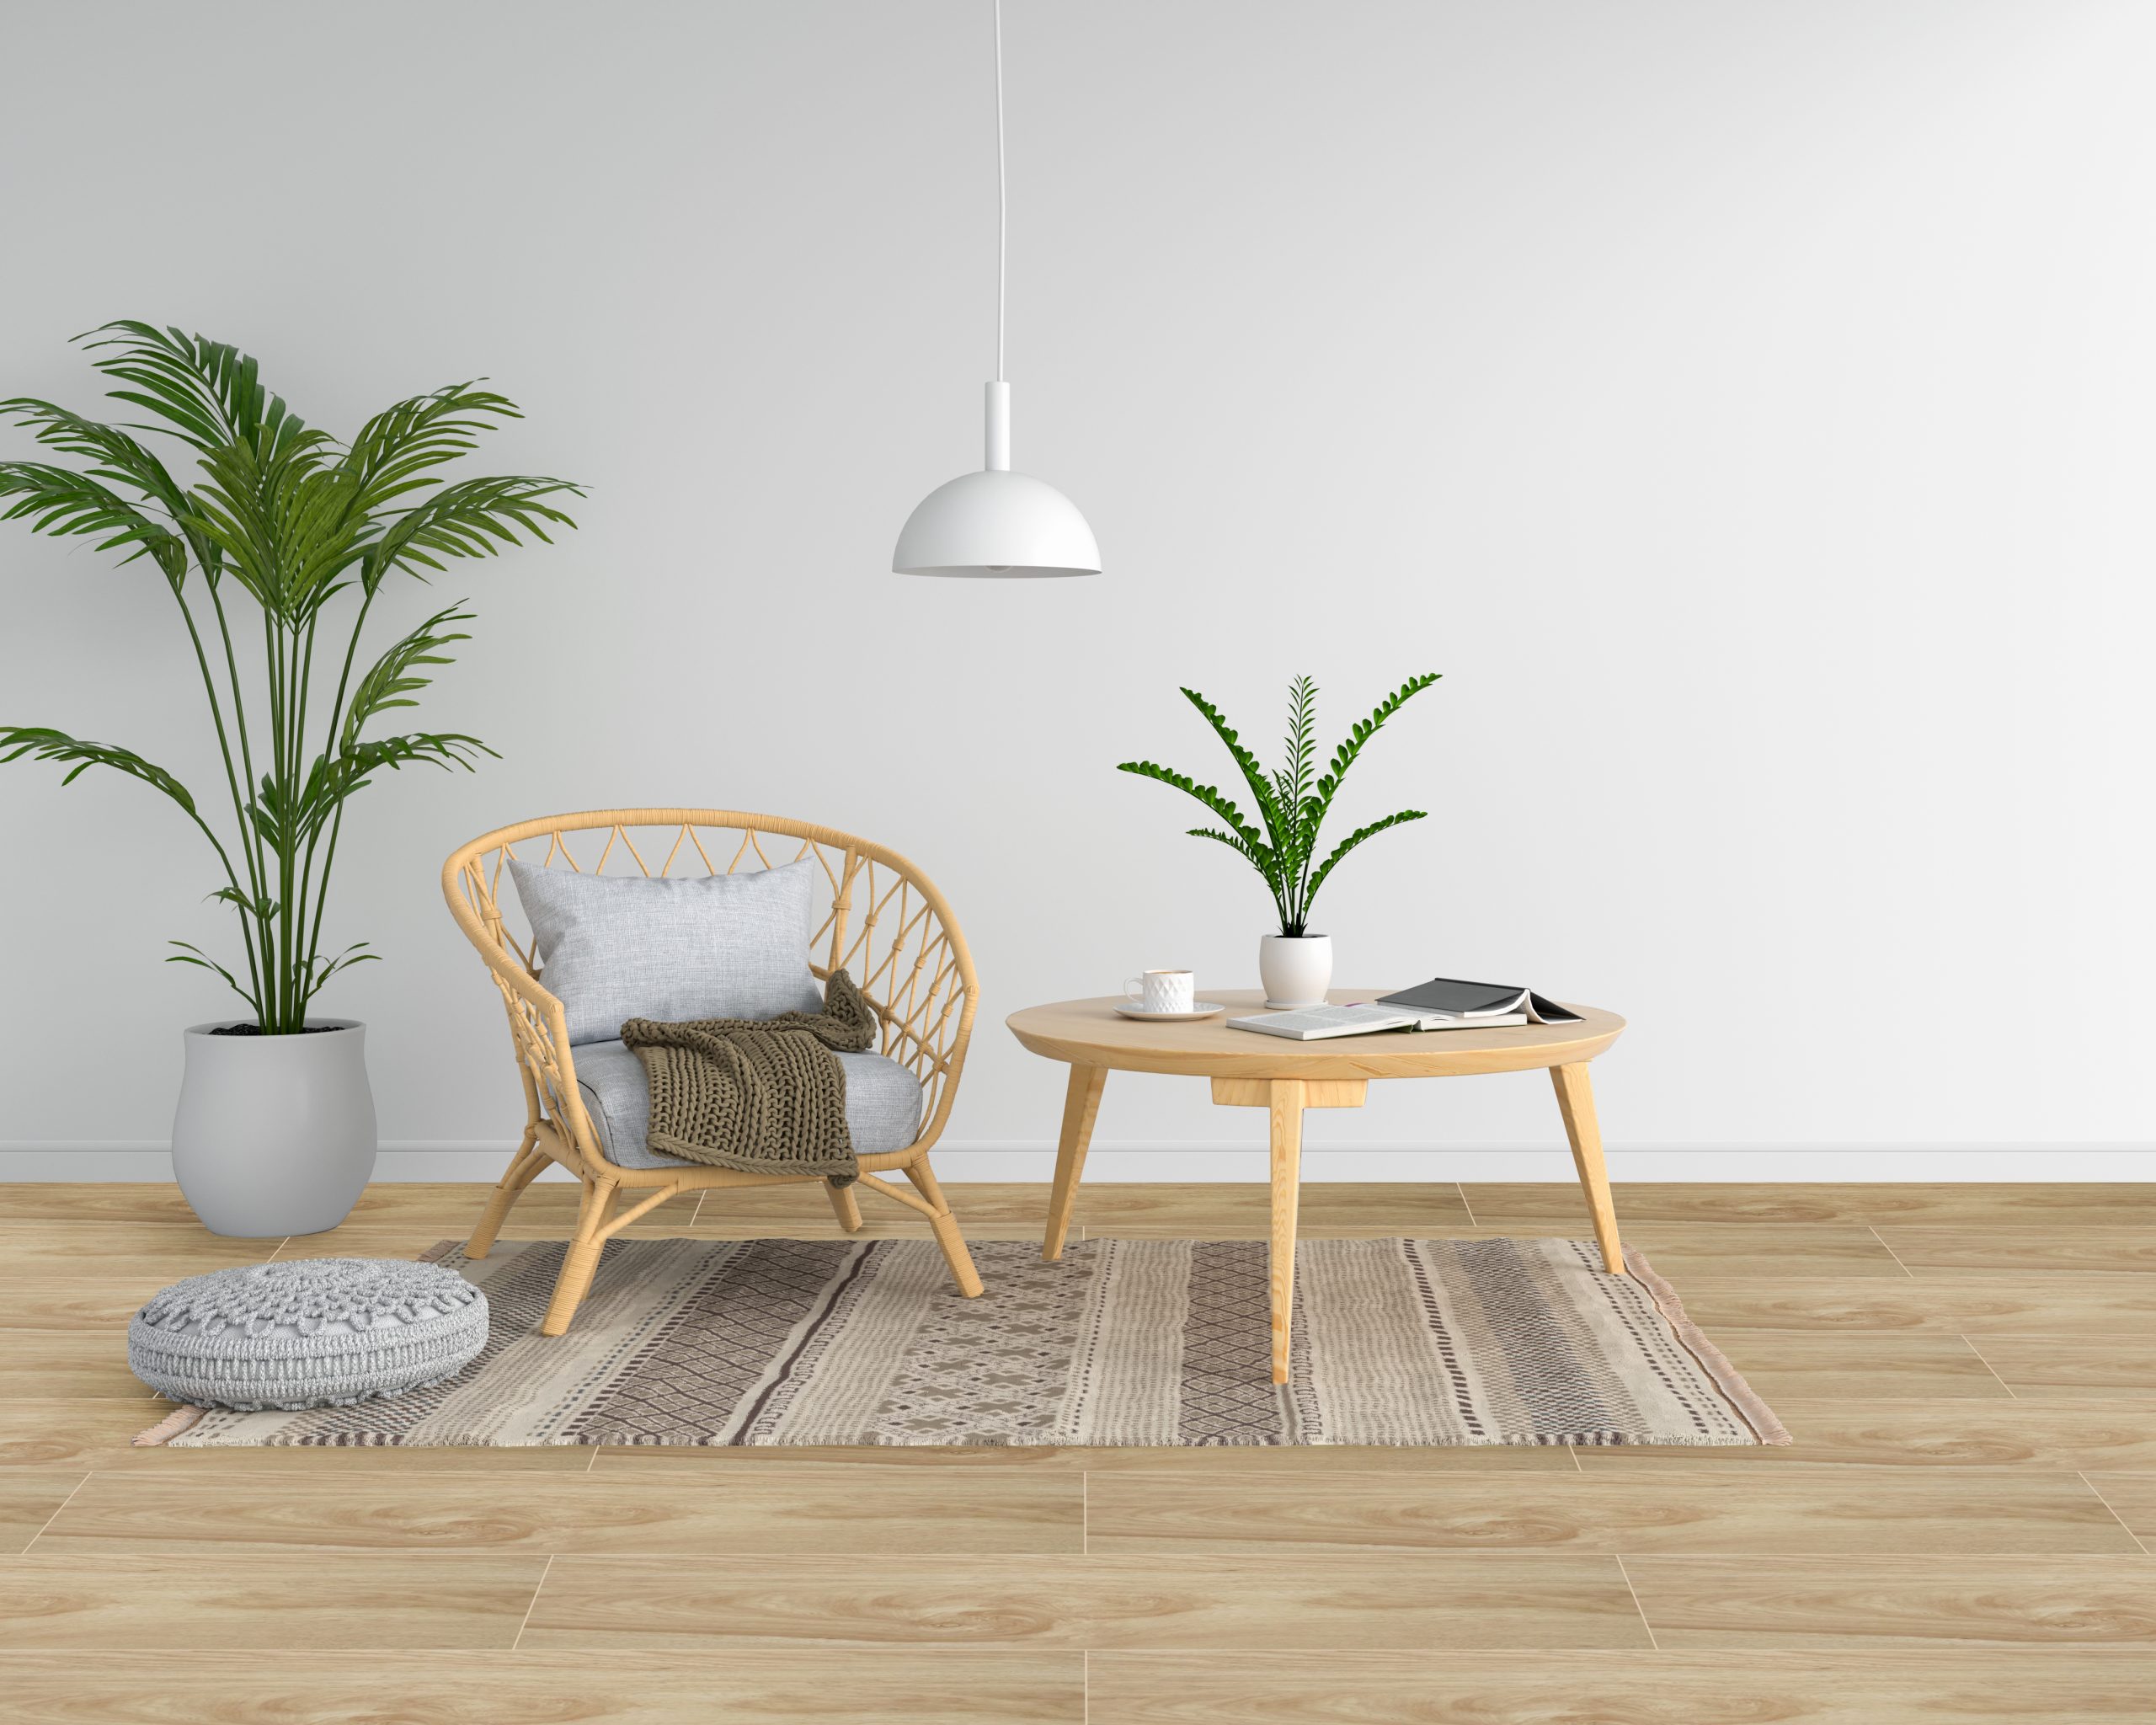
The Palette collection simulates stone tiles. Enjoy the earth tones of Creme (I-3602) and Beige (I-3603). These 30×60 rustic tiles are perfect for the outdoors. Replace your garden or patio wall tiles with these neutral choices.
Prepare the Wall
Prepare your pre-existing wall by cleaning it thoroughly. Clean the tiles with alcohol and a clean rag because this can remove the dirt and grime without adding excess moisture on the surface. Alcohol will also remove any sticky residue from shampoo and soap. Keep your area well ventilated when you’re using alcohol to clean the surface.
For the pre-existing grout, try removing as much as you can. Grout joints can grow mold spores. If these joints stay warm and humid, spores will begin to grow no matter what you place over it. Removing your pre-existing grout won’t affect the tiles you will lay over it.
Pick Your Adhesive
Once you find the tile design you want and properly laid out your joints, you will need to choose the appropriate adhesive. The adhesive doesn’t require special properties like waterproofing and weatherproofing. If you install your tiles properly, you won’t run into moisture problems.
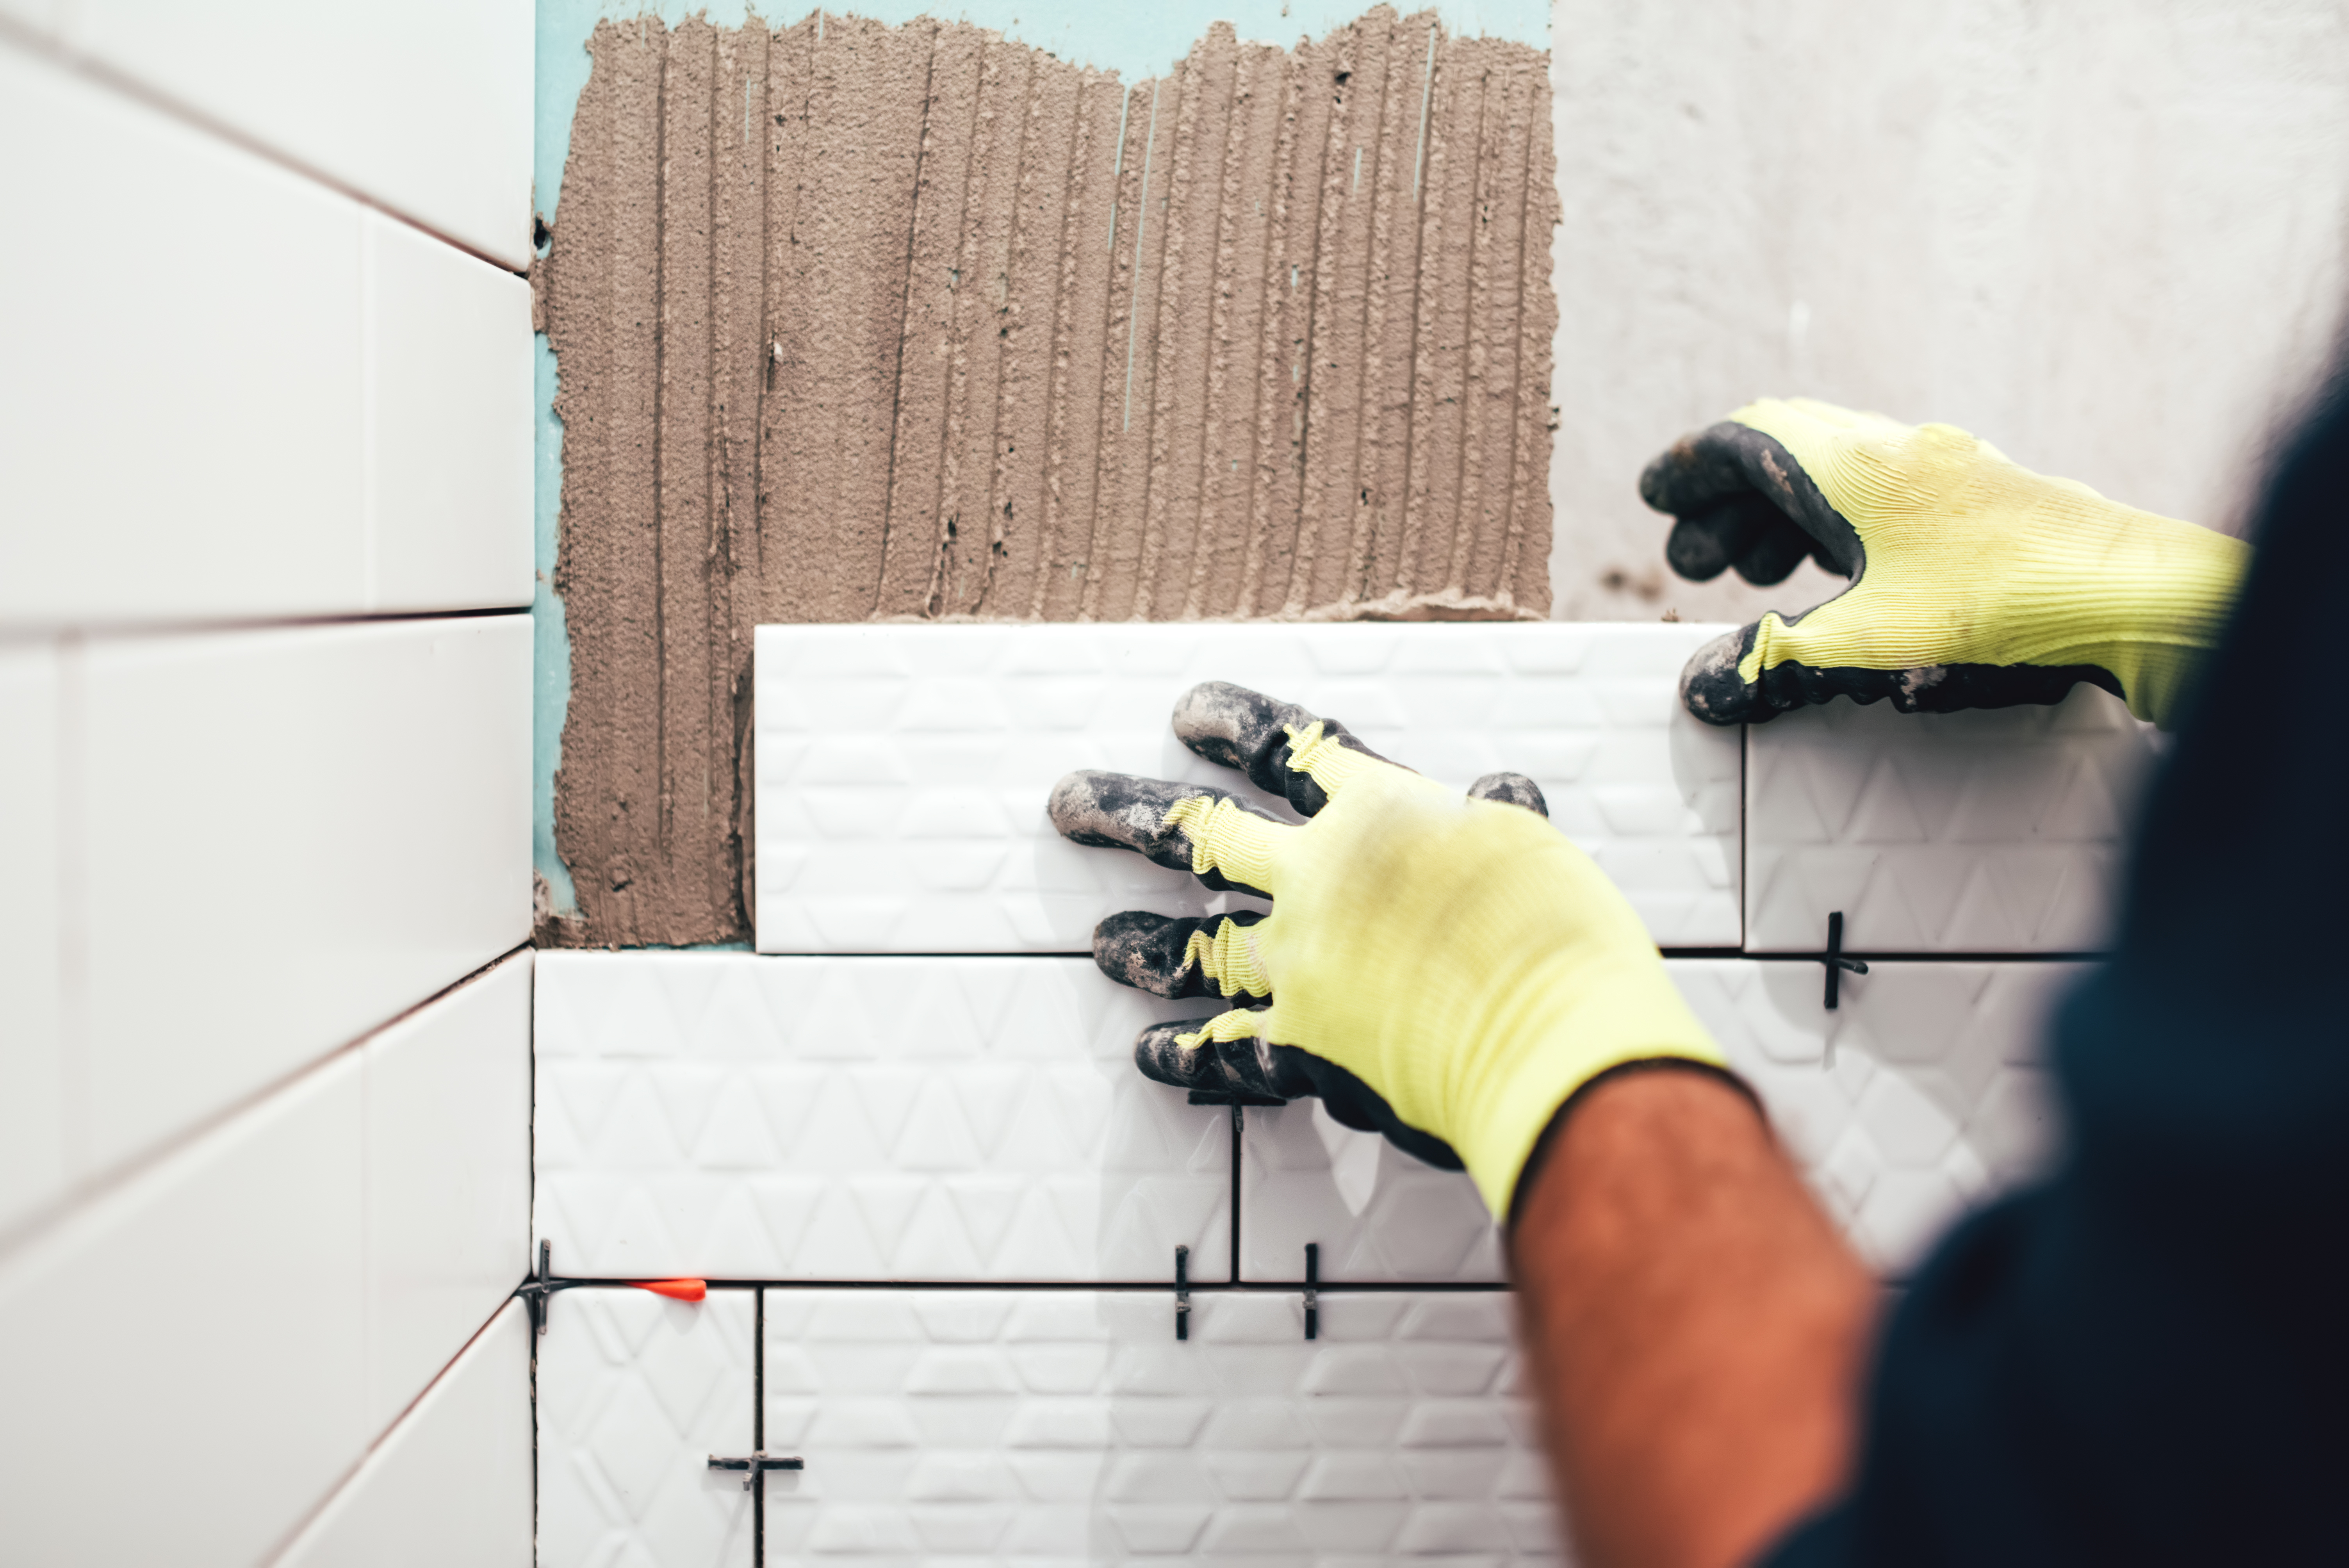
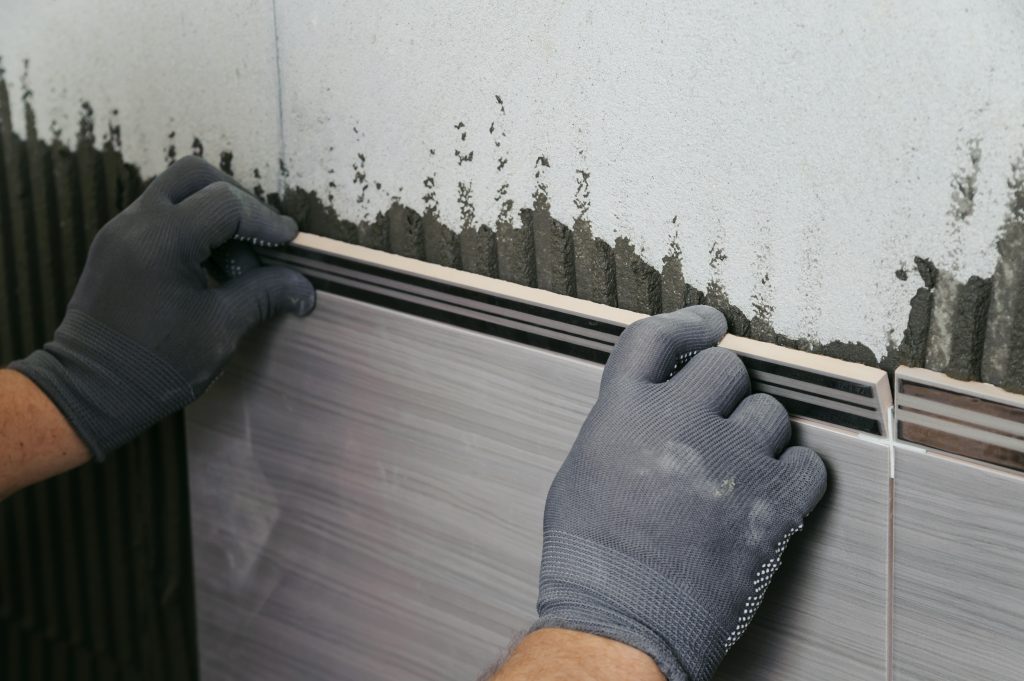
Begin Installation
Lay down the adhesive with a trowel evenly on the surface. Begin at the center and work your way out as you lay the tiles. Remember to be careful and avoid sliding the tiles around as you lay them down. Wait for the tiles to fully set before adding your grout.
Mix your grout according to the instructions. If you’ve made the proper spacing between your tiles, this should be easy. Evenly spread the grout and make sure there’s an adequate amount in between each space. Wipe off the excess with a rag and wait for it to dry. Once it’s dry, you should notice a film on the surface. Clean off the remaining residue with grout solution or water.
Key Takeaway
Save some extra cash by installing new tiles over pre-existing tiles. You can achieve an updated look by using this method. To make sure that your project is clean, follow the steps above. For other impeccable wall tile designs, visit Floor Center to learn more!