The Ideal Tile for Every Part of your Home

The-Ideal-Tile-for-Every-Part-of-your-Home

What tile is perfect for which part of your home?

  1. Ceramic Tiles –Kitchen
  2. Vinyl Tiles –Bedroom
  3. Natural Stone Tiles – Nature

The home of the Filipino can take any shape or form. Thanks to the advances of modern architecture and design, Filipino households can be whatever you want them to be, may it be in terms of practicality, aesthetics, or simply suitability for the everyday Filipino. When it comes to a home, there are numerous aspects one must always remember to take into consideration—and with that said, homogeneous tiles for Philippine households can be one aspect of a home you can definitely take into consideration!

In the Philippines, Homogeneous tiles are popular as it is since these tiles can be used for any project there is. But of course, it has its share of preferred areas. When based on practicality alone, different kinds of tiles are better suited for different areas in the house. At the same time, most people would look at how the design will fit the entirety of their home.

There are many kinds of tiles available in the market, however, some of them are more popular than the other because of its practicality and aesthetic value. With that in mind, here is the ideal type of tile that is perfect for every part of your home, both practically and aesthetically:

Ceramic-Tiles-600x397

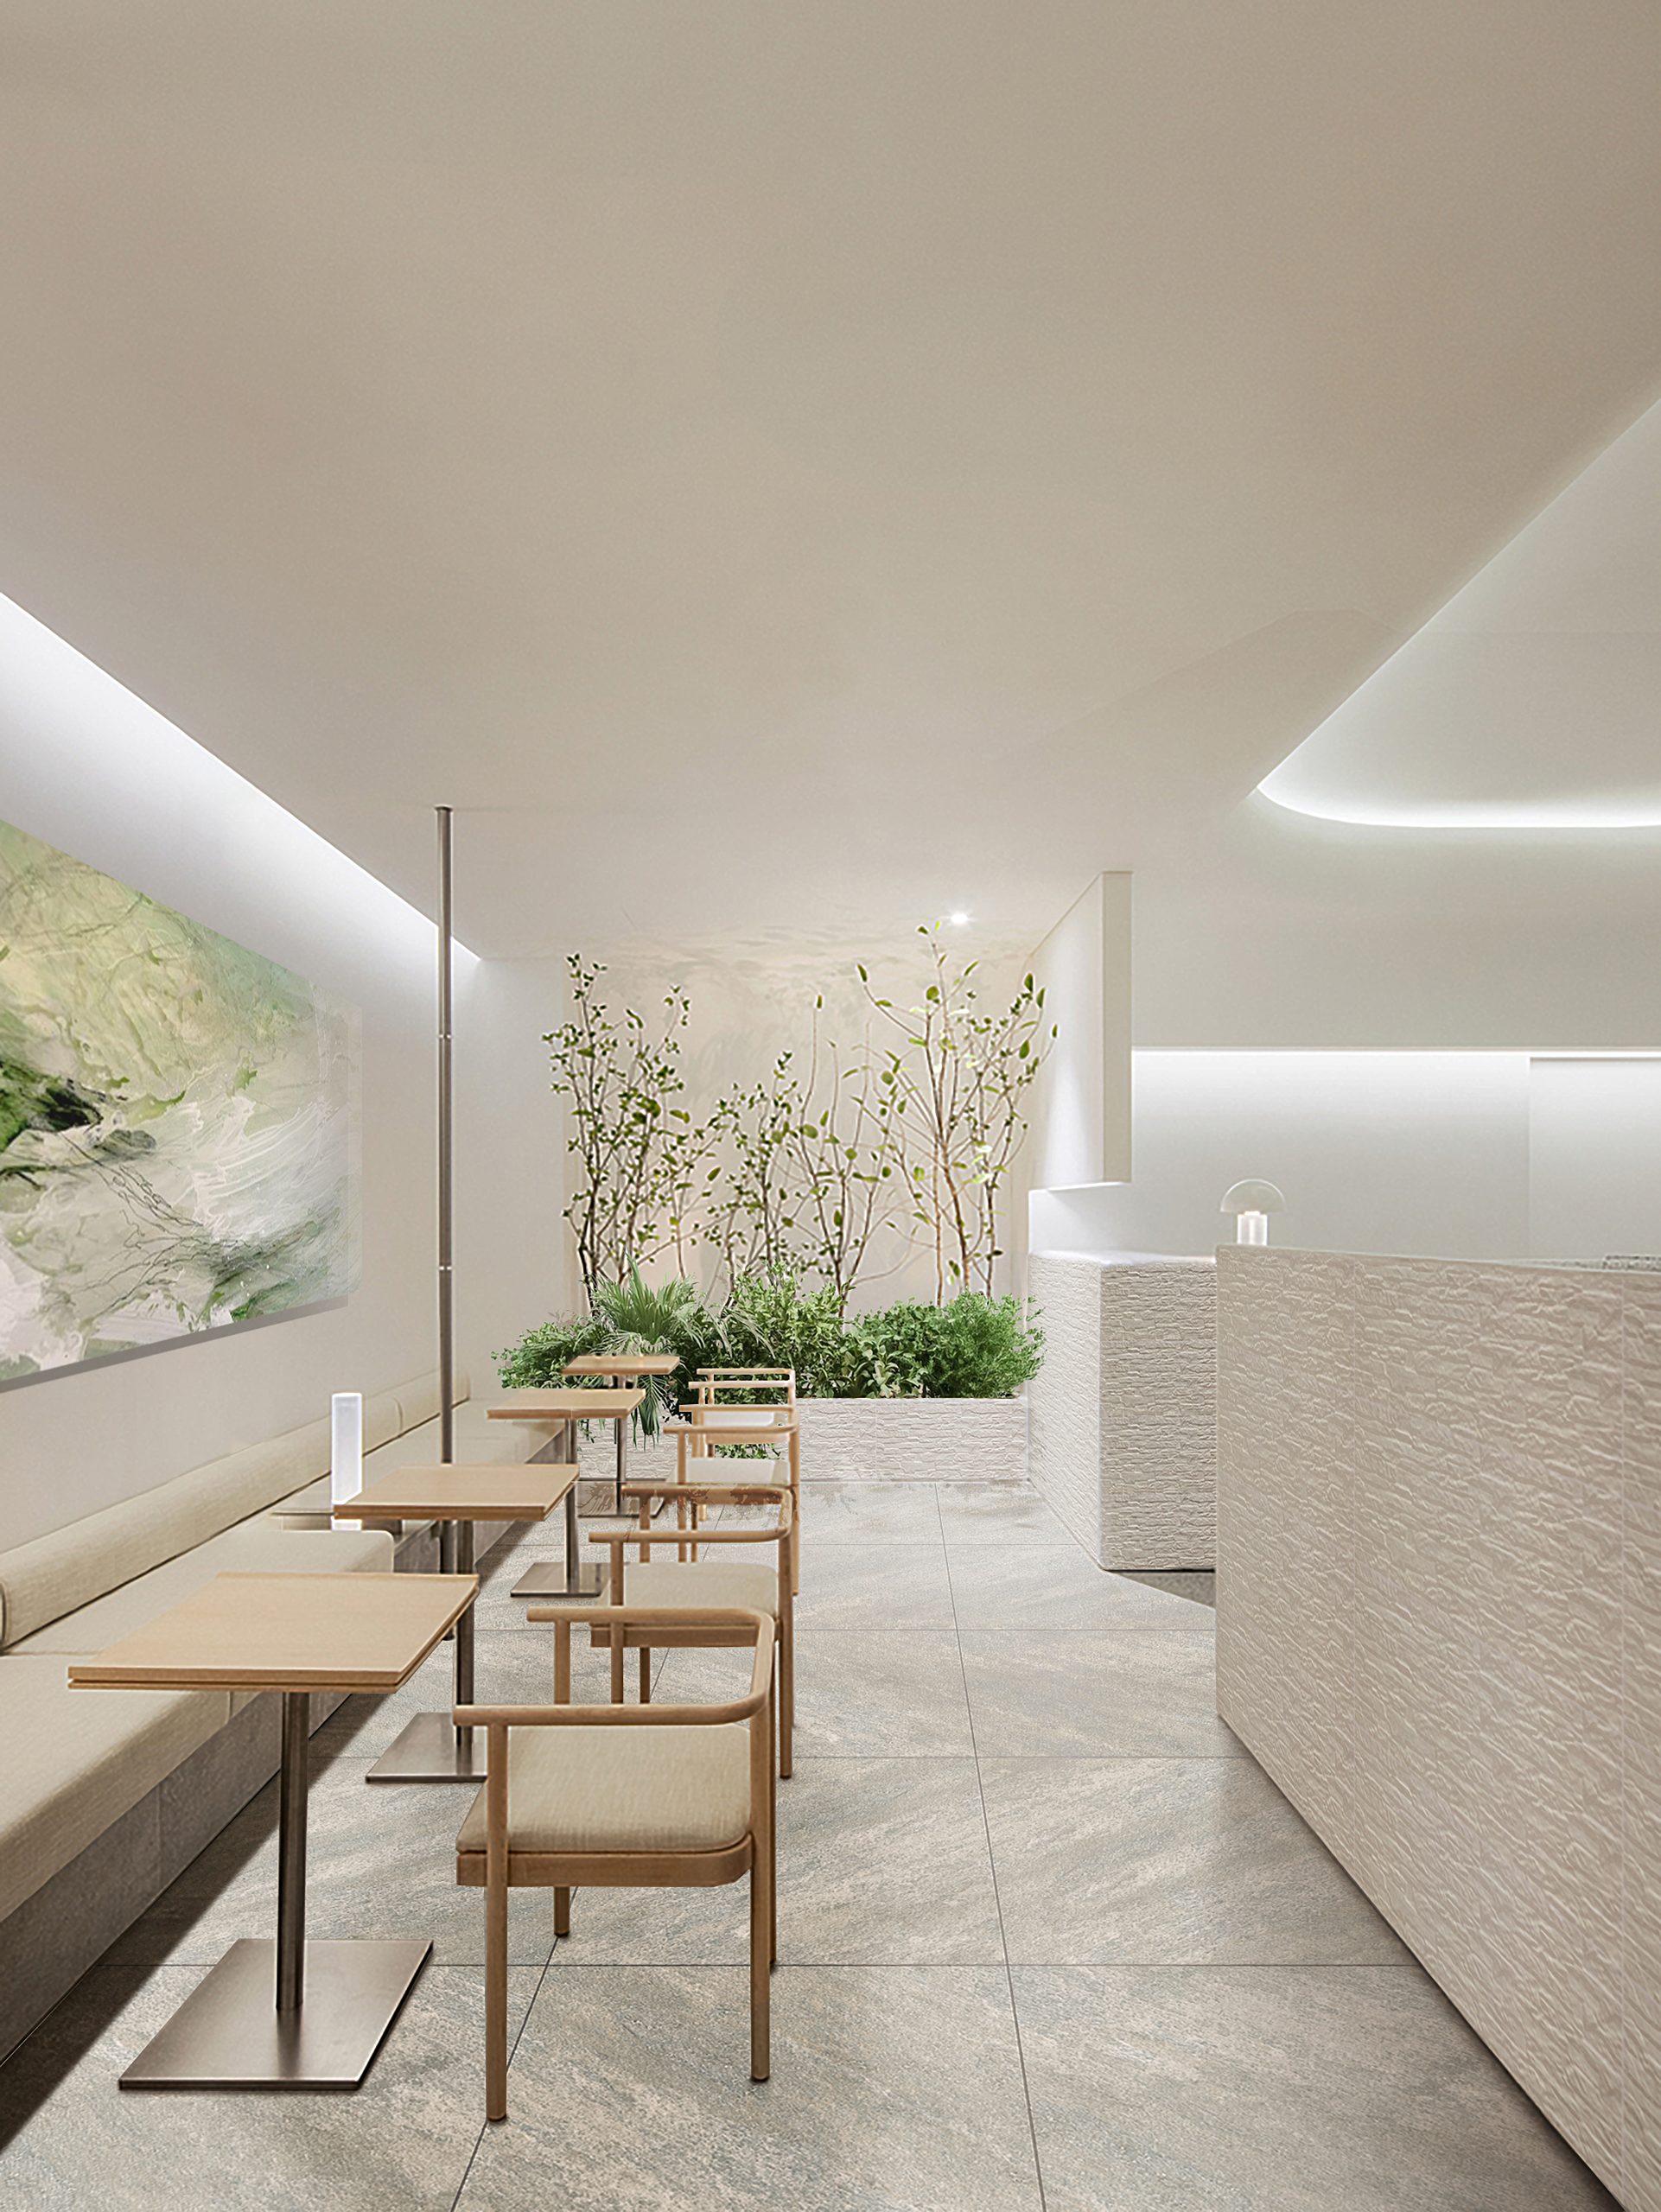
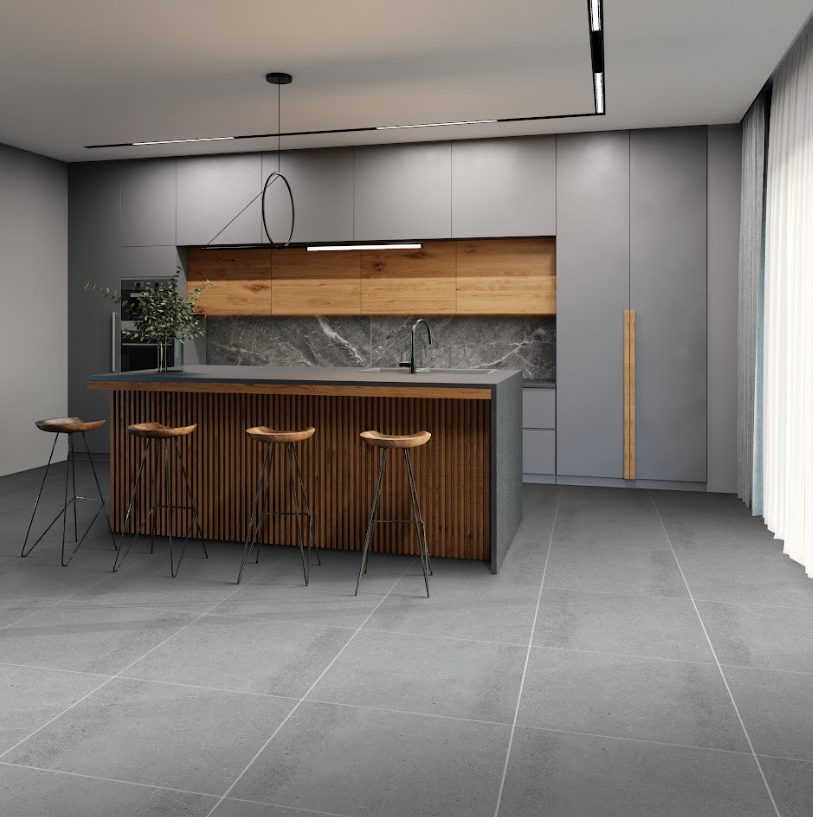
Ceramic Tiles – Flooring for the Kitchen

There is no doubt that ceramic tiles are the best tiles for your kitchen. It is durable, easy to maintain and comes in a variety of sizes, shapes, textures, and colors. It is the most flexible when it comes to decorating, and also boasts a number of resistances. In fact, another thing that’s great about these kinds of tiles is that not only are they great for the kitchen (which we will get to in the next paragraph), but pretty much anywhere indoors!

The kitchen is considered to be a high traffic area, especially when cleaning. It would also be prone to a lot of spills and other dirt because of cooking. With that being said, the best tile for it needs to be durable, resistant to spills and dirt, and of course, easily maintained.

All of that, along with an incredible amount of customization is offered by ceramic tiles.

Vinyl-Tiles-1-600x337

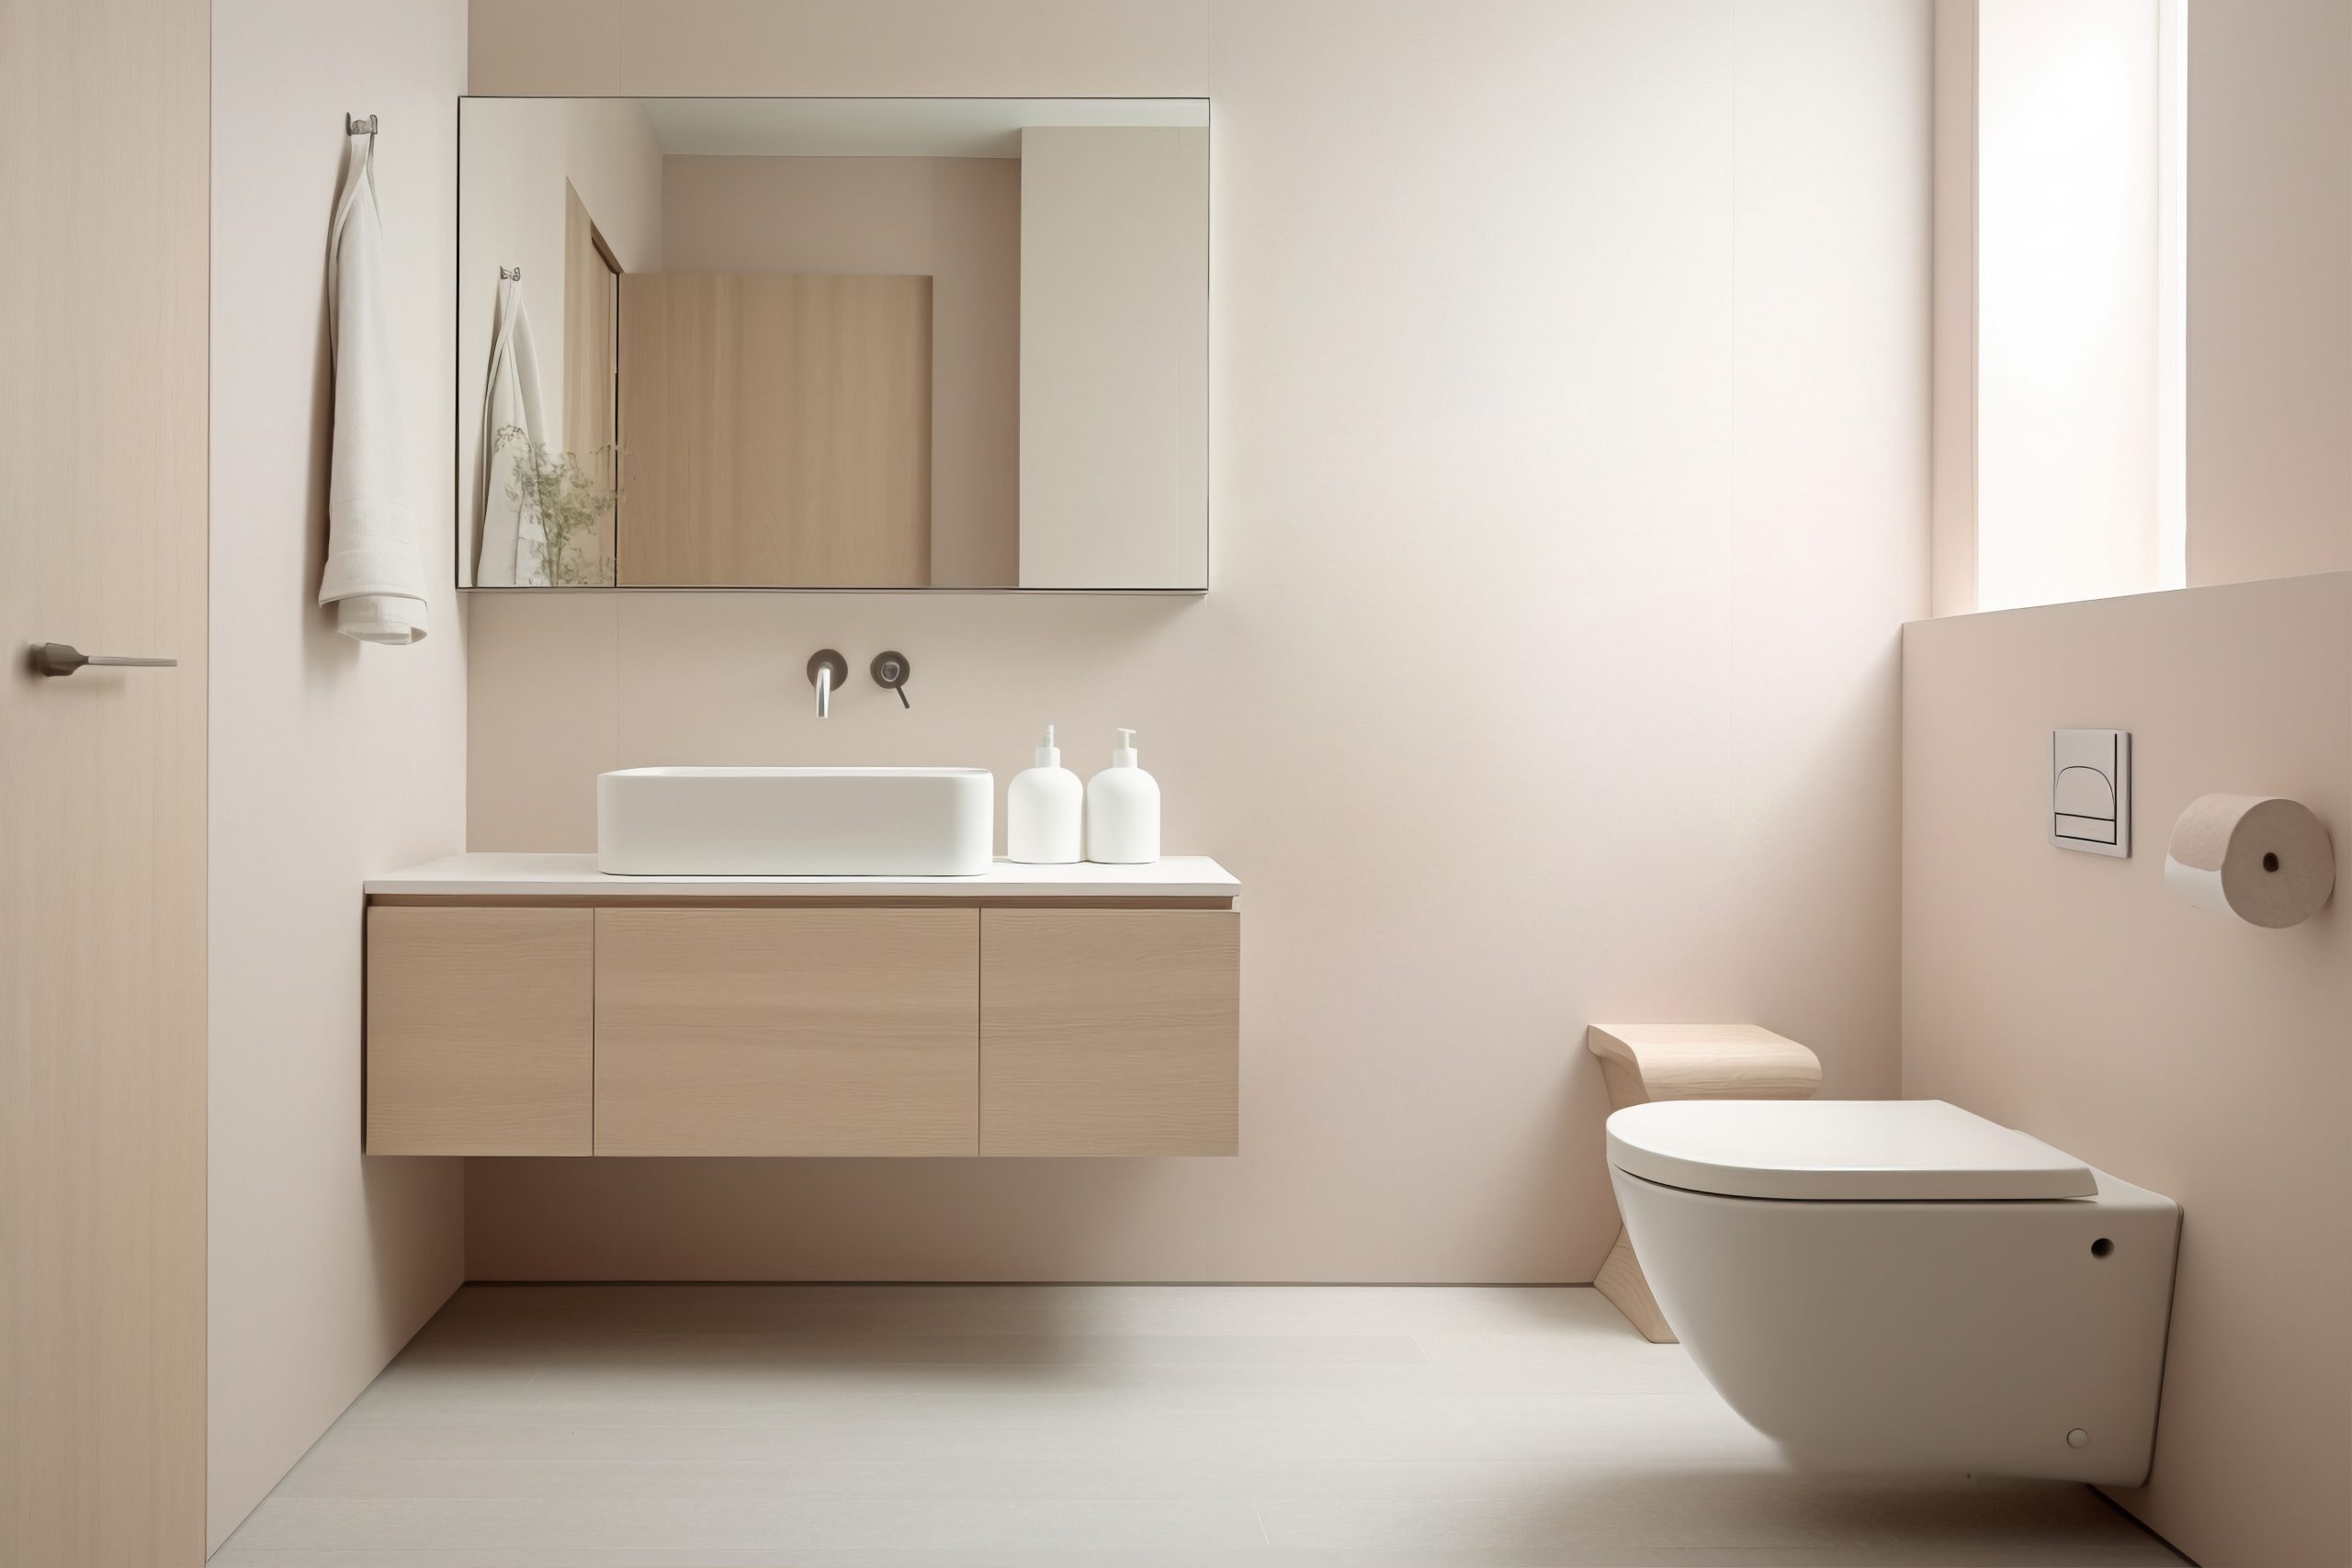
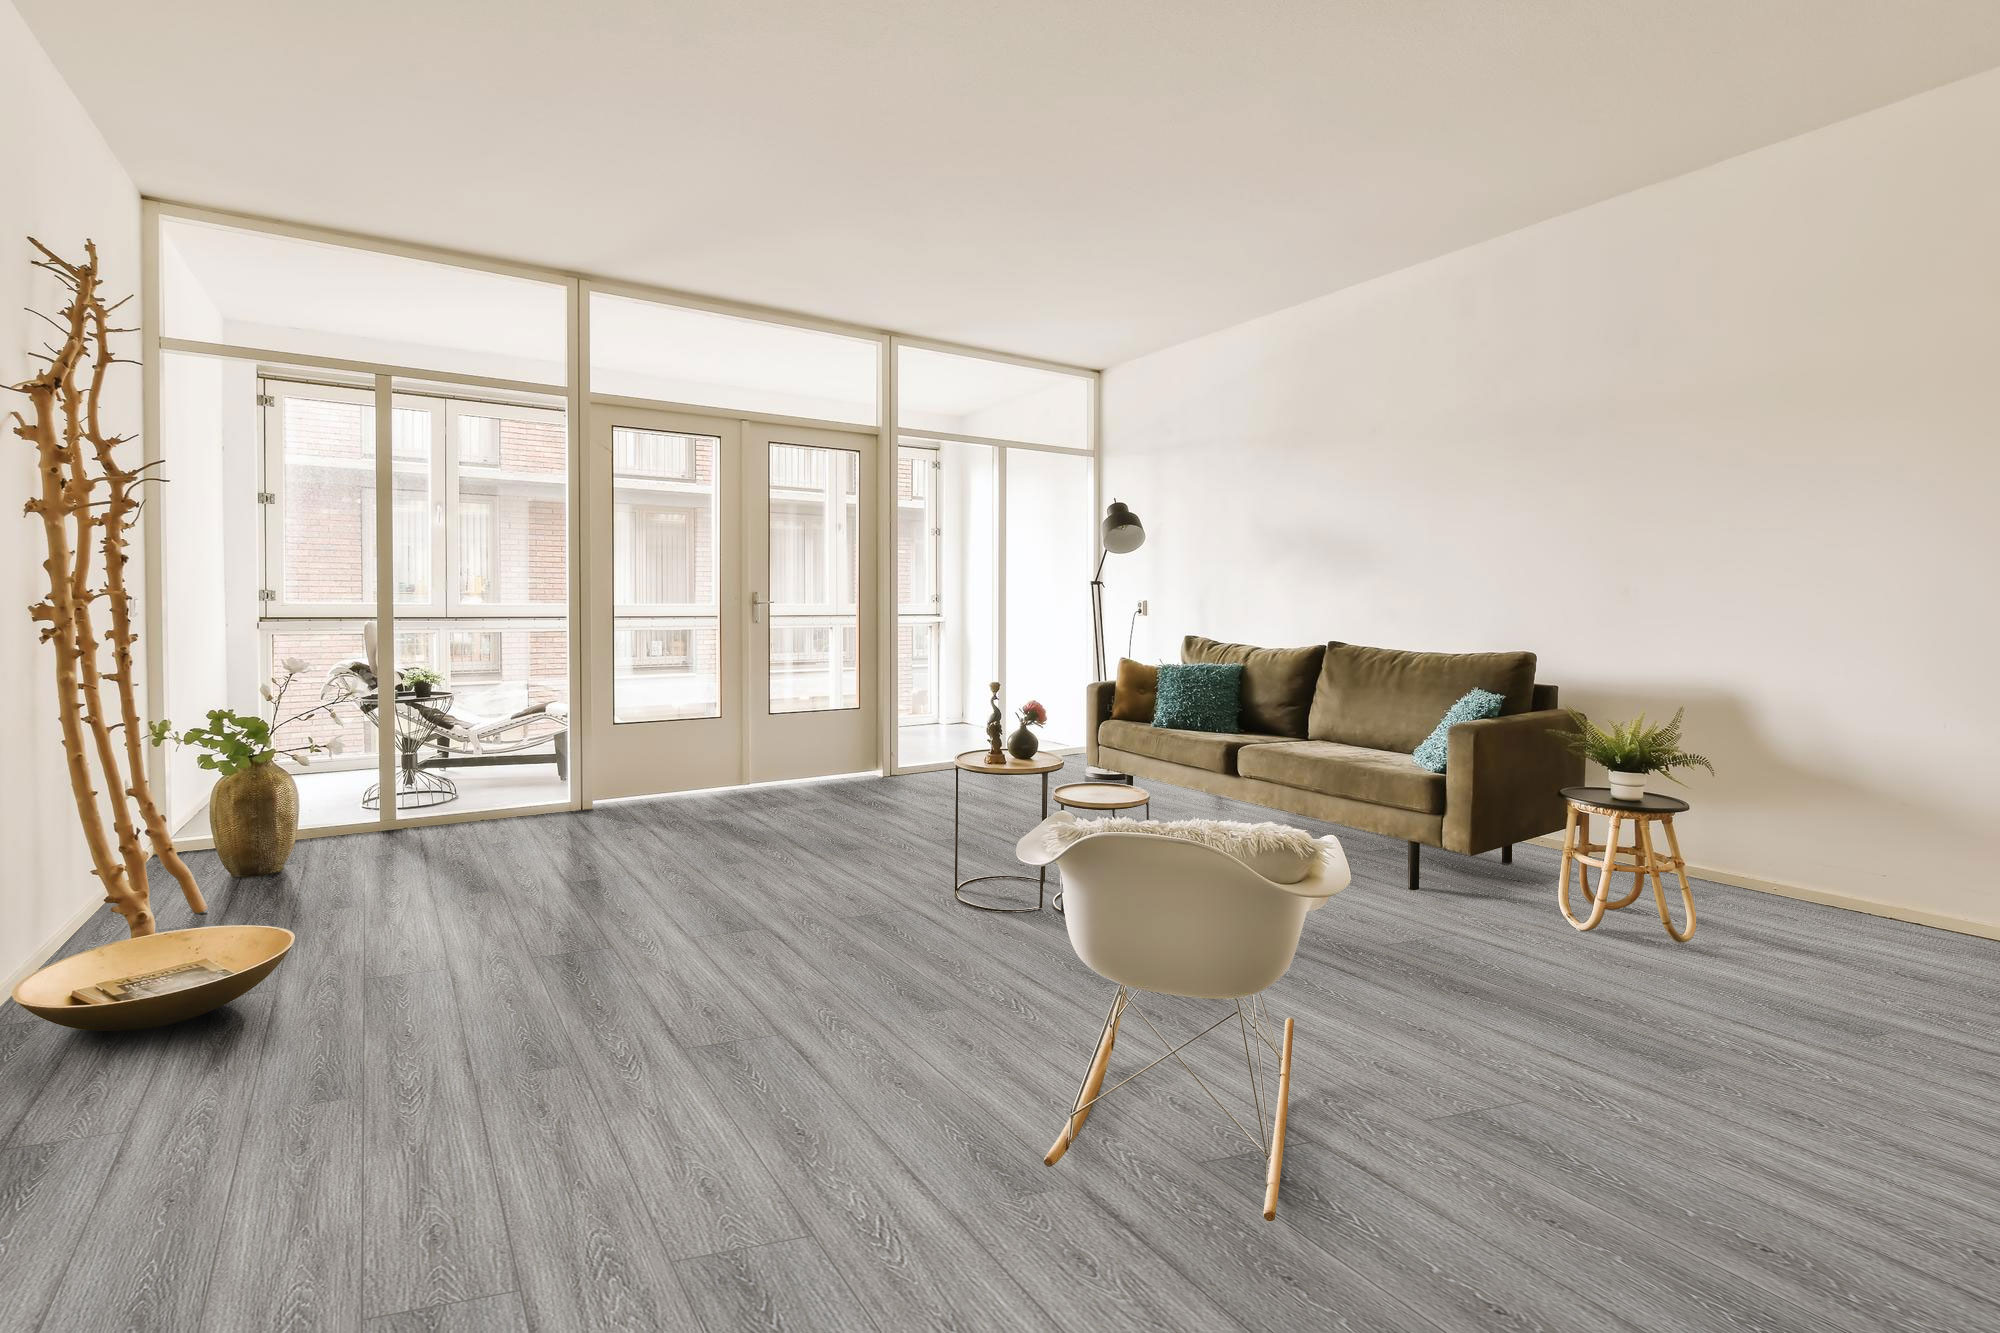
Vinyl Tiles – Stay Comfortable in your Bedroom

Same with ceramic and porcelain tiles, vinyl tiles are also durable, easy to clean and resistant to stains. What sets it apart is how most vinyl tiles are generally soft which makes them very comfortable for people who are walking bare-footed. As compared to other tiles, vinyl tiles are relatively easier to install, repair and replace.

The bedroom is more commonly known as the one place where some people can be the most comfortable. People do so many things in their bedrooms that the flooring that you should use must be able to withstand multiple stains and dirt. It should also be very easy to clean and replace when the time comes.

The only disadvantages that vinyl tiles have would be the fact that it chips easily and is sensitive to high heat. Because of this, it is not recommended for any kind of outdoor use.

Natural Stone Tiles – Show Off A Feel Of Nature

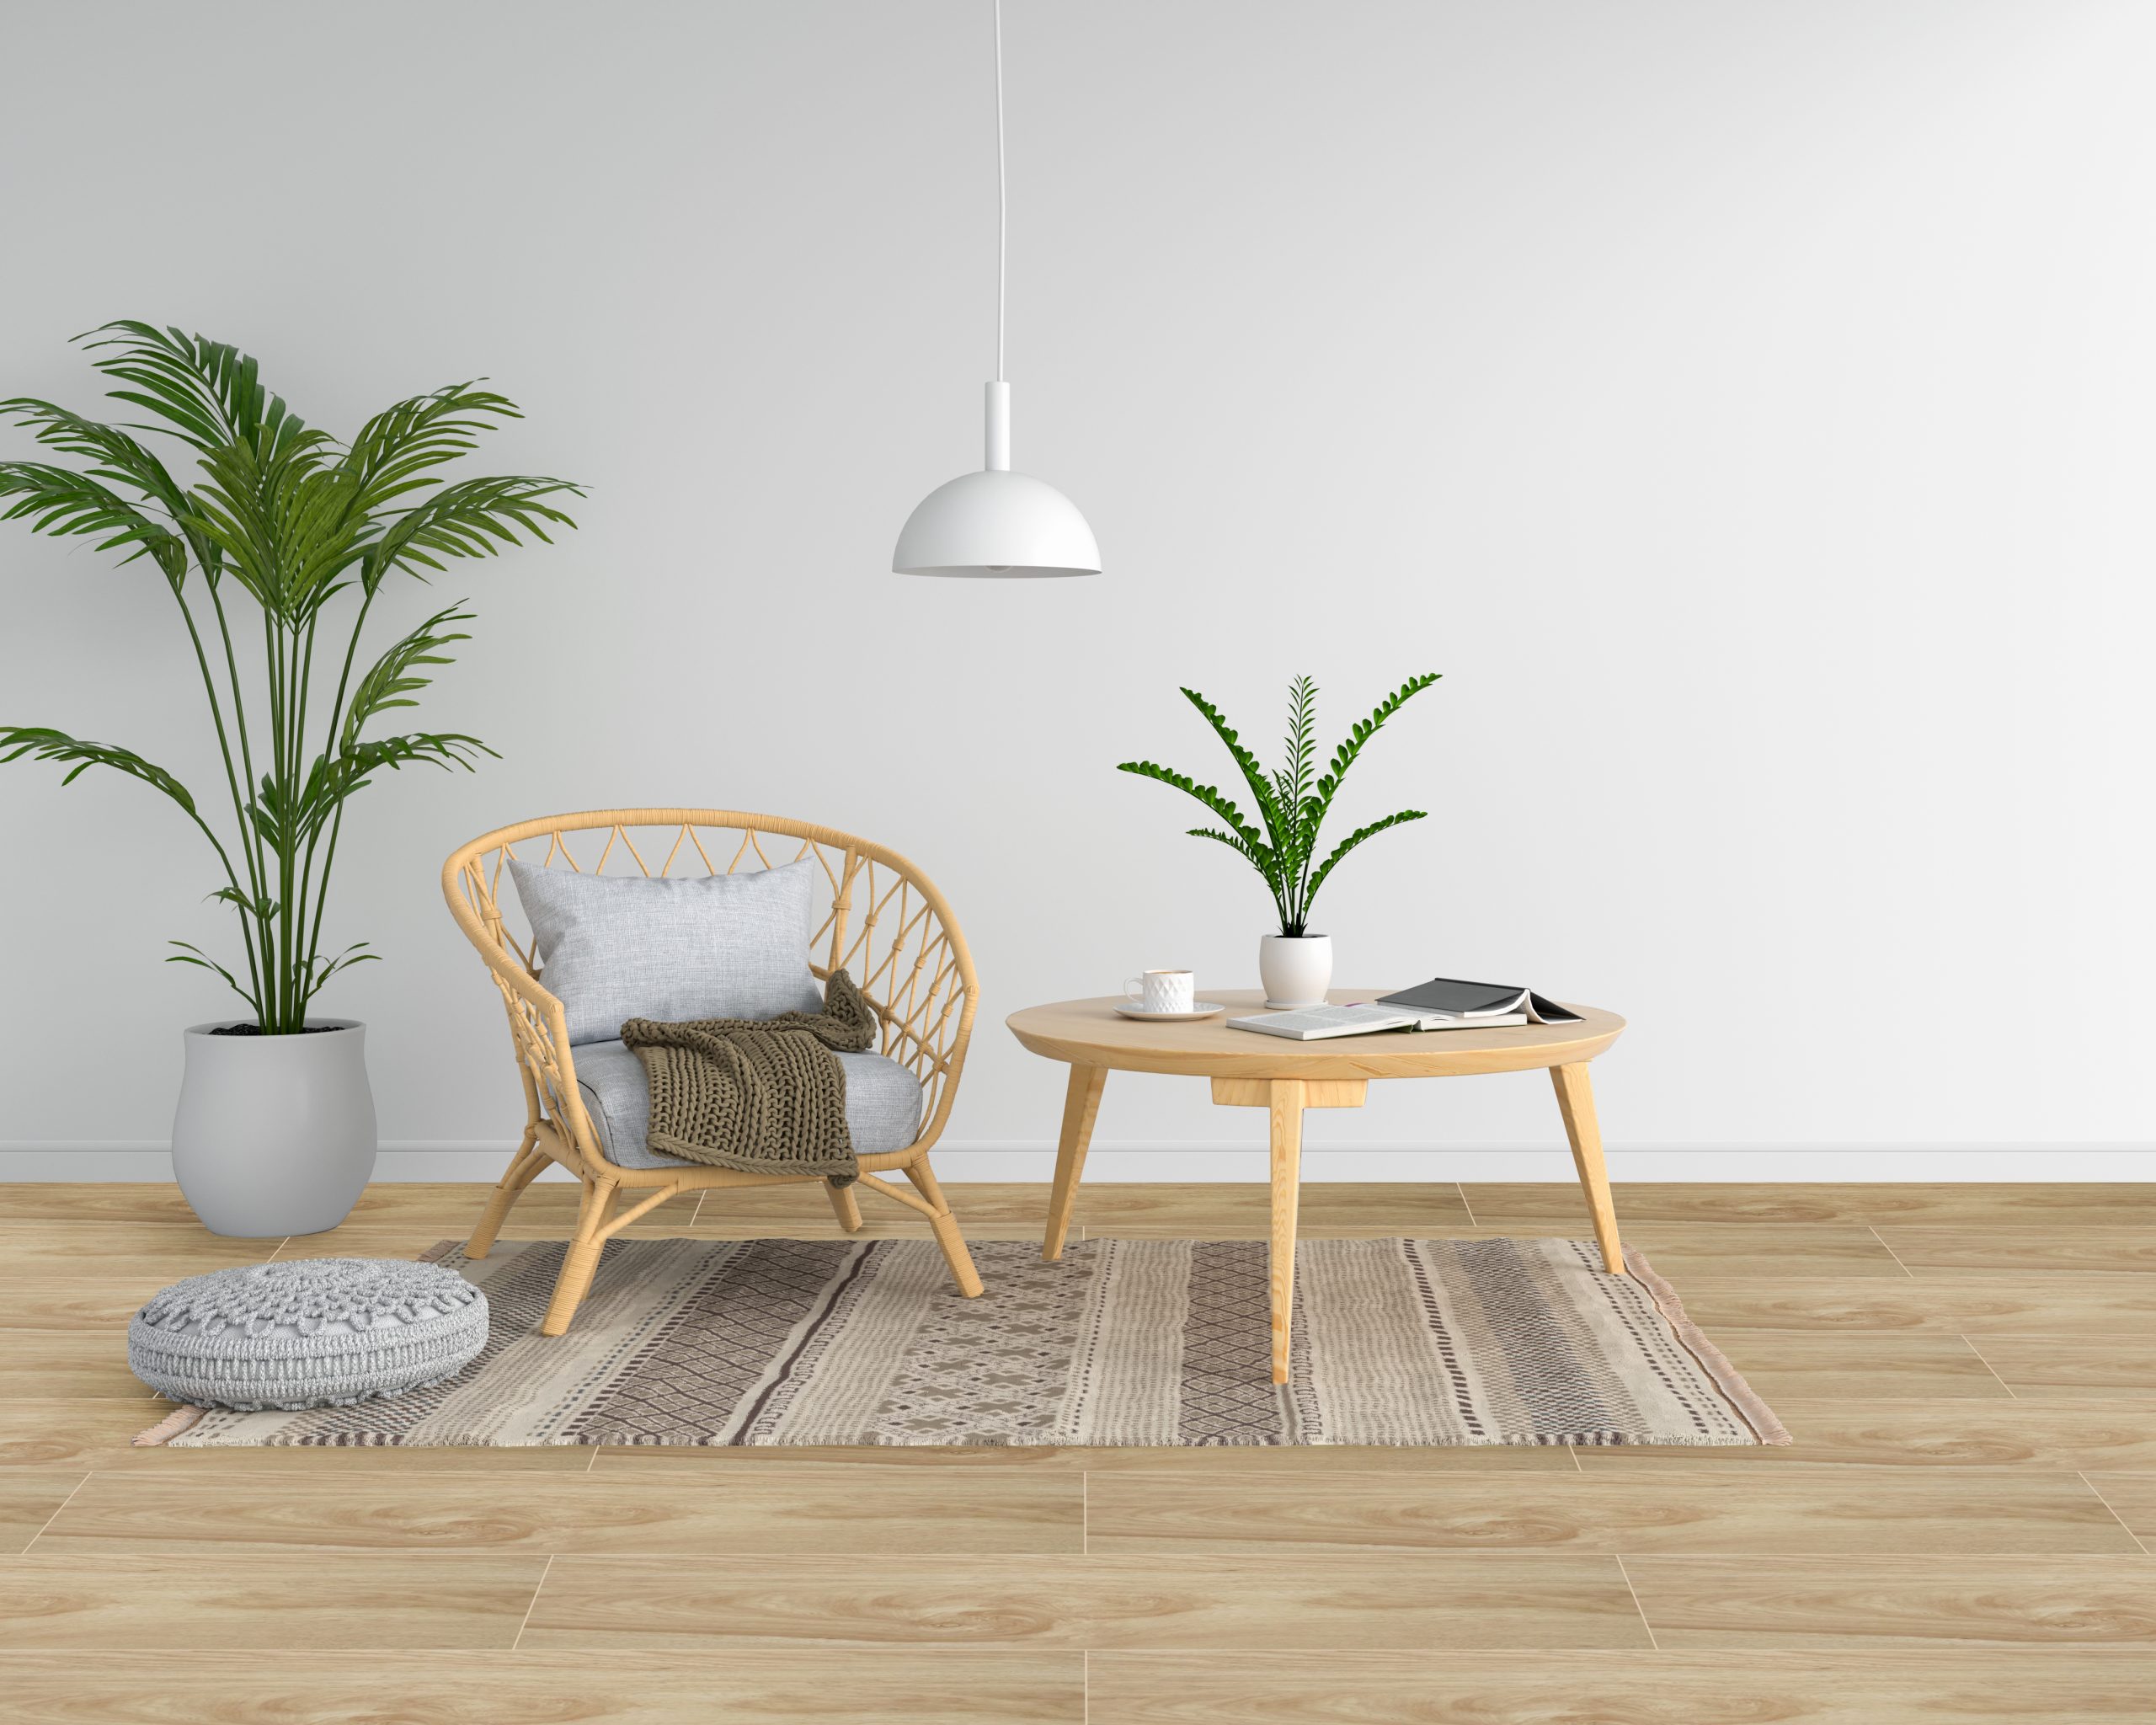
Natural Stone Tiles – Show off a feel of Nature

Commonly referred to as one of the most elegant and luxurious tiles in the market, natural stone tiles consist of a group of mountain-born mineral substances that stand in contrast to any synthetic stone products. Some of the most common stones used in flooring include slate, marble, limestone, travertine, sandstone, and granite.

Natural stone tiles are very different when compared to porcelain and ceramic tiles.

When you use this kind of floor tile, you will never get one with the same pattern. Every kind of tile is entirely unique.

It is the best kind of tile to use when you aim for a more natural look for your home. The downside of using natural stone tiles is the fact that is not scratch resistant. There are also some stones that are very brittle that they chip easily.

Key Takeaway

There are so many kinds of tiles out there that can be used for either flooring or wall tiles. each kind of tiles has their advantages and disadvantages. They are also made differently, making each kind of tile perfectly suitable for some part of your home, or any establishment. In many Philippine homes, Homogeneous tiles are used in a variety of ways. When planning out how to use tiles, make sure that you consider both its practicality and its aesthetics, especially with each specific part of your home. That way, laying your tiles will be as easy as it gets!

So, if you’re considering different types of tiles for every part of your home, be sure to lay out your options! With that much variety of how much you can use, you’ll never run out of options anytime soon—plus, you’ll have numerous backups in case one type of tile doesn’t meet your expectations.

A Guide to Installing Homogeneous Tiles in the Philippines

A-Guide-to-Installing-Homogeneous-Tiles-in-the-Philippines

What are the steps you should take when installing homogeneous tiles in your home in the Philippines?

  1. Choosing the Right Tile
  2. Pre-installation Procedure
  3. Main Installation

When working with homogeneous tiles in the Philippines, particularly when installing them in your home, it is always recommended for you to let the professionals do it. For people who are used to doing things themselves, this process is one of the harder things to do. However, it is completely possible.

It will probably take longer and more effort will be needed but installing homogeneous tiles on your own is completely doable. And for those who plan on doing so, here is a detailed guide on how to install homogeneous tiles in on your own:

Choosing The Right Tile


Choosing the Right Tile

Before doing any kind of installations, you must make sure that the tiles you are using are right for the area you’ll put it in. there are many aspects that you need to consider when choosing the right tile.

First, you must consider the environment in the area. Is it prone to a lot of moisture? Or is it in a place with a lot of foot traffic? Take note of the area because some tiles are better to use in certain areas.

Another consideration is what the primary use of the tile is. Will you be designing your bathroom wall or your kitchen wall? Or will it be used as floor tiles? of course there are different types of tiles for walls and floors, but some DIY aficionados prioritize design over practicality.

Which leads us to the last consideration, the design of the tile. After all the practical considerations, you have the freedom to choose whatever design you want. But of course, there are some design options that also brings about practicality, such as choosing whether a glossy or matte tile is better for the kitchen floor.

Once you’ve chosen and bought the tiles you’re going to install, inspect them for any kind of defect. And separate those that have breakages. Check the shade and size to make sure that they are consistent.

Pre-Installation Procedure

Just as with everything that humans do, it is important to prepare before initializing a project. In the context of installing homogeneous tiles, you need to prepare the surface where you plan on putting the tiles.

  1. Inspect the surface that will be tiled. Ensure that it is structurally stable and level. This is primarily used to prevent unleveled surfaces because these can lead to air pockets which can hamper the support for the tiles.

If the surface is concrete, make sure that it is properly cured before you install tiles.

If the surface contains plasterboards that have gypsum, treat the surface with a primer beforehand.

  1. Clean the surface thoroughly by washing it with water.
  2. Clean the tiles with a damp sponge or by dipping them into the water. Stack them vertically to remove the excess water.

It is recommended to immerse wall tiles in water for at least 2 hours to ensure maximum water absorption.

  1. Locate the center of the room by drawing 2 diagonal lines. Once you determine the center, layout the tiles in the pattern you want.
  2. Make reference lines to make sure tiles are perfectly aligned.
  3. Once you’ve finished preparing the guides, start with the binder. Combine the necessary materials according to the manufacturer’s specifications. (most of the time the materials are: cement, sand, and water, or tile adhesive and water)
  4. Mix the binder until it has the consistency of damp earth.
  5. Spread the binder onto the support surface in the required thickness of no less than 3 to 4 cm.
  6. If the weather is particularly warm or windy, dampen the surface lightly first. This is to avoid the binder from being absorbed by the surface where the tiles will be put.

If you are using tile adhesive, make sure that you spread it over a square meter with a notched trowel. Perform a scraping motion to comb the area and ensure that the entire surface is covered.

  1. Tamp down the bed of binder to get rid of air pockets within the material. Then level it using a straight edge or a measuring rod.
  2. Dust a thin layer at the intersection of the reference lines.


Main Installation

Main Installation

If you’ve been strictly following this guide up to this point, then the only thing you have to do now is to install the tiles.

  1. Lay the tiles at the intersection of the reference lines.
  2. Push the tiles into the binder. Make sure that the binder does not touch the external tile surface.
  3. Slide the tiles into place. Align it and make sure that the entire back surface of the tile is in contact with the binder. There should be no empty space left beneath the tile.
  4. Tap the tiles into place to level the surface.
  5. Remove excess binder with a wet sponge and water.
  6. Keep the newly tiled surface wet for at least two weeks following the installation to slow down the drying.
  7. Pour the tile grouting material into a clean plastic pail. Add water and mix until a creamy pasty consistency is attained.
  8. Spread the paste diagonally across the tile joints using a spatula. Limit the contact with the surface of the tiles.
  9. Apply pressure to fill the joints uniformly.
  10. After 5 minutes, the residue should form a haze about it. Apply a wet sponge using the same diagonal strokes until the grout is flushed with the tiles.
  11. Lightly run a sponge along the grout to tool the filler joints. Wipe any other residue with a clean, soft and dry cloth.

And there you have it! Once you’re done with it, you would have successfully installed tiles on your own!

Key Takeaway

Installing homogeneous tiles in the Philippines is not easily done. You need to take some extra steps in order to endure that your installation will go as smooth as possible. It can be a great achievement when it is done, but for first-time tile installers, even with this guide, you might still need the help of a professional to make sure no problem arises.